
Actually that makes sense, make it a complete circuit that just isn't really doing anything.
Edit: This brings back nostalgic memories of my circuits class, unfortunately for my grades, one of my favorite things to do was blow up caps and watch them shoot to the ceiling") .
.
Edit: This brings back nostalgic memories of my circuits class, unfortunately for my grades, one of my favorite things to do was blow up caps and watch them shoot to the ceiling
.
Last edited:
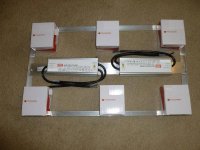
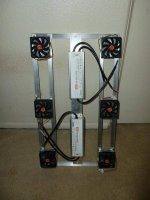
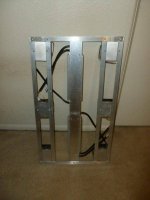

 more pics on my album
