
-
ICMag with help from Phlizon, Landrace Warden and The Vault is running a NEW contest for Christmas! You can check it here. Prizes are: full spectrum led light, seeds & forum premium access. Come join in!
You are using an out of date browser. It may not display this or other websites correctly.
You should upgrade or use an alternative browser.
You should upgrade or use an alternative browser.
Diary PCBuds mini-grow
- Thread starter PCBuds
- Start date
PCBuds
Well-known member
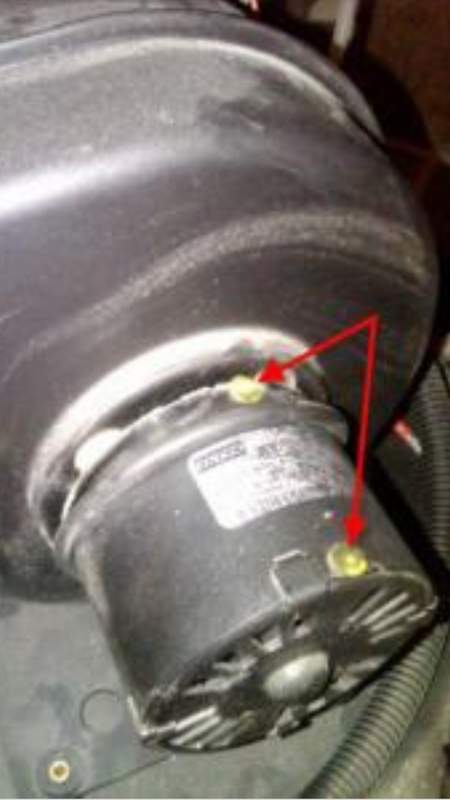
I oiled it too...
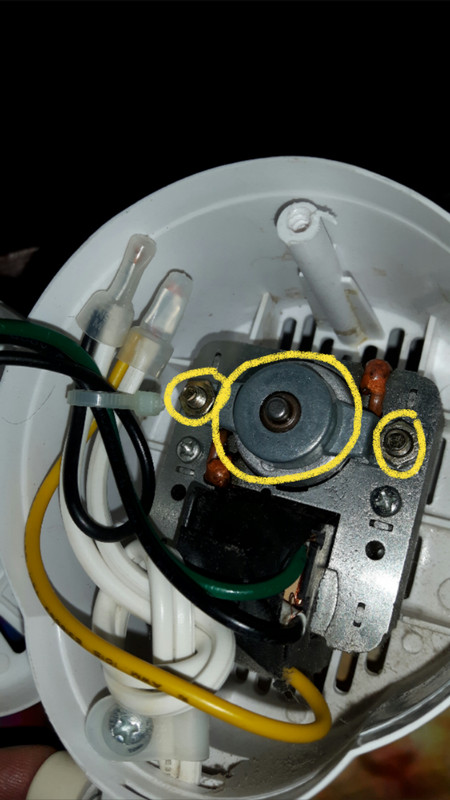
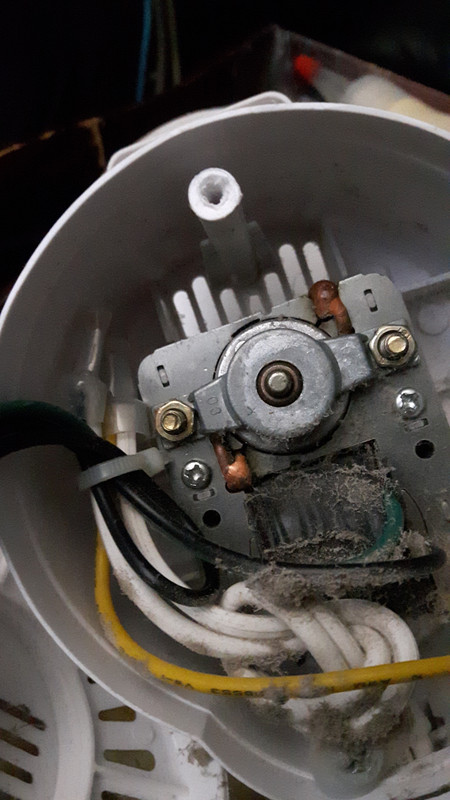
The circled part in the middle holds a piece of felt that is full of oil.
There is an oil-filled piece of felt on both sides of the armature.
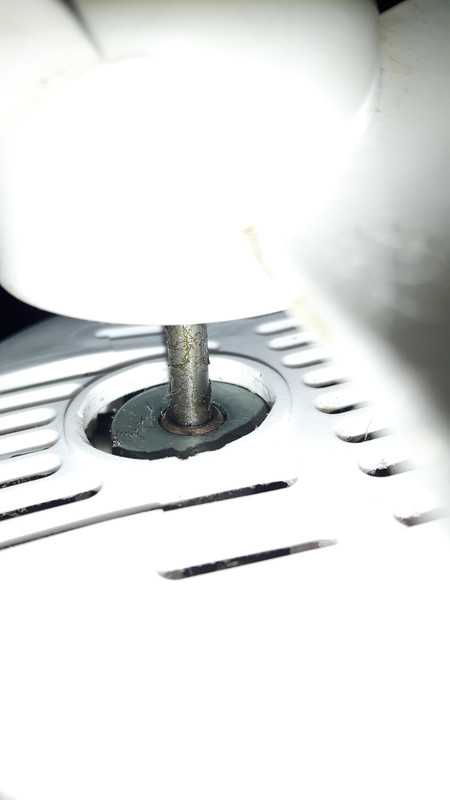
When dust covers the shaft, it sucks the oil out of the felt then the shaft overheats and seizes.
My fan was still spinning so I just dripped oil on the shaft and it worked its way into the felt.
To do a thorough job, I would remove the nuts holding the armature and completely remove it, but then I would have to pull the fan blade off the shaft too.
That would expose the felt to fill it up with oil.
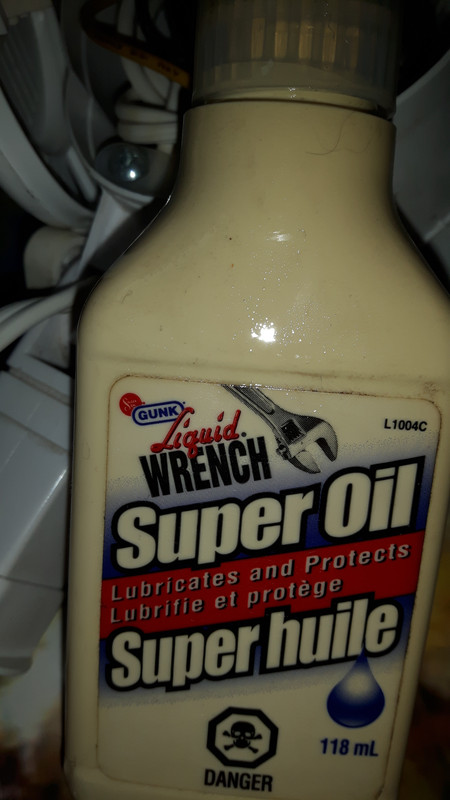
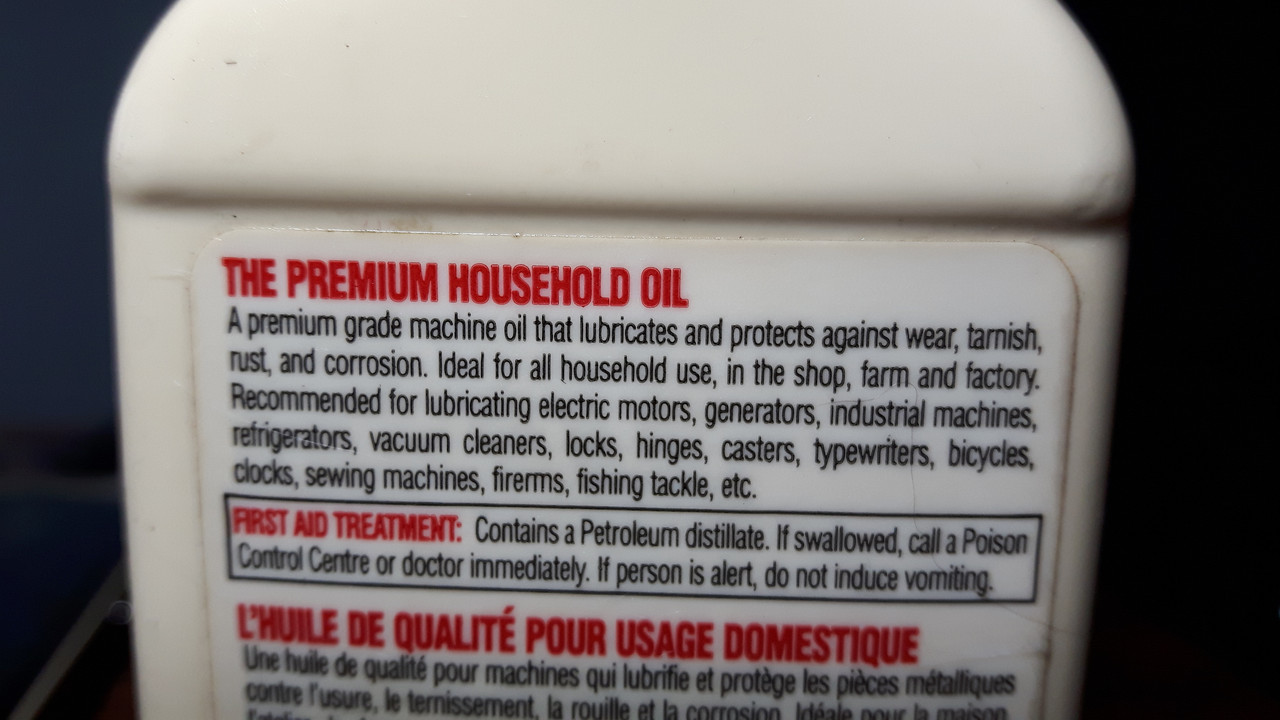
I use this oil, ...
It is really thin and designed for electric motors and sewing machines.
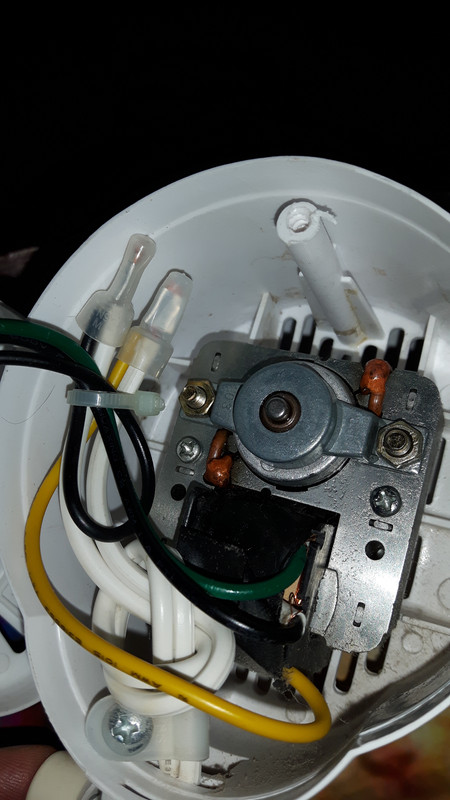
The circled part in the middle holds a piece of felt that is full of oil.
There is an oil-filled piece of felt on both sides of the armature.
When dust covers the shaft, it sucks the oil out of the felt then the shaft overheats and seizes.
My fan was still spinning so I just dripped oil on the shaft and it worked its way into the felt.
To do a thorough job, I would remove the nuts holding the armature and completely remove it, but then I would have to pull the fan blade off the shaft too.
That would expose the felt to fill it up with oil.
I use this oil, ...
It is really thin and designed for electric motors and sewing machines.
PCBuds
Well-known member
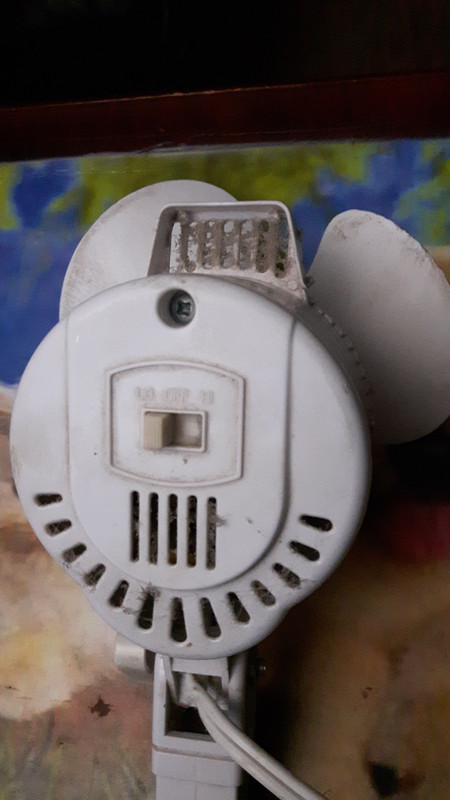
My exhaust fan in my kitchen has been blowing since 1942 when my house was built.
I just had to oil it through the fill hole.
(I've got it plugged for the winter.)
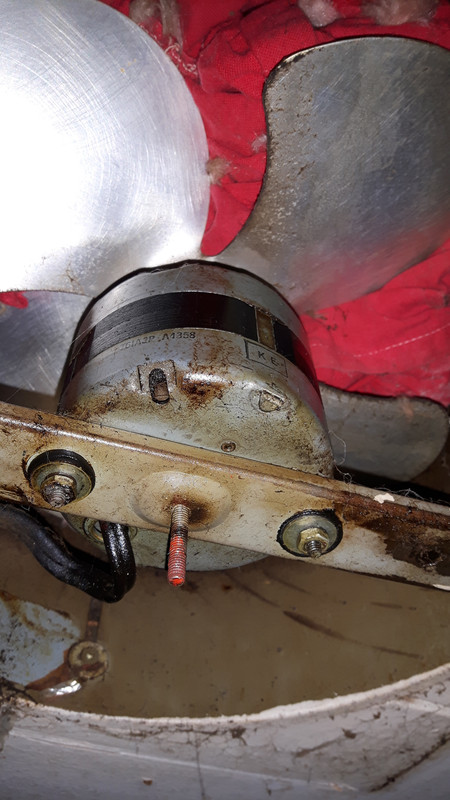
Most electric motors/blowers have an oil filler hole.
Don't overfill it or the oil will run everywhere and dust will collect, blocking the air vent holes in the housing and the motor will overheat.
I just had to oil it through the fill hole.
(I've got it plugged for the winter.)
Most electric motors/blowers have an oil filler hole.
Don't overfill it or the oil will run everywhere and dust will collect, blocking the air vent holes in the housing and the motor will overheat.

PCBuds
Well-known member
I learned a lot about how to *really* clean and revive a fan from this post. I'll try to do that with my fans, and maybe if I don't need them I can donate them somewhere
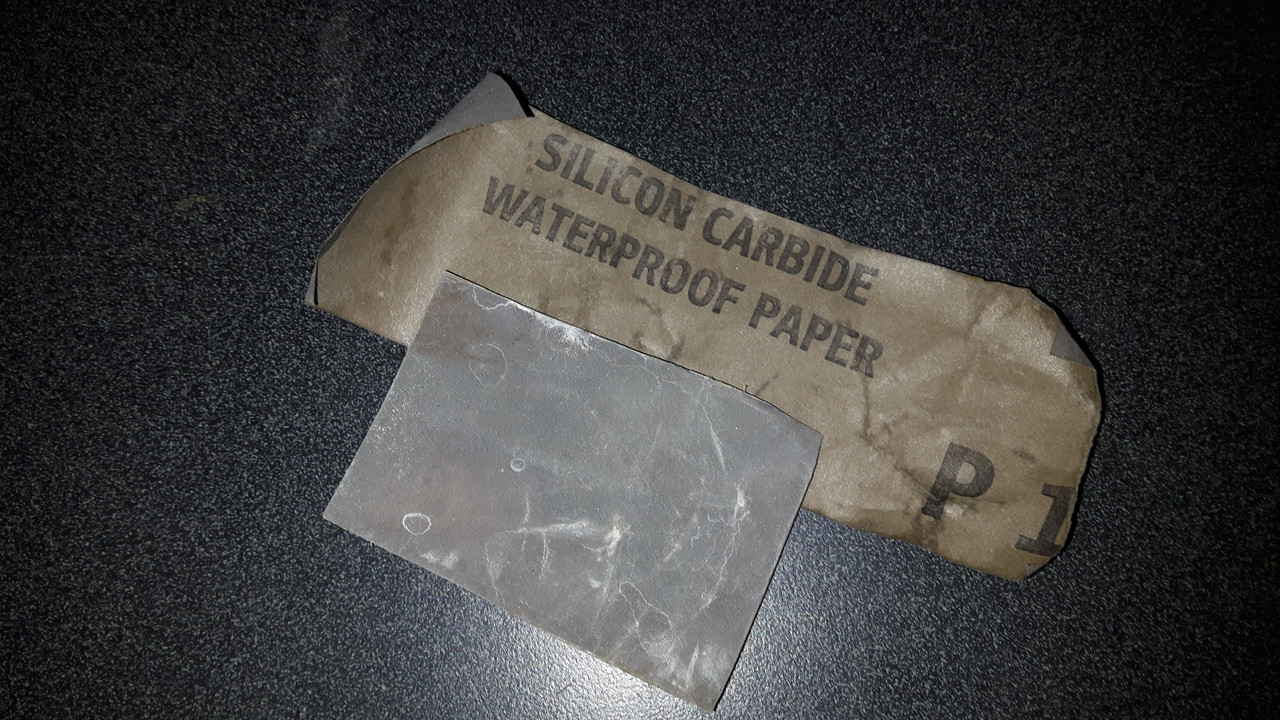
If you remove the Armature and find dark brown burnt stuff stuck to the shaft you can remove it with 1200 to 1600 Grit sandpaper.

q3corn
Active member
Some of my buds are ~2% cat hair. Lol
You and me both, lol. Even though I have a fabric filter on the intake, cat hair finds it's way...


PCBuds
Well-known member
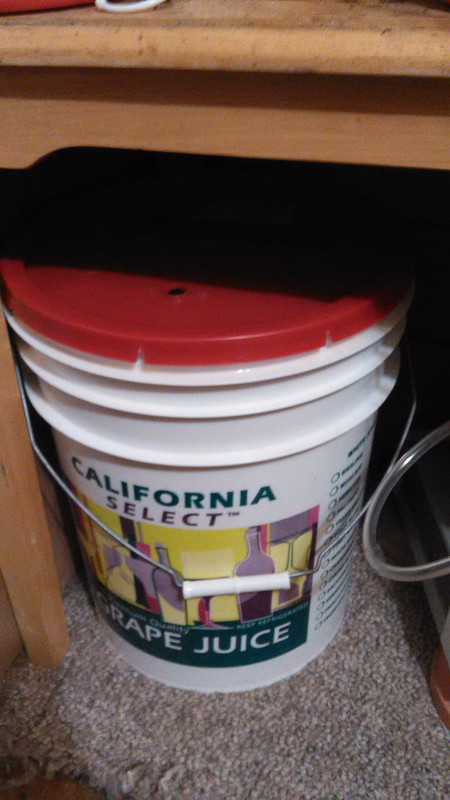
I've been working on my cooler/planter.
I put in about 2 1/2" more clay pellets.
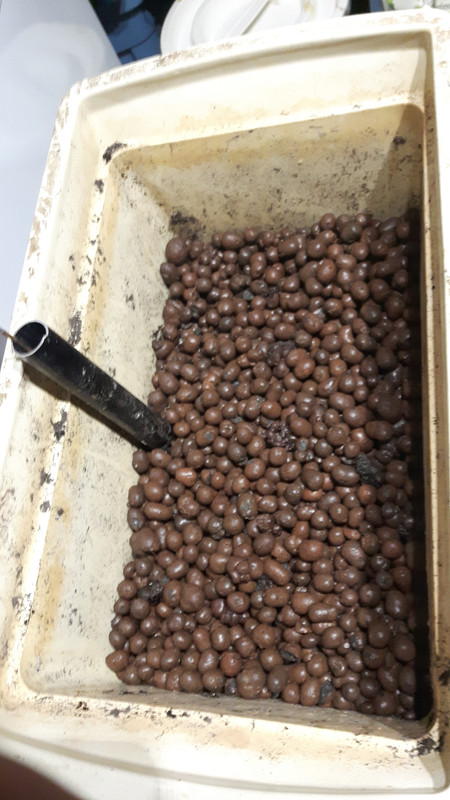
Then I put the fiberglass weave back on top.

Then I poured water in until it reached the weave and marked that point on my float.

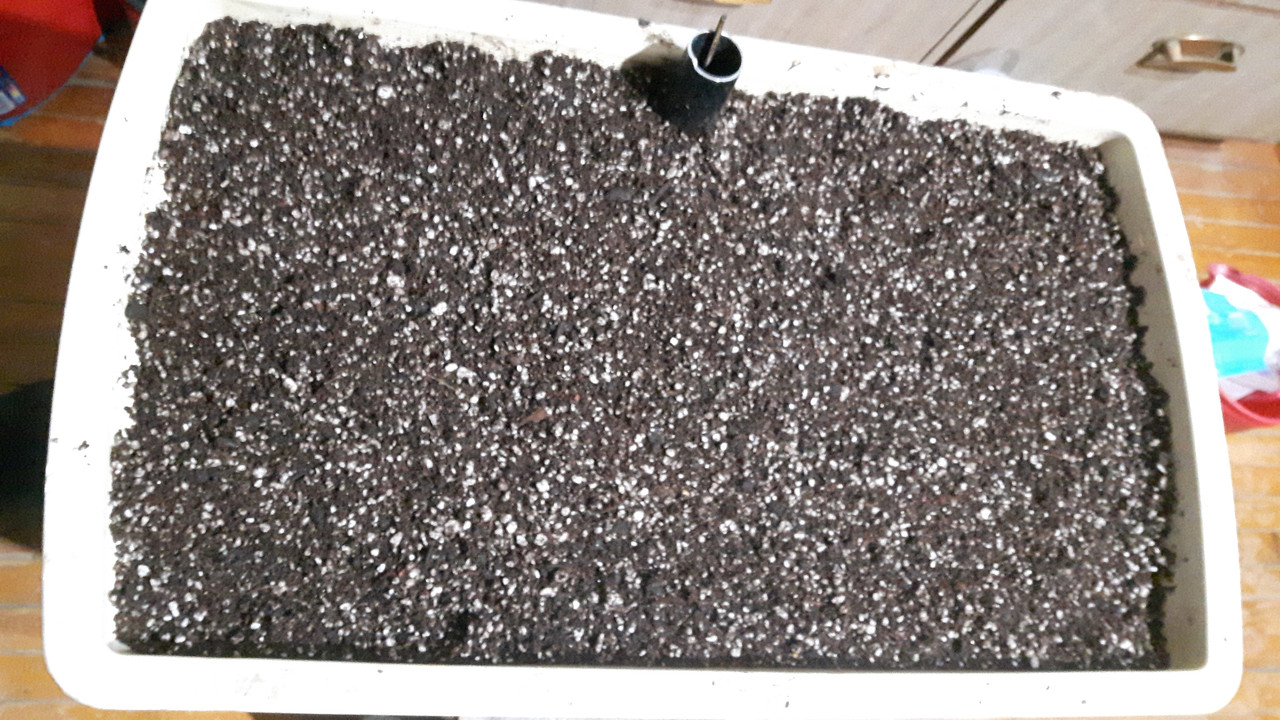
I mixed up about 1 part rinsed coco coir, 1 part worm castings and 1 part perlite.
(I put in a bit extra perlite because of my tendency to overwater.)
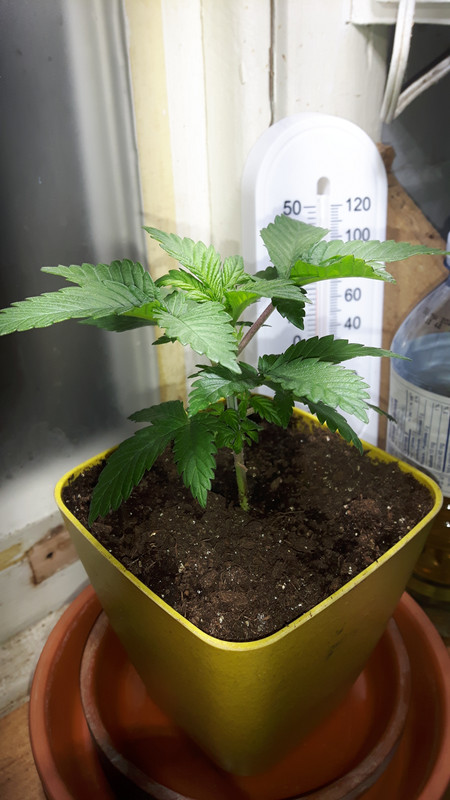
My plant is really taking off too.
She's just about 3 1/2" tall now.
I put in about 2 1/2" more clay pellets.
Then I put the fiberglass weave back on top.
Then I poured water in until it reached the weave and marked that point on my float.
I mixed up about 1 part rinsed coco coir, 1 part worm castings and 1 part perlite.
(I put in a bit extra perlite because of my tendency to overwater.)
My plant is really taking off too.
She's just about 3 1/2" tall now.
PCBuds
Well-known member
Dont forget your air gap, so you don't get a soggy mess.
I siphoned off all the water before I put the soil in the cooler.
I only intend to have about an inch of water at the bottom.
I just wanted to make a mark on my float to know where the soil started.
I was a bit difficult to measure because the pellets started to float. Lol
PCBuds
Well-known member
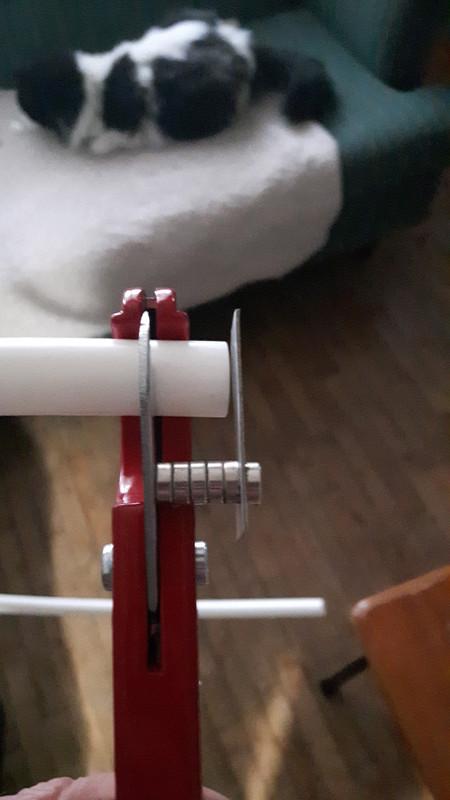
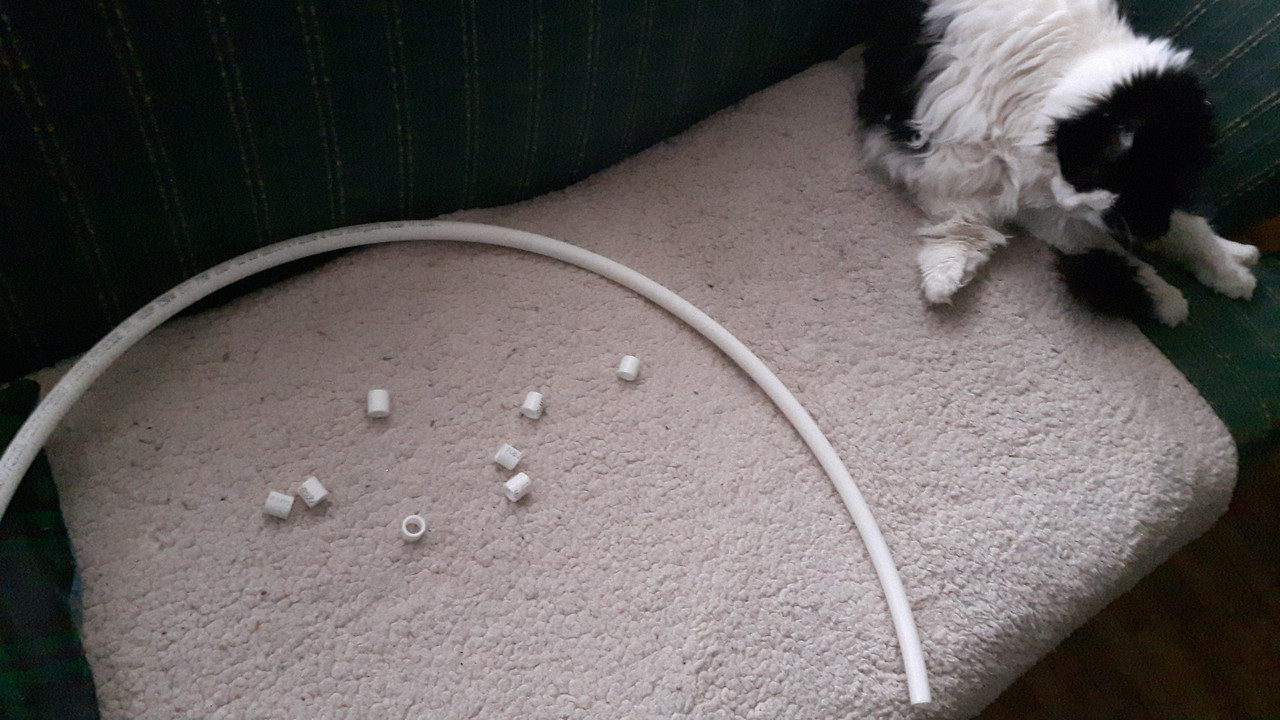
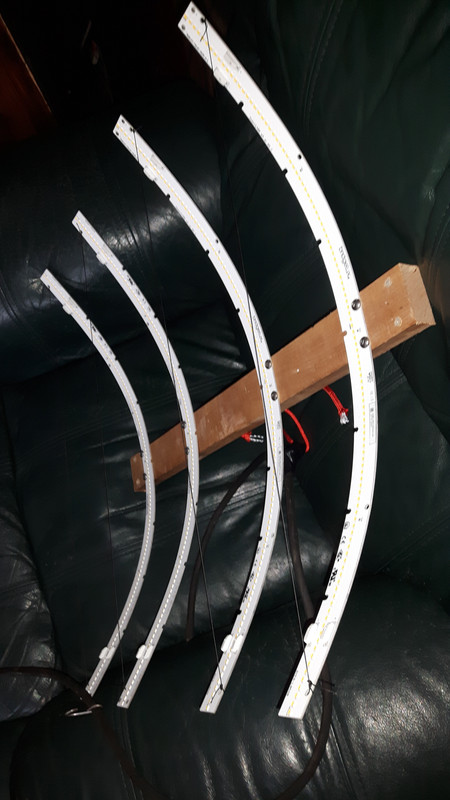
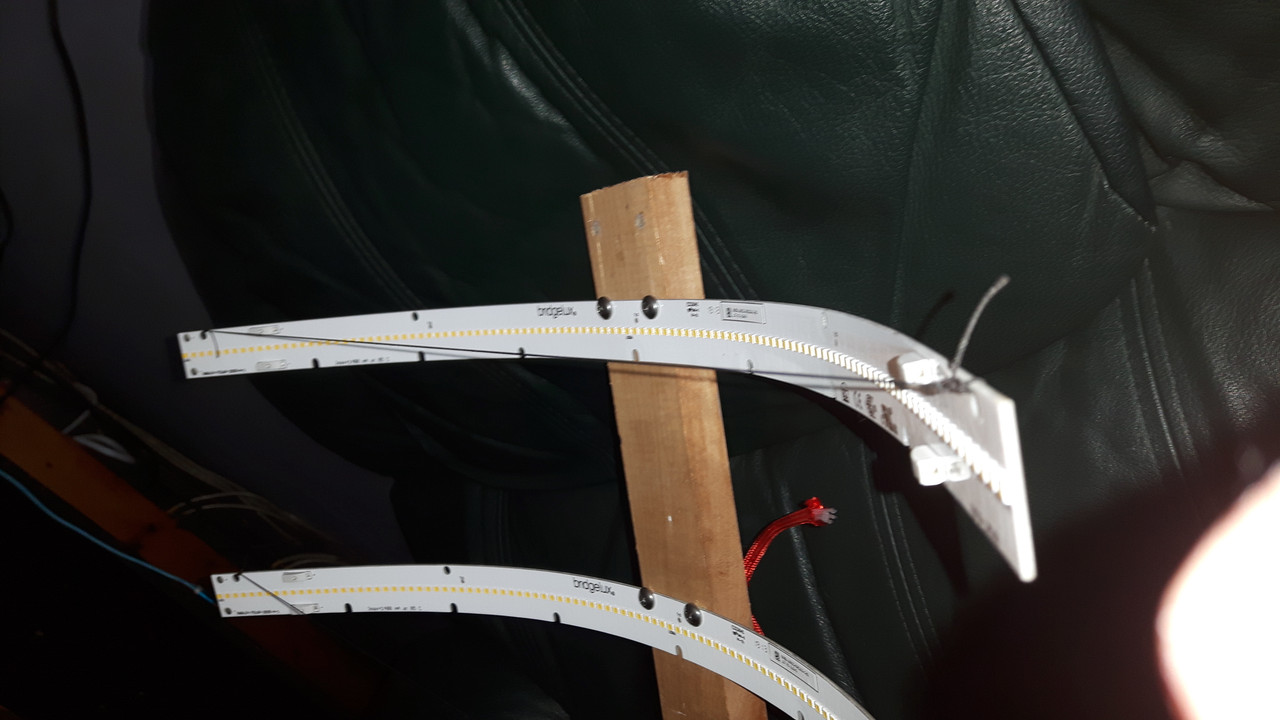
I'm making some progress with my lights.
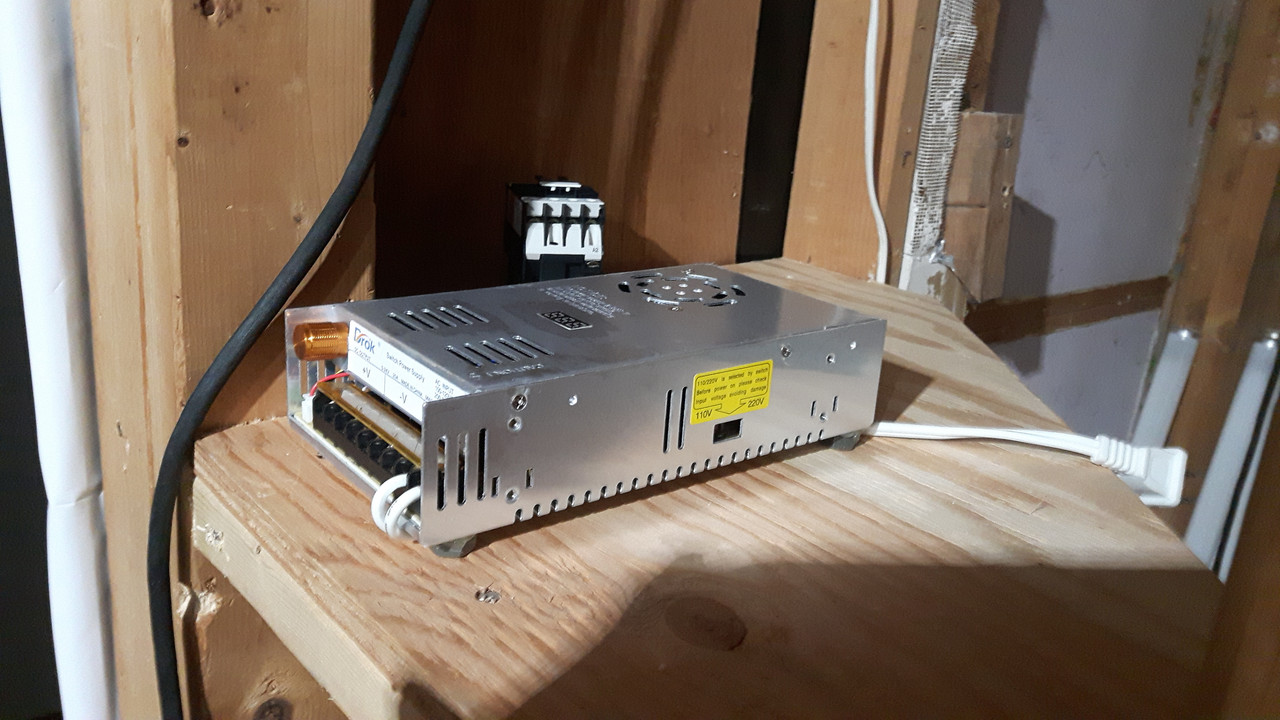
I decided to switch all my lights to the strips and skip the SILs, so I can do all the wiring of both drivers, the timer and the contactor all in one shot.
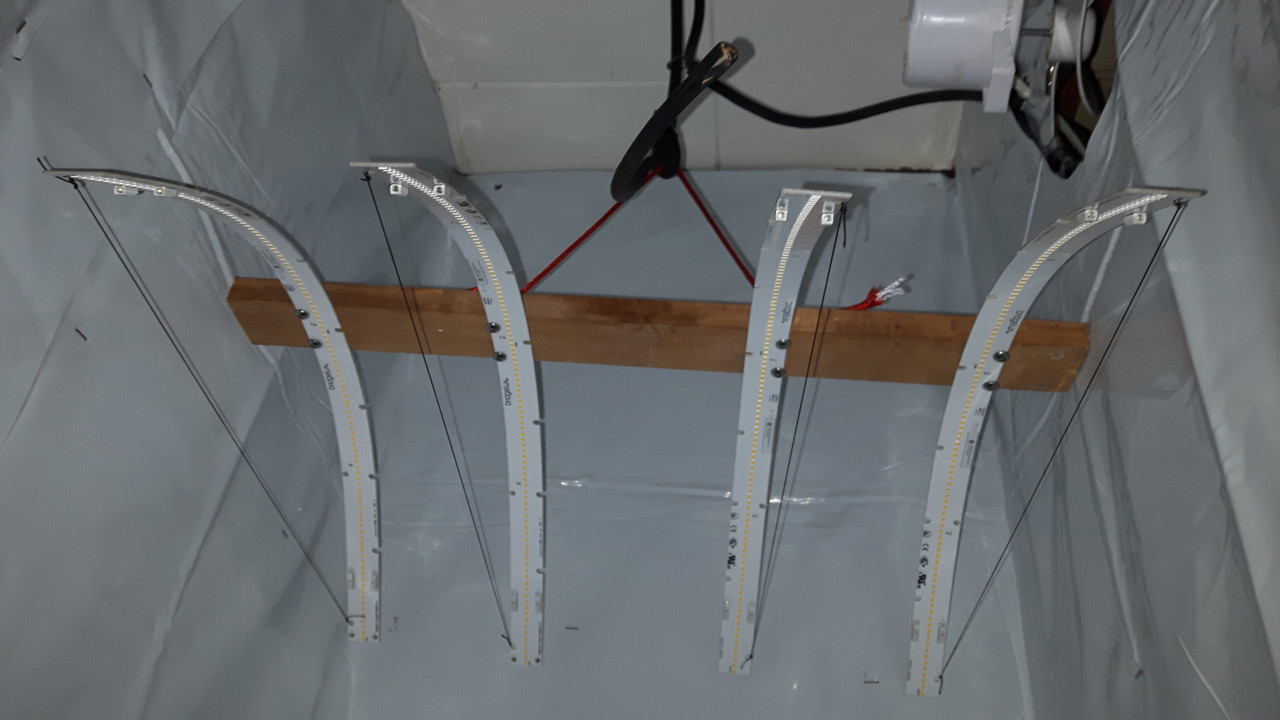
I made a frame for my four 2' strips and tied them up with fishing line to bend them so they fit.
I'm going to remove the milk crate that the cooler was sitting on to give me more headroom for my lights and fan.
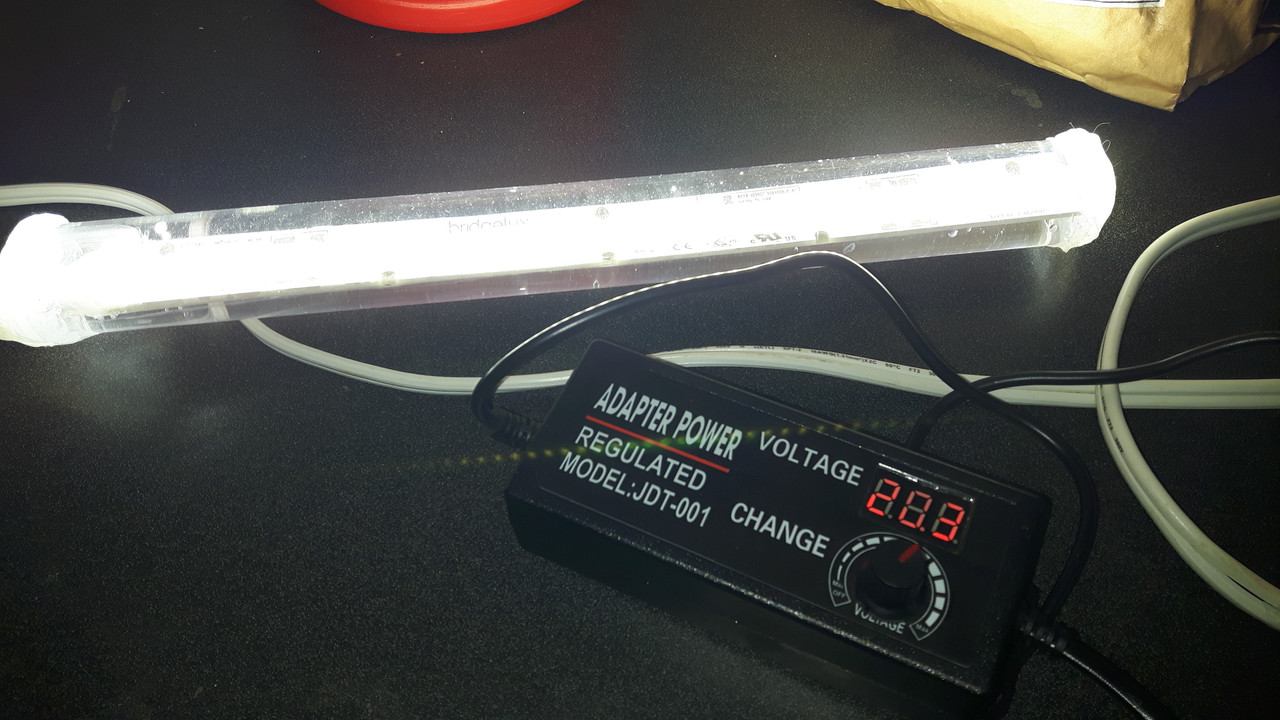
I've decided to solder wires right to the strips.
The stranded wires need to be soldered anyway because they don't clip into the strips securely so I'll just solder them right to the board.
I've got all the panda film installed, now it's just the 1' strips and all the wires.

I decided to switch all my lights to the strips and skip the SILs, so I can do all the wiring of both drivers, the timer and the contactor all in one shot.
I made a frame for my four 2' strips and tied them up with fishing line to bend them so they fit.
I'm going to remove the milk crate that the cooler was sitting on to give me more headroom for my lights and fan.
I've decided to solder wires right to the strips.
The stranded wires need to be soldered anyway because they don't clip into the strips securely so I'll just solder them right to the board.
I've got all the panda film installed, now it's just the 1' strips and all the wires.

PCBuds
Well-known member
I would suggest a second piece if fishing line on the lights, in case one breaks.
Yea that's a good idea.
It'll be easier to tie on a second one.
It was hard to hold the curves all the same and tie the knot with one hand without it slipping.
PCBuds
Well-known member
Ok bending the light strips with fishing line is super clever, not gonna lie.
Thanks, ... I was kinda stumped for a while.
I was originally going to install them vertically then changed my mind and bought 26 one footers.
I just kept playing with them and realized they would bend enough to fit horizontally.
It kinda beams the light towards the middle too.
I was turning this project into a huge ordeal inside my head, so I kept putting it off.
I just needed to get started, now it's coming along smoothly.

