kovenant
Member
I was asked what materials I used and how I designed the mufflers for my vortex fans. I thought I would share it for anyone interested. I noticed a good 30% in noise reduction by applying a simple and pretty inexpensive (around $30) solution in my attic.
You will need to buy:
1x 8" hard duct
1x 6" to 8" reducer
2x 6" starter collar
4' by 4' (or 4' by 6') Machine Cloth (Mesh)
Wall insulation or polyfill batting (like in pillows or stuffed animals)
Steel Tape
Step 1:
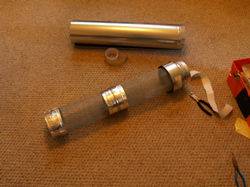
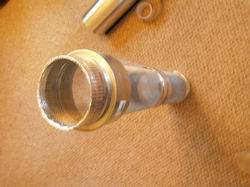
Roll the Machine Cloth into a tight 4' long cylinder, then slide it inside the 6" starter collar(s) and the 6" to 8" reducer - 6" part of the reducer facing out - and let the mesh expand so it opens fully inside of the collars. I used an extra collar to support the middle (you could do without the collars, but they make it easy to size it correctly - and make it a bit more stable.) Use steel tape to fix the mesh to the collars.
Step 2:
Attach your 8" hard duct to the 8" side of the reducer. You will now have an 8" duct with a 6" mesh duct running through the inside of it.
Step 3:
I used wall insulation... but polyfill batting works just as well. I wrapped the insulation around the 6" mesh cylinder and then slid the entire thing into the 8" hard duct. If using polyfill batting, I would suggest just stuffing it between the two ducts once you have completed step 2. If you are not using batting, and have something you can roll out - it is easier to roll it around the 6" mesh duct and then just slowly slide it in making sure it doesn't kink or group up. Use the steel tape to fix the 8" duct to the reducer and you're all done.
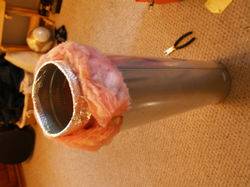
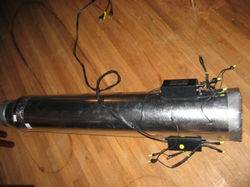
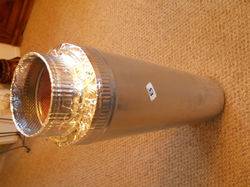
This is the side that connects to your vortex
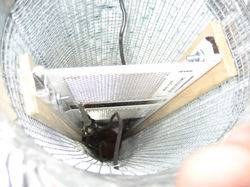
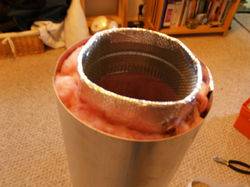
and this is the side you can aim anywhere into your attic or direct toward an outside vent
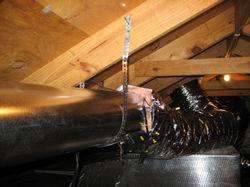
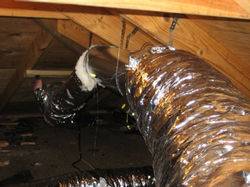
once installed it should look something like this:
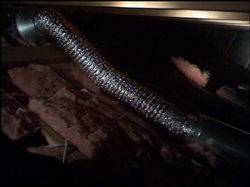
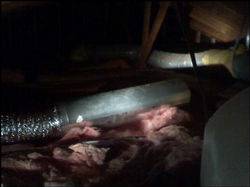
Hope this helps anyone looking for an easy, cost effective way to help muffle sound. Using bungie cords to suspend the fan in the attic helps as well!
You will need to buy:
1x 8" hard duct
1x 6" to 8" reducer
2x 6" starter collar
4' by 4' (or 4' by 6') Machine Cloth (Mesh)
Wall insulation or polyfill batting (like in pillows or stuffed animals)
Steel Tape
Step 1:
Roll the Machine Cloth into a tight 4' long cylinder, then slide it inside the 6" starter collar(s) and the 6" to 8" reducer - 6" part of the reducer facing out - and let the mesh expand so it opens fully inside of the collars. I used an extra collar to support the middle (you could do without the collars, but they make it easy to size it correctly - and make it a bit more stable.) Use steel tape to fix the mesh to the collars.


Step 2:
Attach your 8" hard duct to the 8" side of the reducer. You will now have an 8" duct with a 6" mesh duct running through the inside of it.
Step 3:
I used wall insulation... but polyfill batting works just as well. I wrapped the insulation around the 6" mesh cylinder and then slid the entire thing into the 8" hard duct. If using polyfill batting, I would suggest just stuffing it between the two ducts once you have completed step 2. If you are not using batting, and have something you can roll out - it is easier to roll it around the 6" mesh duct and then just slowly slide it in making sure it doesn't kink or group up. Use the steel tape to fix the 8" duct to the reducer and you're all done.

This is the side that connects to your vortex

and this is the side you can aim anywhere into your attic or direct toward an outside vent

once installed it should look something like this:


Hope this helps anyone looking for an easy, cost effective way to help muffle sound. Using bungie cords to suspend the fan in the attic helps as well!


