What's new
  • As of today ICMag has his own Discord server. In this Discord server you can chat, talk with eachother, listen to music, share stories and pictures...and much more. Join now and let's grow together! Join ICMag Discord here! More details in this thread here: here.

DIY automated humidity controlled drying box

malendro

Member
This is what becomes the box, but you can do this to any vessel.


This are most of the materials


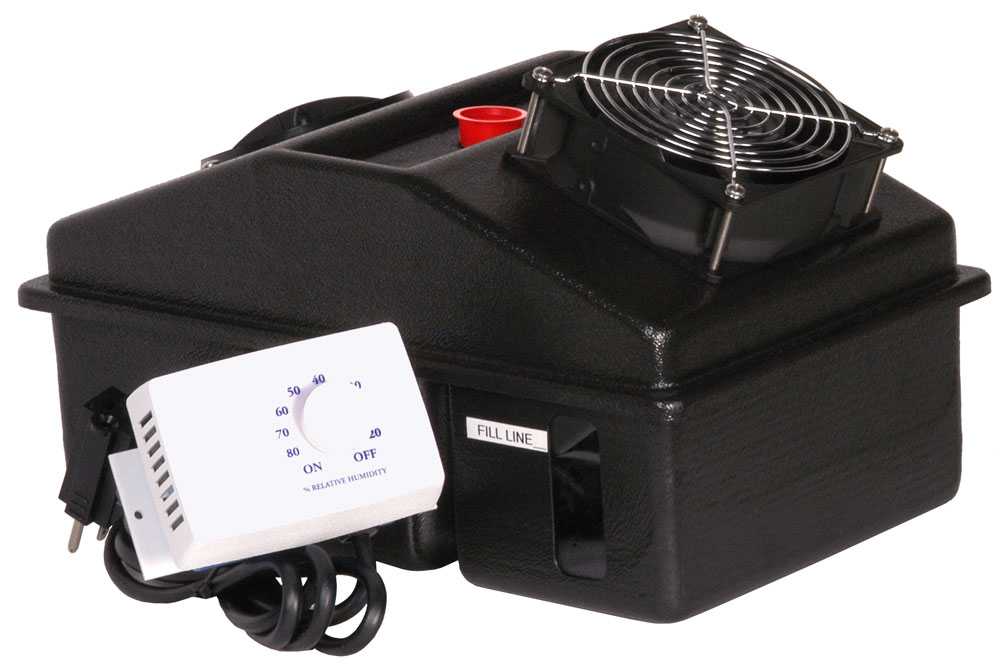
The controller was $25
The big tote was $27
White extension cord $2
Assorted fans maybe $7 each
Piece of wood $2 (not shown)
12v power for fans maybe $15 (mostly recycled)


Here is the only hole, cut with a hole saw and a trusty drill, for a 92mm Delta fan pushing 52CFM.

The fan was covered on the inside with some felt acting as a blade guard and light trap.


Small holes are drilled and the string is threaded, all the fans also get some kind of blade guard and are secured with Velcro or hanged.

The wooden piece is used to keep the stings in tension and reduce the flexing of the plastic container.


This is how everything looks fully assembled.

The extension is cut in two to provide both the input and output for this controller (this one is 110V, although the same controller comes available as 220V, 24V, or 12V) depending on your preference.
 

One Love 731

Senior Member
Veteran
I use a similar method of drying. I use a 5x5x7 tent with an 8" fan/carbon filter combo. Air is pulled out the top and enters through the bottom. I use a speedster, a timer and a humidstat to control the speed of RH% decrease. I find 8-10 days usually off gases the chlorophyll best. The outer room is kept at 55% so it rarely if ever goes below. I'm sure there is a better controller on the market but for now it works. I was thinking about adding one of these, a large humidor humidifier for those that cant see the link.
hs1_Humidifier_large.jpg

for post trim or just to bump the humidity for a higher quality trim. Drying/Processing is a huge part of quality. Thanks for sharing and keep up the good work. 1:ying:
 

malendro

Member
Hygrometer accuracy and calibration

Hygrometer accuracy and calibration

I stuffed every device I have that can read humidity in the box and I am concerned to have differing read outs of humidity in each of my meters.

Honeywell Outdoor Remote Sensor for Home Thermostat: 68F 50%RH

Temperature and Humidity Meter for USB data logging: 67.3F 34%RH

Any-brand Controller for drying box: 60%RH

Caliber hygrometer: 67.7F 51%RH

What do you guys do to calibrate this things? What do you trust?
 

Dropped Cat

Six Gummi Bears and Some Scotch
Veteran
As some units advise against the salt method for calibration,
for instance the Caliber, I use the "One Step Calibration"
from Boveda.
 

malendro

Member
Didn't get your advice in time

Didn't get your advice in time

I had left two of my hygrometers in a salt test overnight and this are the results

(25$US) Caliber 3 : 75%RH (on the spot according to the test)
(50$US) Honeywell remote outdoor air sensor: 68%RH


Note that this two hygrometers cant be calibrated.

The other two hygrometers: The dry box controller and the THUM data logger where calibrated to match the reading on the caliber 3.
 
I don't care much for digital hygrometers. They seem a little wonky unless you pay a little extra. I just use a $3.00 regular Thermo/Hygro metal meter. Red and white line thermometer (not the one your bunghole was afraid of as a child and you got sick), and the circular chart type hygrometer. It's pretty accurate as far as I can tell.
 
Hi, I'm trying to build something similar and I was wondering if you managed to automatically control the fan speed. Now I can only control the fan manually with a dimmer but often I'm not home so I was looking for a controller that adjusts the fan speed according to the humidity sensor, any tips?
 

Latest posts

Latest posts

Top