What's new
  • As of today ICMag has his own Discord server. In this Discord server you can chat, talk with eachother, listen to music, share stories and pictures...and much more. Join now and let's grow together! Join ICMag Discord here! More details in this thread here: here.

Mitch's Auto Adventure......

mitch_connor

large member
ICMag Donor
Veteran
Late Spring / Early Summer:

After greenhouses were built, it was time to start filling them up! This first season was a big testing bed to experiment and see what was possible, how the climate was, how the plants performed in various places etc.

We did the following,
Test native soil in pots and beds,
test various pots (smart pots, airpots, standard square and round pots of various sizes, Pre-bought Growbags of various sizes,
Making large grow bags from Soil Bags,
Different soil mixes,
Soil recycling,
Plants inside transferred outside,
plants outside for the duration,
Plants brought inside to finish.
We monitored feeding/watering frequency,
Tested various nutrients,
Made self watering systems,
Saw what vermin/insects and pests there were,
Recorded dates of when photoperiods started to flower, and importantly the key periods for best AF growth
Temps/humidity etc

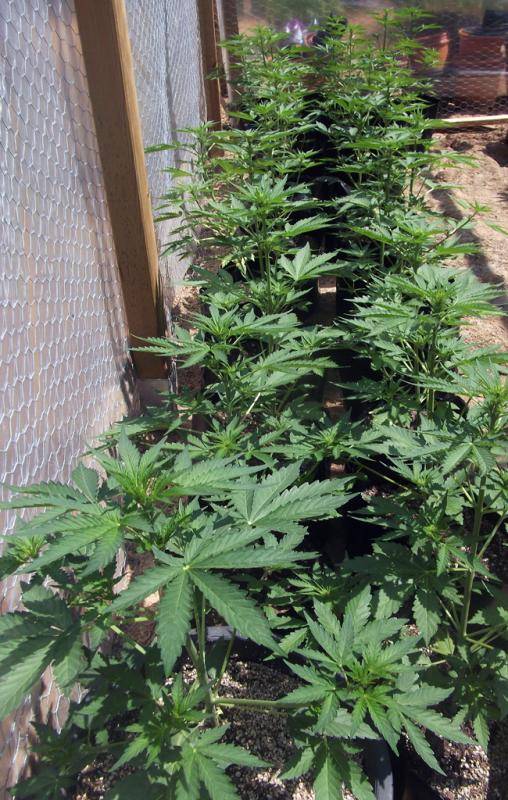
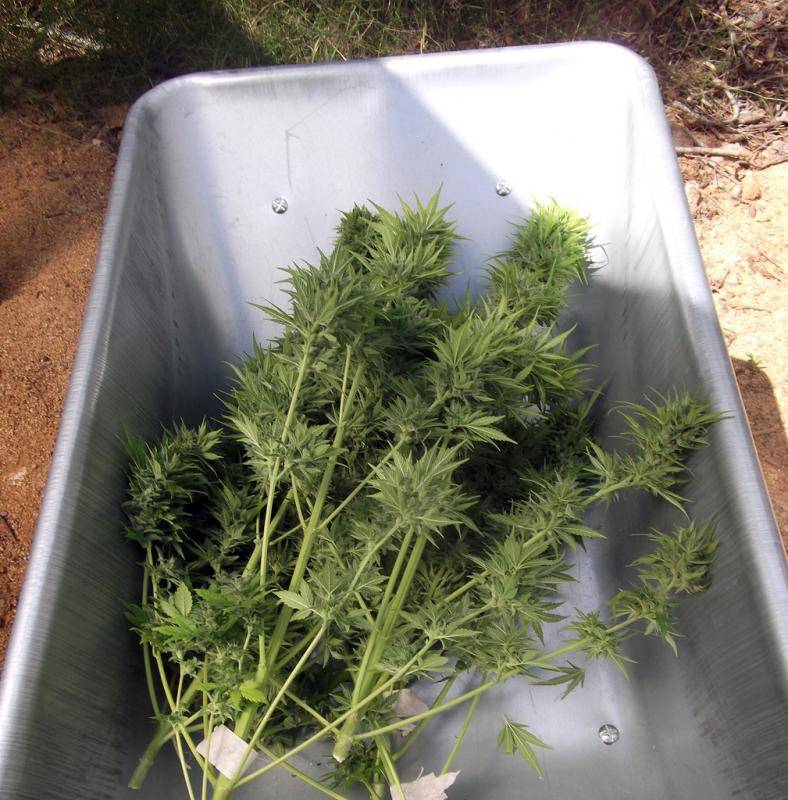
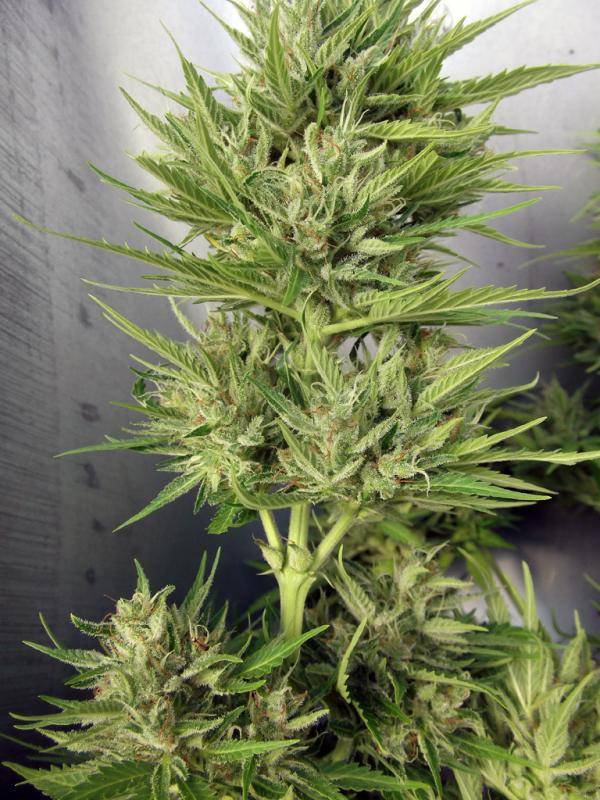
We put a few AF's outside in Mid-April as a test, (started inside until they sexed) the weather didn't really turn good until June here, Trust us to come and experience the wettest, coolest Spring since the 1890's. Still, can't shake a stick at some free buds to smoke.
picture.php


picture.php


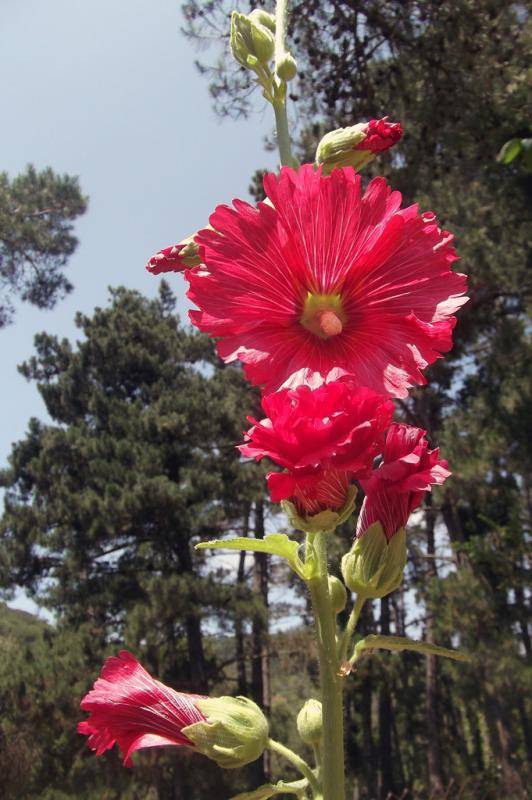
The sunshine also brought about lots of other pretty flowers around the property, Also our cacti flowered twice over the season, briefly but nicely, something I hadn't seen before.
picture.php


1 greenhouse starting to fill out:
picture.php


To be continued soon, cheers all.
 

mitch_connor

large member
ICMag Donor
Veteran
A joy of a thread!
I just love to see a man turning his dreams into reality.
Well done Mitch and if you need anything i´m just around the corner.

Hi Paulo, good to see you here :)
I've missed my icmag buds
I hope life is treating you well these days!
 

uptosumpn

Active member
Veteran
WOW! what a mission!!! absolutley insane! Love It! looks like something I wanna do back home in jamaica...inherited 50+ acres, hills and valleys with two rivers!! Anyways whaaaaaaaasuuuuuuup! mitch?!! this is what happen when I leave??.....LOOONG STORY! ,not like yours tho...excellent reading....finished a whole splif...holla @ me....one love!
 

mitch_connor

large member
ICMag Donor
Veteran
Mid Summer:

Here is a greenhouse that filled out, we had started and pollinated some plants inside, and they were brought outside to finish for 4-5 weeks to allow seeds to grow and mature.
Others had been outside from sexing, that weren't selected either to be pollinated or reversed and these would go towards the smoke or hash pile.
The 5-6 litre square pots that we often used indoors for tents, were way too small for outside use, they dried out too fast to keep on top of during periods of really warm weather.
picture.php


After the greenhouses were built we had a little time to start improving them and developing them, below we ran a power cable up to the plot to allow the pump for feeding, and oscillating fans within greenhouses to be used.
picture.php


Here are a few close up shots of some different pollinated autos at that period:
picture.php


picture.php


cheers :)
 

mitch_connor

large member
ICMag Donor
Veteran
Later on in summer, the greenhouses had been smartened up a little with some numbers!
picture.php


At this point we were exclusively using 13-18 litre growbags, after sexing transplant.
Some of these Auto's were started indoor and were a little stunted due to some very high temperatures, whilst we were getting aircon in order for our mainroom, however raising decent plants indoor during a spanish summer, I was pretty happy with the way the growroom design and lights on at night was working out.
picture.php


Here's an auto from a different greenhouse, further along the cycle:
picture.php


And, no rest for the wicked, here was the second outdoor plot we started to develop at the bottom of the property as a test
picture.php


ta for now,mitch
 
Last edited:

mitch_connor

large member
ICMag Donor
Veteran
When everything was in full swing, and problems were under control (relatively), we had a week where the main water pump for the house broke and it took a little head scratching and ingenuity to rectify,
We were able to have a play with some things, have a crack at pressing the kief for example:
We played around with tubes, heating them, with another plunger in the middle and a metal plate, but the best way we found was with this:
picture.php


Which produced around an ounce, square piece of pressed hash.
The hash on the left was after a few attempts, the kief was heated in a metal tin on the stove gently, with a little alcohol added to help it stick together. It became nice and sticky and held together well for the duration until it was all smoked.
The hash on the right, was an earlier attempt, and although it will keep its shape, it breaks apart and crumbles quite easily. It was fun to try.
picture.php


It was our second run in the main indoor flowering room, and although not fully dialled in, we had made improvements and the second run was vastly smoother than the first. A couple of images from plants at the time.

Our C99 cut
picture.php


Kromes the white, fertilised with OG Ghost Train haze pollen
picture.php


Here is an small introduction to our company.
picture.php


Cheers for now, Mitch
 

mitch_connor

large member
ICMag Donor
Veteran
When the first batches of pollinated plants were ready in summer, the were chopped, stripped and introduced to Tim's new creation: The De-seed-a-tron 3000 v2.0

You perhaps wouldn't imagine it at first, but de-seeding in mass, has actually been a big and tricky process to figure out.
In winter we spent 12 hour days sat at our dining table for what felt like an eternity de-seeding several tents worth of buds, needless to say, it was a very labourious and monotonous process, we didn't want to repeat anytime soon!. When it came to summer time and tents were replaced with greenhouses' worth of buds to de-seed we were really scratching our heads about what to do.

We tried to think how on earth the big companies do it, it either had to be whole groups of people employed doing it by hand the same way as us.., or it was a mechanised process.
neither of those were really a viable option as expense and security is always a concern.

We had done all this processing shortly before Spannabis, so at Spannabis in Barcelona, we tentatively asked some questions to seed companies who had stands. (Not knowing if it was a trade secret people would keep close to their chests or not) Two people that we discussed the process with were Scott from Rare Dankness who we met at a friends house briefly, and Eric from Humbolt Seeds. (both good guys!)
We borrowed some ideas from each of them and settled on a method of our own to use when the next seed harvest was due.

There is a lot of work here for two guys, so any methods we can employ to speed up processes and our efficiency are a complete godsend.
So if anyone is interested to see, here's a brief step by step of what we do. I'll try and get my best Blue Peter style of writing on :)

Step 1) Plants with visibly mature seeds (lower and upper buds are checked) are brought onto the outside table. Here they are stripped of all fan leaves apart from ones with traces of resin on. The buds are then snipped off the plants and go into a work bag, and on to a drying tray shortly after.

For display purposes here they were placed onto a large paella dish! It may not look like much, but here is the seeded wet flowers from around 16 AF females.

picture.php


Step 2) Dry until buds are dry and crumble very easily. inside and out they must be dry! Over dried in comparison to usual curing and then smoking practices.

They will look like this:
picture.php


and here is a close up of the buds containing mature seeds:
https://www.icmag.com/ic/picture.php?albumid=49452&pictureid=1166466

Step 3 - (sorry no image) The buds are placed into a 110 micron bubble bag, and are crushed by hand so to not damage seeds until we have a fine green powder. this is done over a large glass table so any crystals that make there way through the bag can be scraped with a credit card and saved to be pressed at a later date.

Step 4 - Introduce your crushed product to a de-seed-a-tron! It is wooden framed with aluminium mosquito mesh attached, and angled so the seeds roll down into a collection pot. It has a hinged top panel where the powdered greenery is sprinkled on to, gravity lets the seeds roll down whilst the plant matter sticks to the mesh and is then tipped into a collection tray, a small handful works best otherwise the mesh gets clogged and seeds are trapped.

picture.php


picture.php


to be continued...
 

mitch_connor

large member
ICMag Donor
Veteran
...Continued: The process.

A decent handful of Pre-ground material is slowly sprinkled and released at the top of the screen.
picture.php


The plant matter(95%) will stick at the top half of the machine, and the seeds roll and bounce under gravity down to the bottom and fall through the slot into the collection pot
picture.php


The screen is checked for seeds in case any got caught and stayed at the top. When all is clear the top screen is flipped on it's hinges and plant matter falls and can be brushed so it falls into the trim collection tub.
picture.php


When the batch is processed, the collection pot will look something like this:
picture.php


Some immature seeds will make it through, and also some seeds will still have their husks attached, however it's perhaps only another hour to remove them and have them completely cleaned.

It has drastically reduced the time taken from 1-2 days to more like 1-2 hours for a batch this size. The process needs some tweaking and ideas are already flowing for version 3.0, but right now we are happy boys!

Hope you enjoyed. Cheers, Mitch and Tim.
 

mitch_connor

large member
ICMag Donor
Veteran
I love the de-seed-a-tron.
Well done Mitch.

Thanks my friend, it served us very well this summer. If not for that we would still be de-seeding at christmas :)

A nice member also sent me a link after viewing this thread to a professional de-seeding machine in action, that I think we can DIY very easily and using parts we already have here to hand.

So keep an eye out for that in future.

Cheers, Mitch
 
Last edited:

mitch_connor

large member
ICMag Donor
Veteran
These photos were taken the 3rd week of august:
You may remember on a previous page I showed a lower plot that we cleared.
We had some spare reject photoperiod plants that we threw outside and they ended up on this plot.
They were really given no special attention, and were moved down there already a week or so in to flower. So anything they produced was purely a bonus.

picture.php


picture.php


The ground was just too tough and too large to work by hand, there is a thin layer of natural mulch, but below that is pretty much pure clay.
Next spring we will get a roto-tiller and go over the plot several times to see if we can get plants properly into the ground. I think a large raised bed is the way to go Or alternatively have less plants and have a crack at diying some large smart pots.

At the same time, here were some AF plants in the greenhouse with seeds ready about 10 days from these pictures:
picture.php


picture.php


Catching up to present slowly :)
Cheers, Mitch
 

paulo73

Convicted for turning dreams into reality
Veteran
Can i ask you what kind of feeding&adds did you guys used?
I like the idea of the roto-tiller, maybe you can do it during the winter and incorporate all the available weeds as green mulch and maybe even add some kind of manure.
Next year you´d just need to use the roto-tiller again before bringing on the girls.
I got a similar plan for my own gg plants so i´ll keep my eyes peeled to learn a few tricks with you guys.
 

mitch_connor

large member
ICMag Donor
Veteran
Paulo, the base this year was once used biobizz lightmix, as we were using it for the indoor grows throughout the year,
We broke it down, and removed roots from the previous plants, We amended the soil with worm castings, bat guano, perlite, dolomite lime, and to fill it out some more, we bought some mantillo, and recebo.. cheap composts from the DIY store.
Next year we have enough soil to negate the store bought soil, and will just be able to mix and leave.
If we can afford to get a roto tiller, then as you say, going over it several times at different intervals would allow the roots to penetrate. However we would need a pretty beefy one.
I can see us doing the raised beds, I think if the clay is turned over and then covered it should keep the moisture in nicely.
I think the key will also be having suitable strains, despite it being spain, That area is at a valley floor and it gets very humid down there, so mould is a concern.
I don't know if it's the norm but this year we had a very stormy few weeks in September, If it's possible I would want all plants harvested before that time to avoid problems.

Cheers, Mitch
 
Top