I just made a new light trap intake vent for my flower room. It is easy to make and only uses the following.
Tools: Razor knife, Speed square, Tape measure, Pen, Hot glue gun.
Materials: 1/2 inch foam, Metal duct tape, Hot glue, Black spray paint
OK to start you need to decide how big you want it. Mine is 1 foot by 2 foot. I will not include dimensions as this is pretty easy to do once you see the pictures.
First you start by making the base it is hot glued together and looks like this.
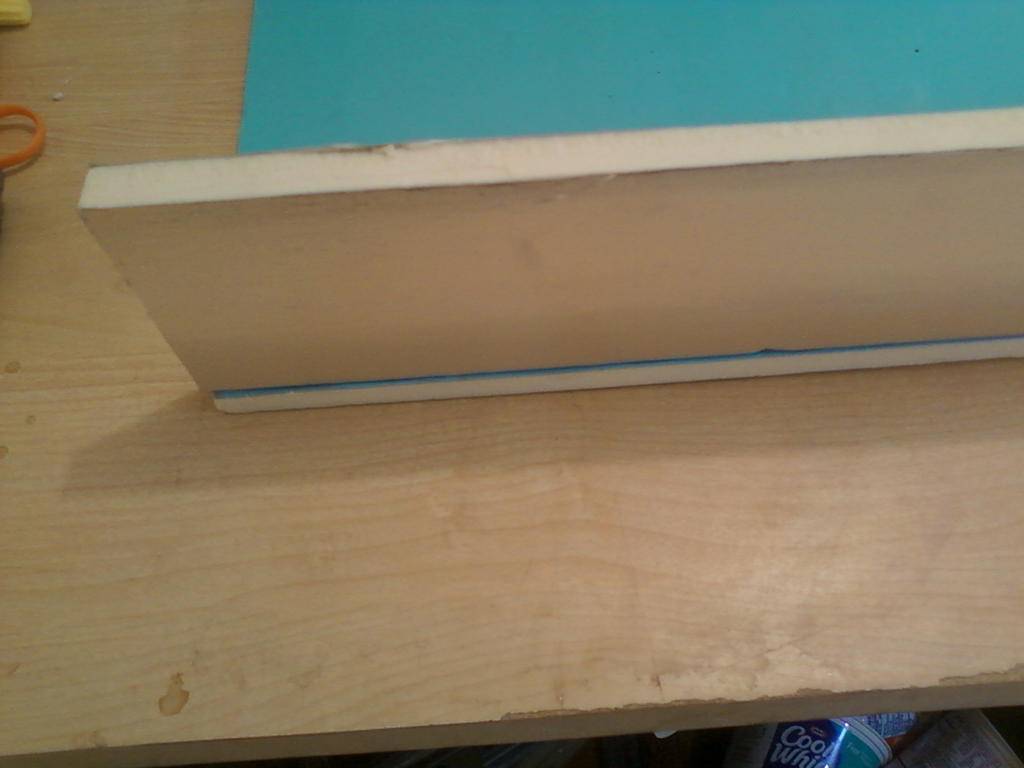
Once it is glued on seal it with the tape to block light from getting through the cracks like this.
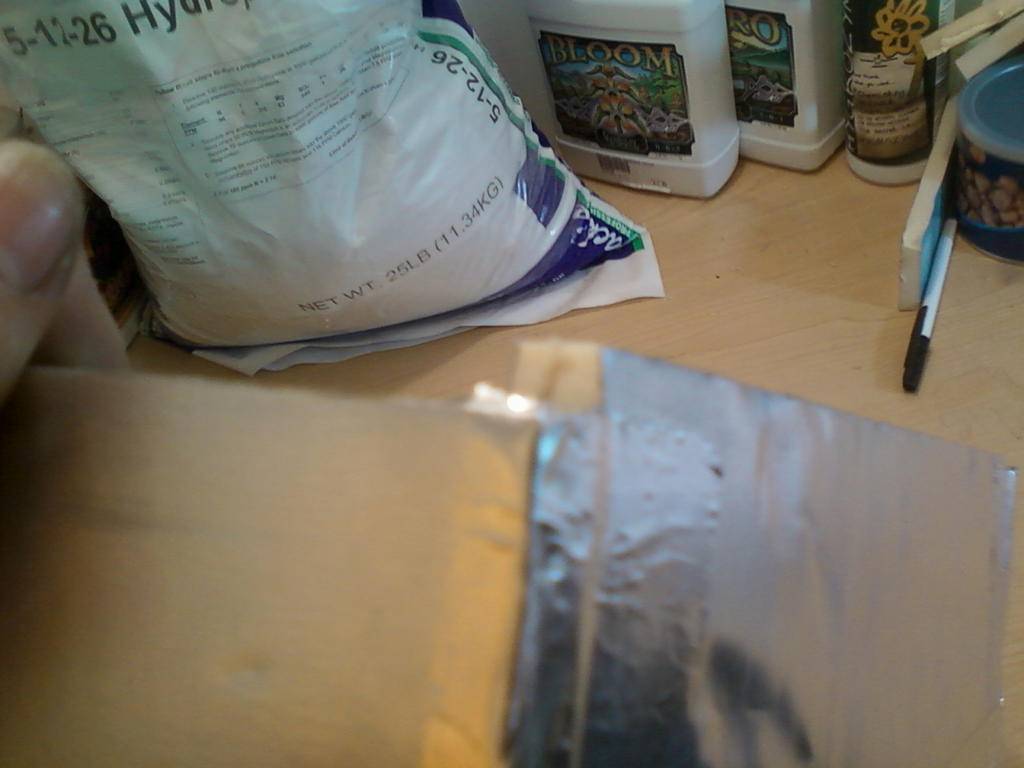
Then you attach the ends and make a box like this.
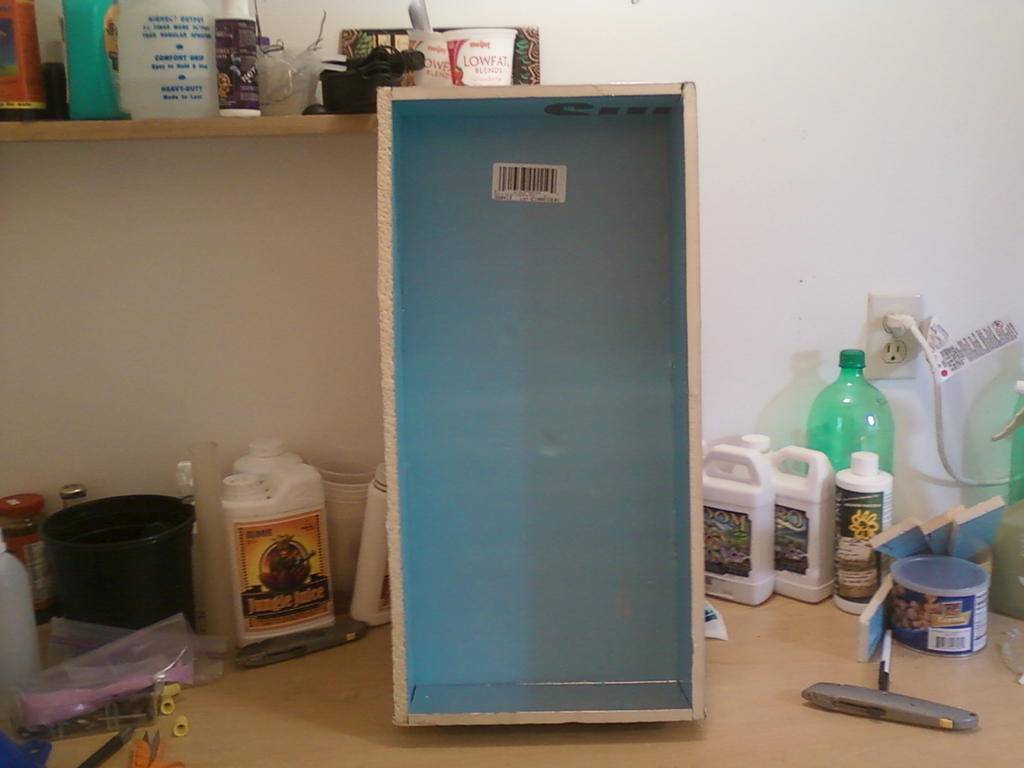
Next cut four strips that are slightly bigger than half the depth of you box. They will be installed like this picture shows.
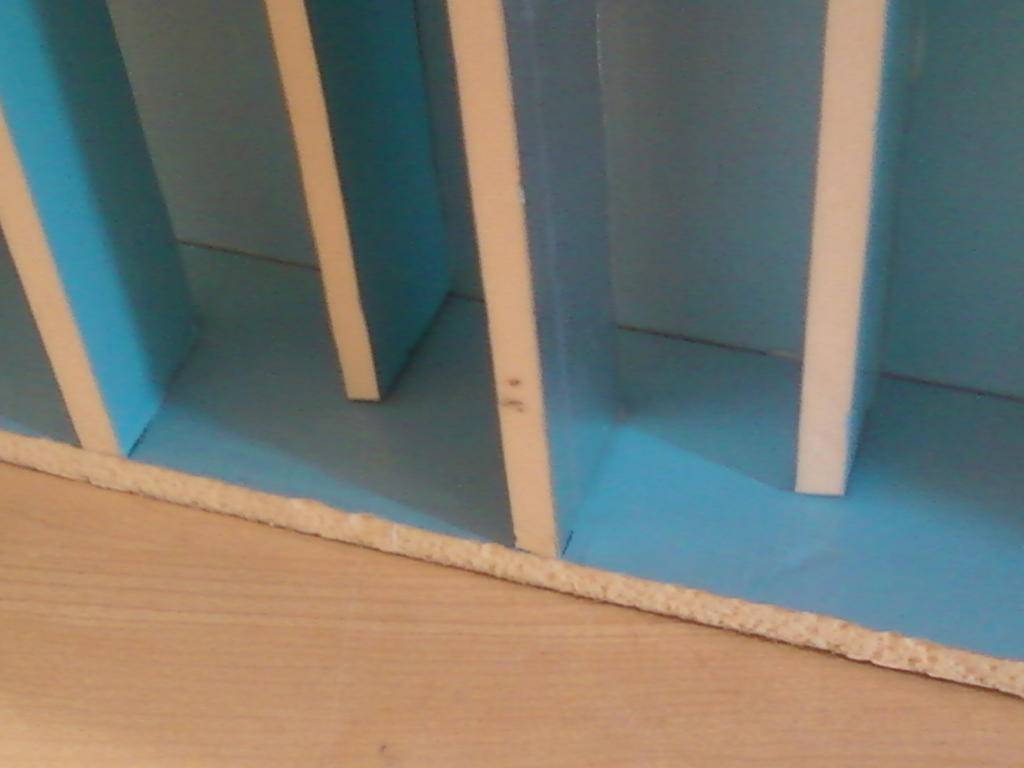
As you can see they are staggered up and down. Because of this the light can not get through the trap. After you have them cut you need to measure your distance for placement. Mine are 2 and 1/2 inches apart starting 8 inches from the end.
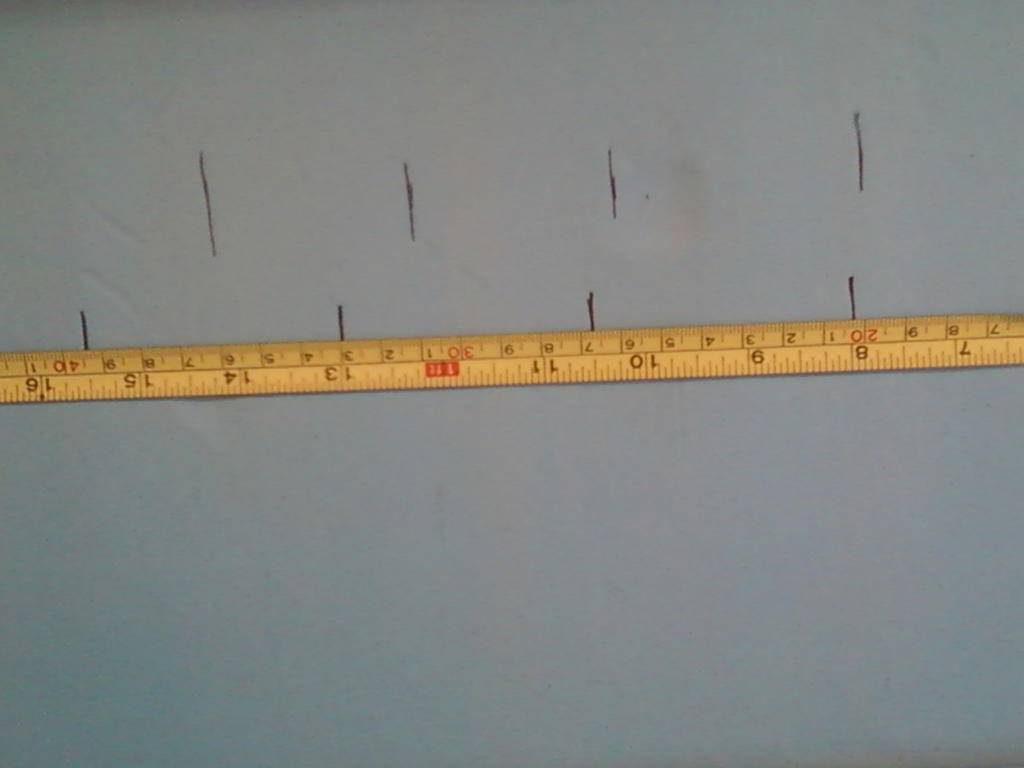
Once you measured them out install the two bottom pieces with hot glue on the bottom side only. It will look like this here shows.
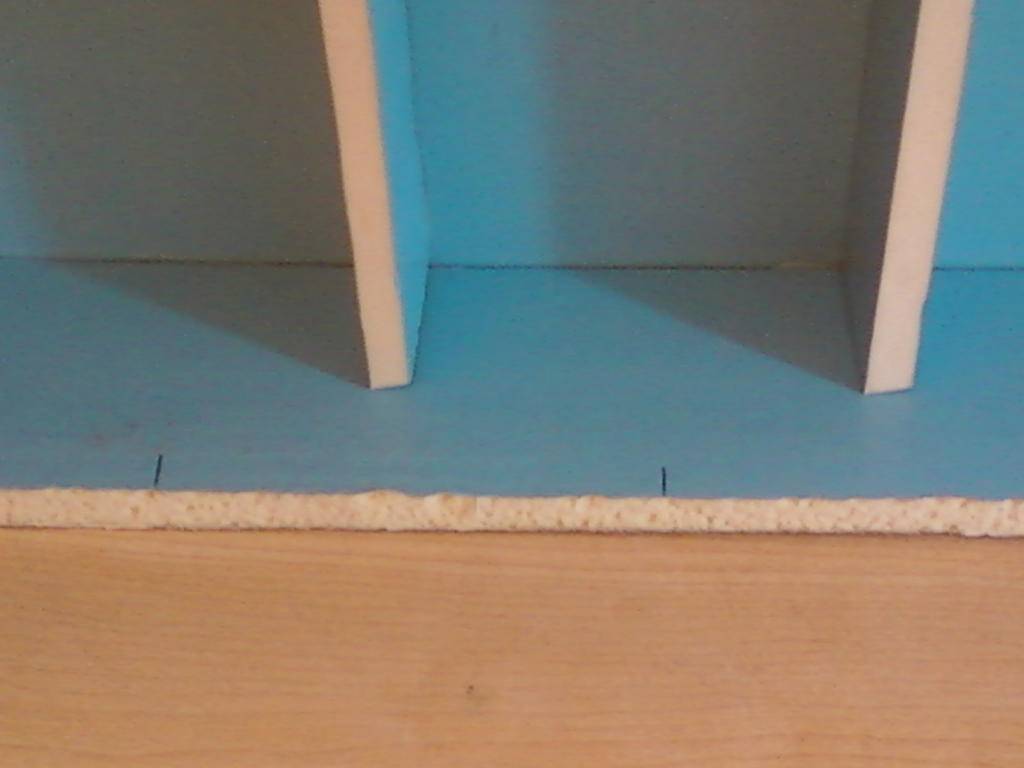
As you can see I have marked the sides for the other two pieces. These two will not be glued but instead taped on the ends. I find it is easier to put tape on them and bend it back like this.
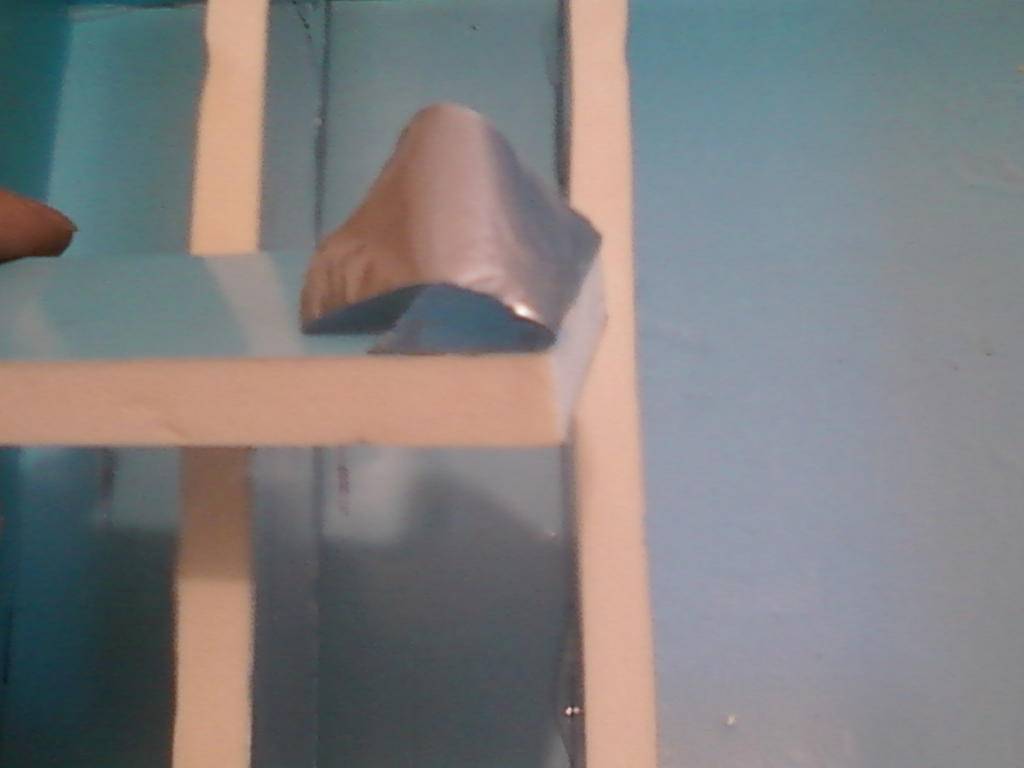
Then you place them in the box and swing them in place and press the tape down snug.
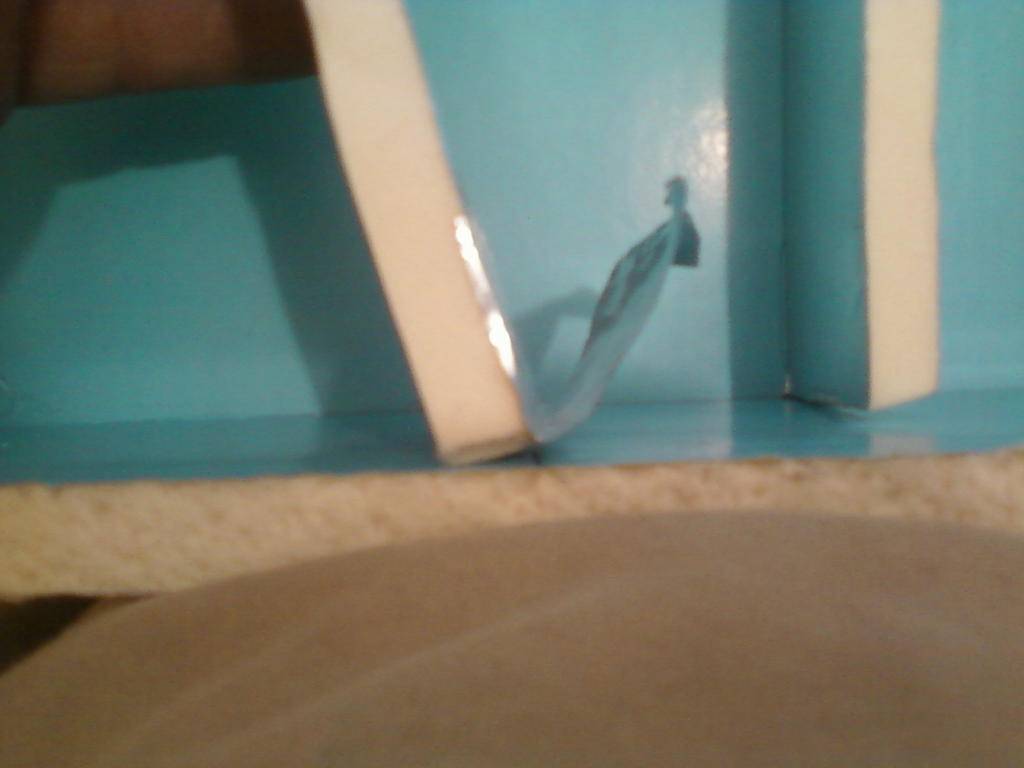
Next you tape all the pieces to make the box light tight like this.
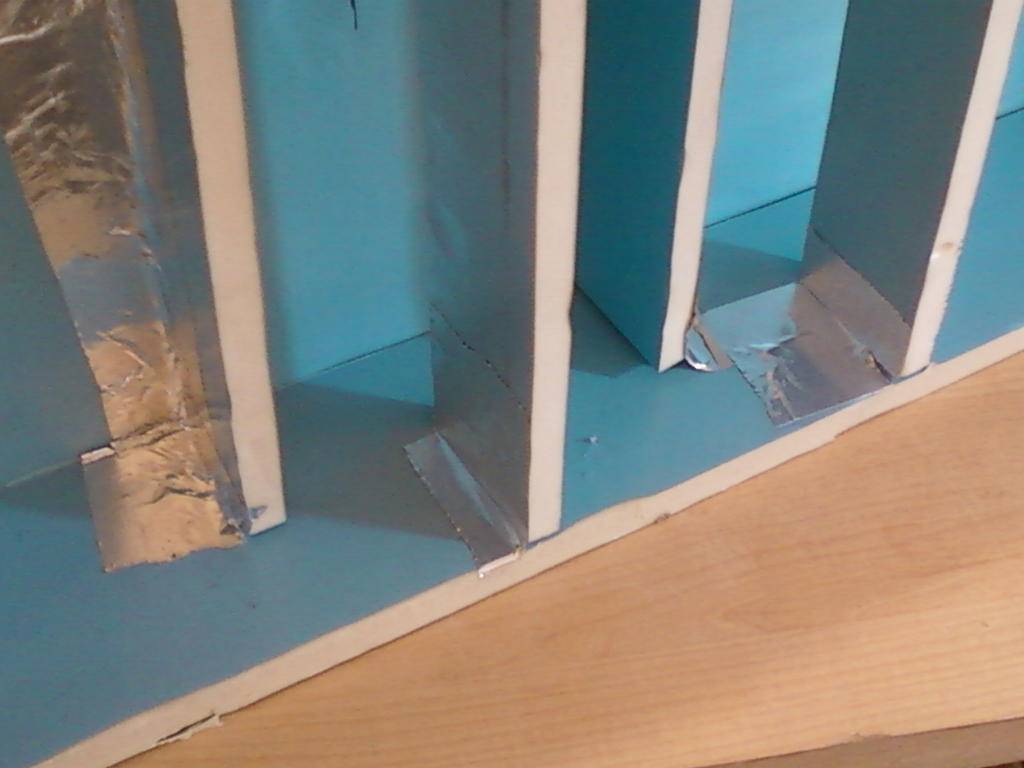
Once you have all the seams taped you paint the inside flat black.
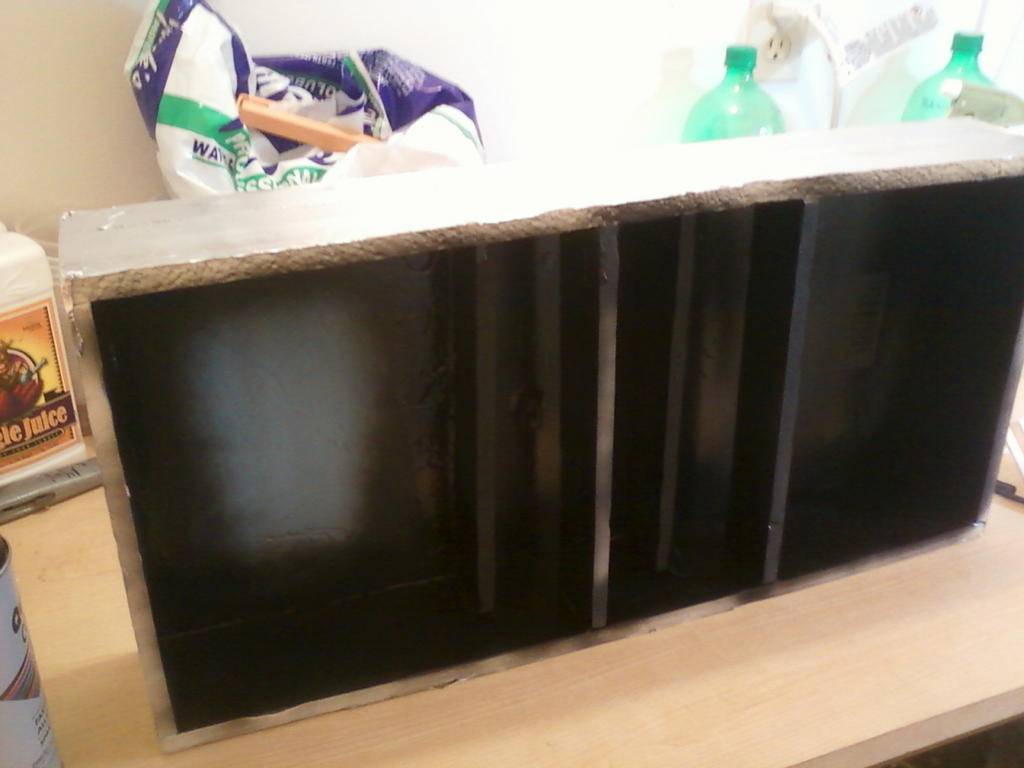
Now it is time to install the vent. I start by marking the wall for the vent by placing the vent next to where I want it to be. Then I just mark it out.

Once this is done you need to cut a hole in the wall. Using the now marked wall I keep my cuts just short of the edges of my vent box marks. Remember that eight inches when I laid out the center dividers. Well that is how much I can cut out now. My walls are made with the same foam so the hole is easy to cut.
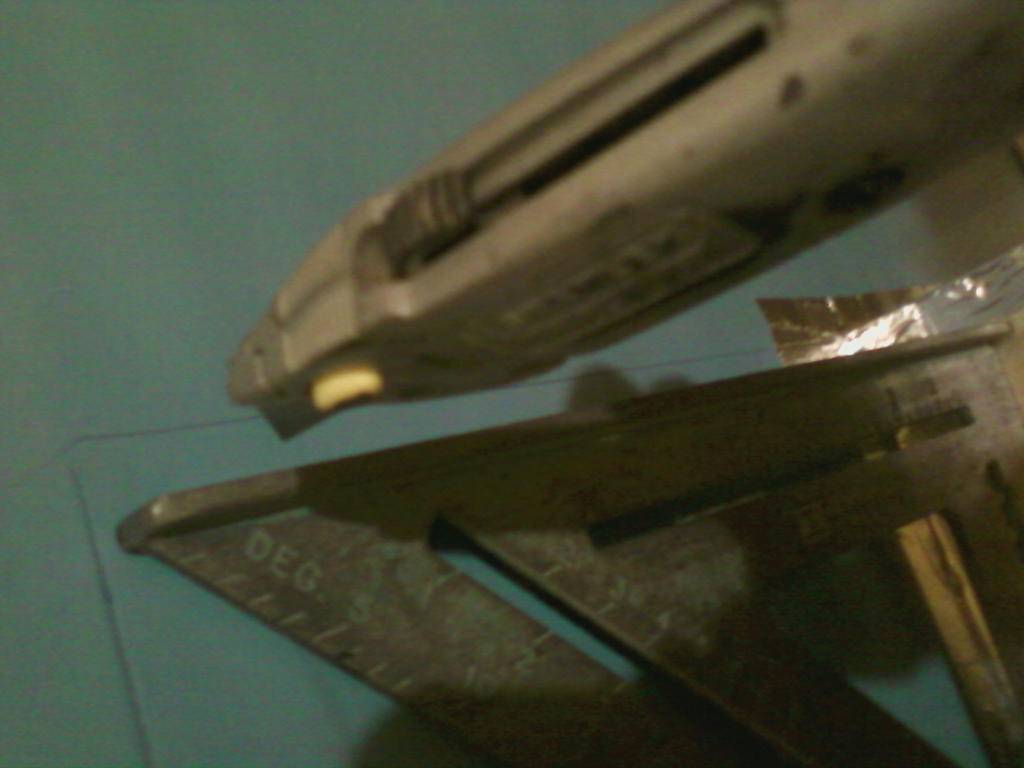
I cant show the hole cut out as this room is in the dark phase. here is a picture from the inside of the vent below this to show you what it looks like on the inside.

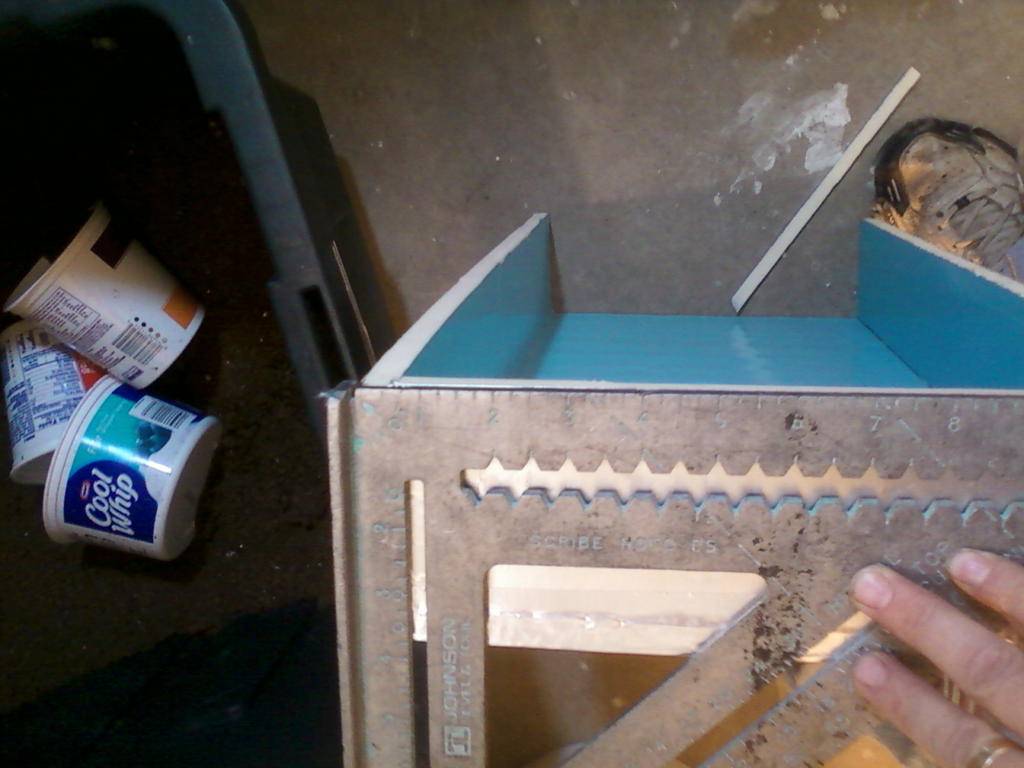
To install this I simple run glue down the edges and stick it to the wall. It is important that the side to be glued to the wall be flush. When I made this box I had one end that was sticking up. I simply took my square and a knife and cut it flush.
before
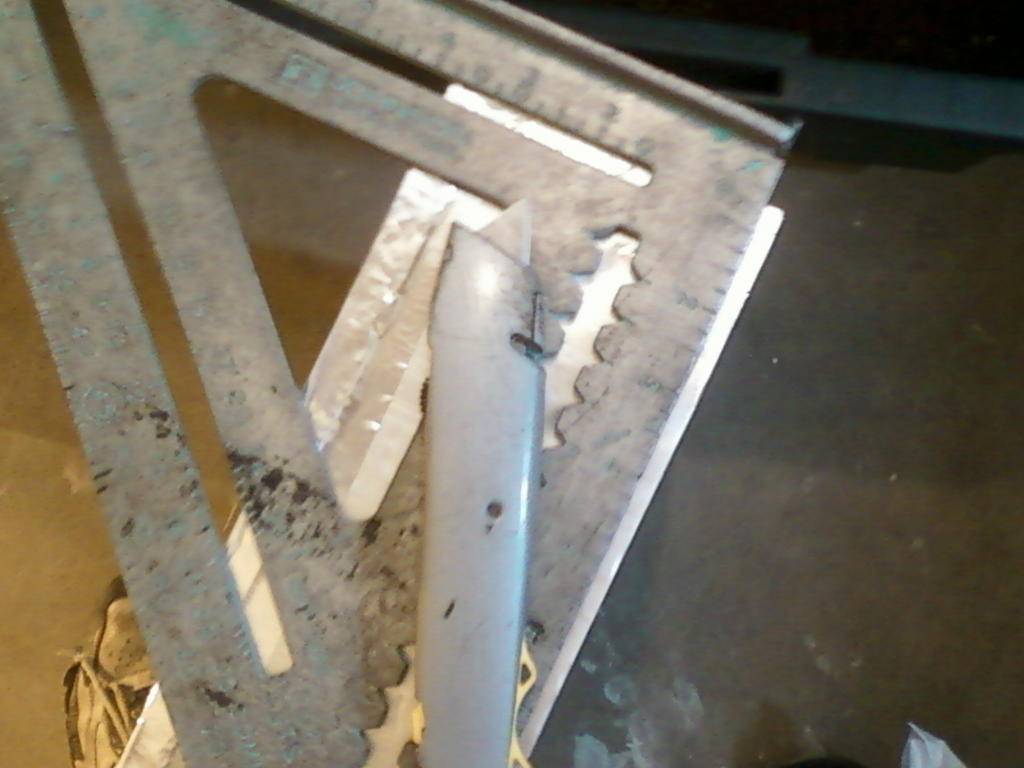
after
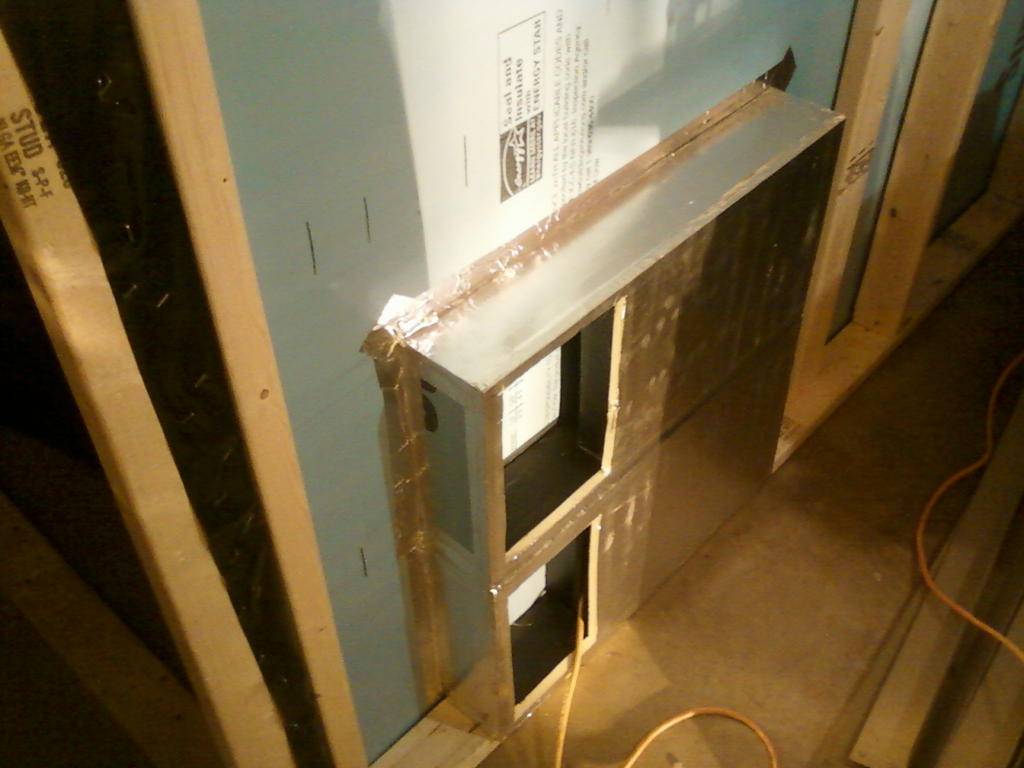
After it is glued in place I run tape around the outside edges. so it looks like this.
One thing to keep in mind when making this is that the cuts don't have to be perfect. They will get covered by the tape. Best of luck with your light proof vent.
Tools: Razor knife, Speed square, Tape measure, Pen, Hot glue gun.
Materials: 1/2 inch foam, Metal duct tape, Hot glue, Black spray paint
OK to start you need to decide how big you want it. Mine is 1 foot by 2 foot. I will not include dimensions as this is pretty easy to do once you see the pictures.
First you start by making the base it is hot glued together and looks like this.
Once it is glued on seal it with the tape to block light from getting through the cracks like this.
Then you attach the ends and make a box like this.
Next cut four strips that are slightly bigger than half the depth of you box. They will be installed like this picture shows.
As you can see they are staggered up and down. Because of this the light can not get through the trap. After you have them cut you need to measure your distance for placement. Mine are 2 and 1/2 inches apart starting 8 inches from the end.
Once you measured them out install the two bottom pieces with hot glue on the bottom side only. It will look like this here shows.
As you can see I have marked the sides for the other two pieces. These two will not be glued but instead taped on the ends. I find it is easier to put tape on them and bend it back like this.
Then you place them in the box and swing them in place and press the tape down snug.
Next you tape all the pieces to make the box light tight like this.
Once you have all the seams taped you paint the inside flat black.
Now it is time to install the vent. I start by marking the wall for the vent by placing the vent next to where I want it to be. Then I just mark it out.
Once this is done you need to cut a hole in the wall. Using the now marked wall I keep my cuts just short of the edges of my vent box marks. Remember that eight inches when I laid out the center dividers. Well that is how much I can cut out now. My walls are made with the same foam so the hole is easy to cut.
I cant show the hole cut out as this room is in the dark phase. here is a picture from the inside of the vent below this to show you what it looks like on the inside.
To install this I simple run glue down the edges and stick it to the wall. It is important that the side to be glued to the wall be flush. When I made this box I had one end that was sticking up. I simply took my square and a knife and cut it flush.
before
after
After it is glued in place I run tape around the outside edges. so it looks like this.
One thing to keep in mind when making this is that the cuts don't have to be perfect. They will get covered by the tape. Best of luck with your light proof vent.


 . I'd rep ya, but I can't.......
