What's new

Lap Does LEDs - My DIY Quantum Board Cabinet

Lapides

Rosin Junky and Certified Worm Wrangler
Veteran
Hey everyone, it's great to get another thread going. I was forced to take a little break from growing (again!) and as a result I've downsized temporarily.

I built a 4x1.5x4ft cabinet. It's still a little rough and unfinished.
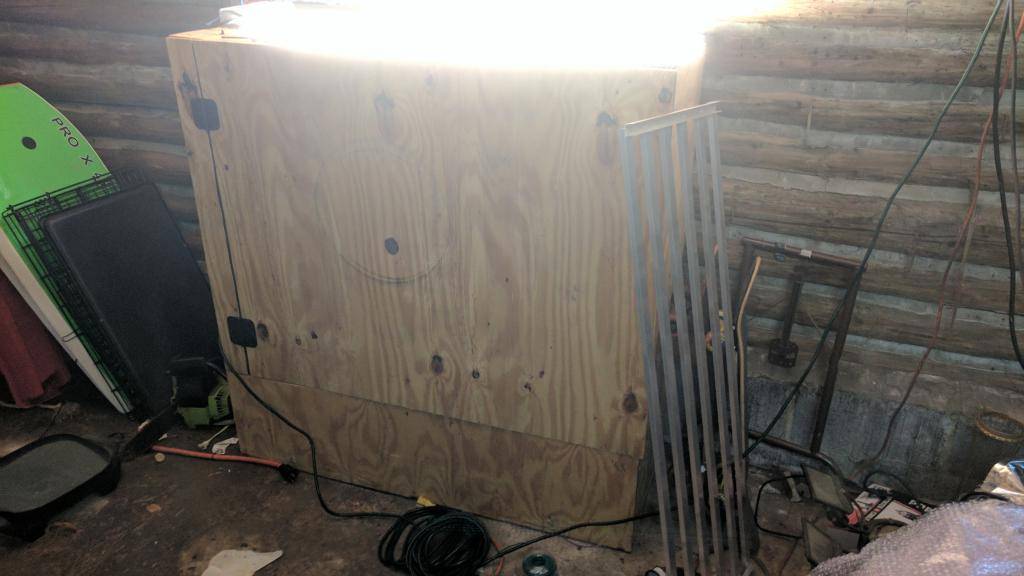
picture.php


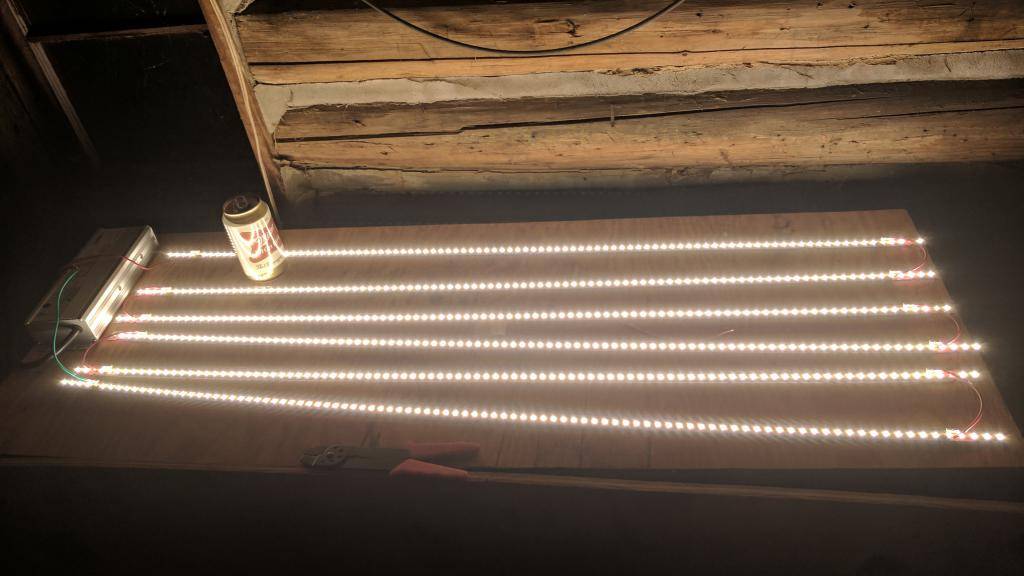
I'll be lighting it up with a DIY Quantum Board style setup. I honestly had NO IDEA these things would be so bright. I was chomping at the bit to see how bright they are, so I wired them up and plugged them in and was instantly blinded.
picture.php

Miller High Life for proof of my downsizing

I got 6x4ft strips and they will be mounted on 1in wide heatsinks once my thermal paste come from China. It's the only thing I'm waiting on, grr...
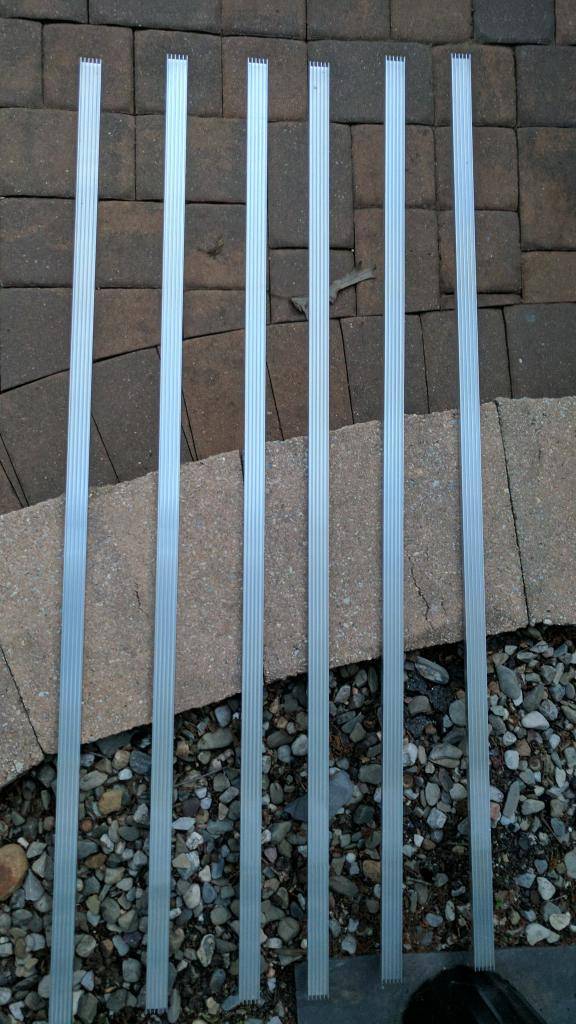
picture.php


picture.php

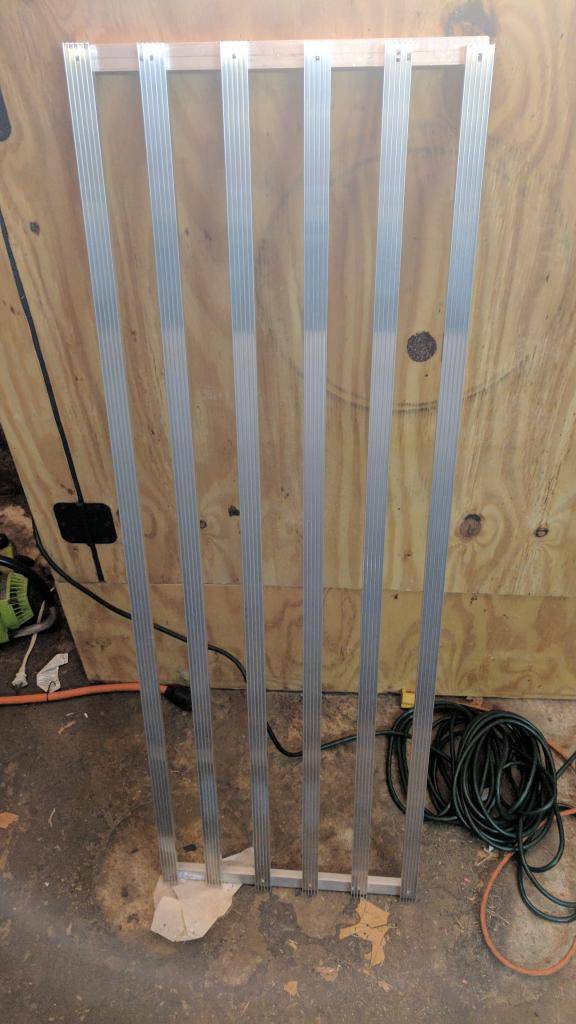
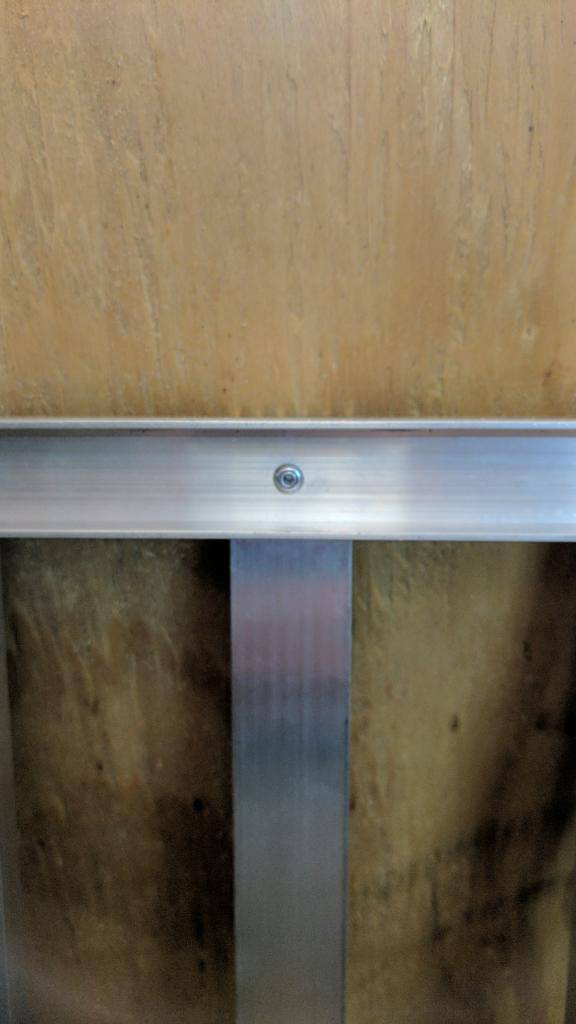
Mounted the heatsinks onto aluminum C channel. The drill was a little slidey, but the heatsinks are parallel and evenly spaced.
picture.php

I havent used a pop rivet gun since middle school.


I'm running these at 73% of their rated max with a 320 watt, 1.75 amp driver. Even unmounted, the diodes are warm, definitely not hot, I can keep my fingers directly on them without it hurting.

At this configuration, the power draw is just under 260 watts. I'm getting over 160 lumens per watt for a total of 41595 lumens. This is taking into account the 94% electrical efficiency of my driver.

Going forward, I'll be buying these diodes on a tape and reel rather than premounted on these strips. Going the tape and reel route, I can get these for about $0.12 per diode, maybe even cheaper from alibaba.

Total cost for the light was less than $300.

I'll be growing 2 different phenos of Island Sweet Skunk with lots of worms and recycled soil.

I'll be happy to answer any questions you might have.

Stay tuned, much more fun to come!
 

milo_xxx

Stress Tester/Plant Torturer
Veteran
Subbbbbbbbbed. :lurk:

This is a direction I have been going as well... I just have a couple UFOs though .... :bigeye:
 

ReikoX

Knight of the BlackSvn
Can't wait to see what these babies can do! Are those heatsinks the 1" profile from heatsinkusa?
:lurk:
 

Lapides

Rosin Junky and Certified Worm Wrangler
Veteran
Can't wait to see what these babies can do! Are those heatsinks the 1" profile from heatsinkusa?
:lurk:
Yeah man, that's what they are. They're pretty cheap too. These lights run so cool though so going forward I think I'll save a couple bucks and just mount them on aluminum channel.

I'm still waiting on thermal paste. I wish I had just gone with the LEDs on the tape and be done with it.

Thanks for stopping by everyone. I'll update just as soon as my paste comes!
 

Phychotron

Member
If you go with a tape/reel won't you have to come up with some sort of circuit board to isolate them from the heat sink?
 

Lapides

Rosin Junky and Certified Worm Wrangler
Veteran
If you go with a tape/reel won't you have to come up with some sort of circuit board to isolate them from the heat sink?

I'm still relatively new to this, but I was under the impression that they would stick right to the heatsink. I thought I read somewhere they use 3M adhesive on the tape. I'm pretty sure this guy just stuck them right on - https://www.icmag.com/ic/showpost.php?p=7951344&postcount=1

If I'm wrong I'd definitely like to know so I can start alternative plans.
 

Lapides

Rosin Junky and Certified Worm Wrangler
Veteran
My thermal glue came in from China finally yesterday. The week seemed to have dragged on forever.

I got a bit of work done yesterday and a bunch done today. I'm waiting for some glue to dry and I'm gonna test the ventilation.

Once I get it to it's permanent spot, I'm going to make the entire bottom of the cabinet a Soma-style bed.

The 2 elbows you see on the side of the 6in exhaust are most likely going to be replaced with caps. There are 2 elbows on the other side.

picture.php

Cranked down


picture.php

Cranked up


picture.php


picture.php


picture.php


I'm gonna be throwing gg4 and Chem '91 in there. ISS will have to go on the back burner.
 

Lapides

Rosin Junky and Certified Worm Wrangler
Veteran
I'd say I'm about 98% done with the build. I need to go over all of the edges and corners again to make sure everything is super tight. There's a little bit of whistling going on and a few light leaks, but it's definitely veg ready.

I have a temperature sensor on the wall about 2.5 inches away from the light and the inside of the cab is actually reading a couple degrees cooler than the outside.
picture.php


Airflow is on point. I put my phone in there with the door shut and took a video and the leaves are dancing around in there beautifully with no oscillating fan at all. Not to mention the exhaust is sucking the hot air off the heatsinks directly.
picture.php


As far as the build goes, it was all from scrap wood I had in my garage. I just had to buy some brackets and whatnot. It barely cost me anything in total so I'm stoked. If I get $300 in herb back I'll break even and I'll be happy.
 

Phychotron

Member
I guess I didn't realize that reel/tape was already wired and ready to go.

No side lighting?

My cheap led grow box has a bunch but the diodes are a little too close and the plants touch and burn. I'd love to see how well the plants do in close proximity to the diodes.

picture.php

picture.php
 

blynx

WALSTIB
Moderator
ICMag Donor
Veteran
Very cool! Tight build on the cab!
Looking forward to seeing the cab full of flowers.
 
I picked up a 5m reel from mufue company on alibabba. nice folks. I am waiting for the delivery today, less than 5 days from choices to payment to production to delivery. I got 5000K samsung lm561C S6 bin latest strip pre-wired for constant voltage. The strip is approximately 100w total. I will be usi9ng a meanwell 24v-125w constant voltage power supply for power.
namaste
 

Lapides

Rosin Junky and Certified Worm Wrangler
Veteran
Things are pretty much done. I'll be going over the outside a lot over the next couple of weeks making sure there are no light leaks and I'll be flipping.

Here is my soma style bed.

picture.php

That is some really thick rubber pond liner we had left over from relining our pond last summer. It's made by Firestone, like the tire company, if I'm not mistaken. Really durable shit.


picture.php

Threw down some pea gravel.


picture.php

A layer of plastic chicken wire.


picture.php

Topped with landscape fabric.


picture.php

2 inch PVC pipe going down into the pea gravel 1" and the rest is my dirt.
 

Latest posts

Latest posts

Top