What's new
  • ICMag with help from Phlizon, Landrace Warden and The Vault is running a NEW contest for Christmas! You can check it here. Prizes are: full spectrum led light, seeds & forum premium access. Come join in!

My DIY LED grow light

vukman

Active member
Veteran
Hello Everyone:

First off, thank you for all the kind words of support and advice you've all given me. I hope it isn't lost within my own insane way of doing things.:)

I am not that good a keeping solid records and picture taking but I'll try my best to fill in all the steps and answer any questions which might arise.........okay...here we go.

I've been talking about and planning on making an LED grow light for some time and I've finally gotten all the parts and pieces together and I started building today, Saturday, November, 03/12. I am in no hurry nor am I a perfectionist either. I don't have the skills to be a perfectionist even if I wanted to be one... I have to add that in there..:D

I think it's in the thread called "Building a Home Made LED" which is where a lot of the beginning images are such as the aluminium plates which were purchased and also the layout is there as well. As I said, I am more than willing to answer and and all questions as to what materials, tools, sizes..etc..etc.. so if I skip any steps, just ask.

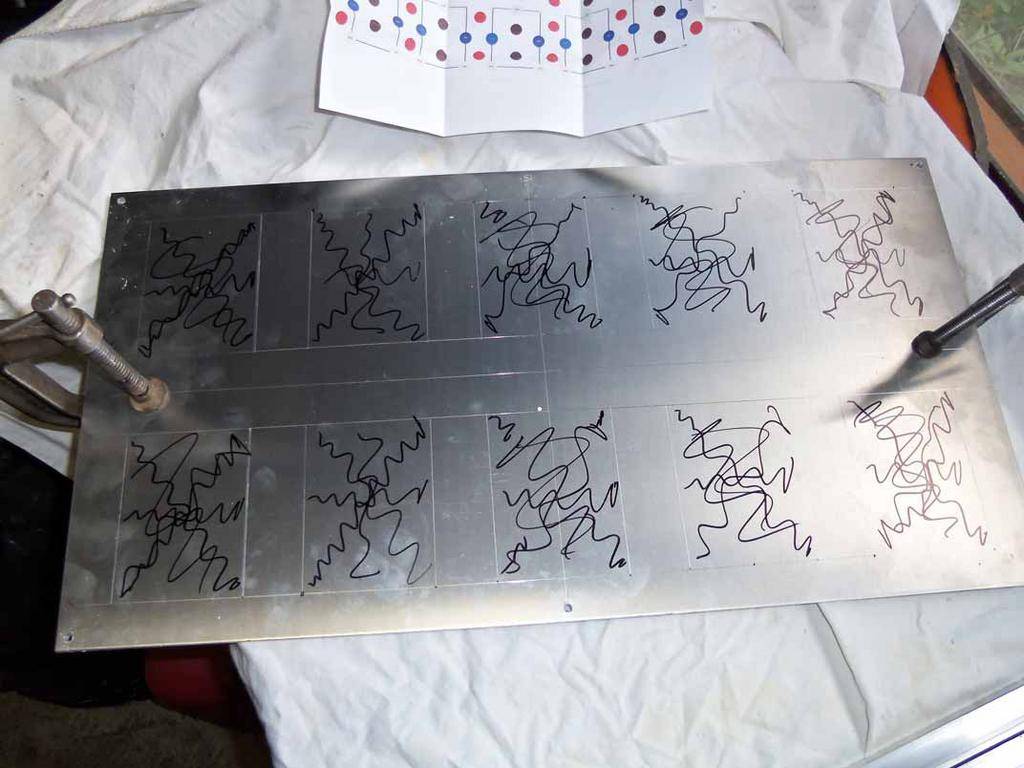
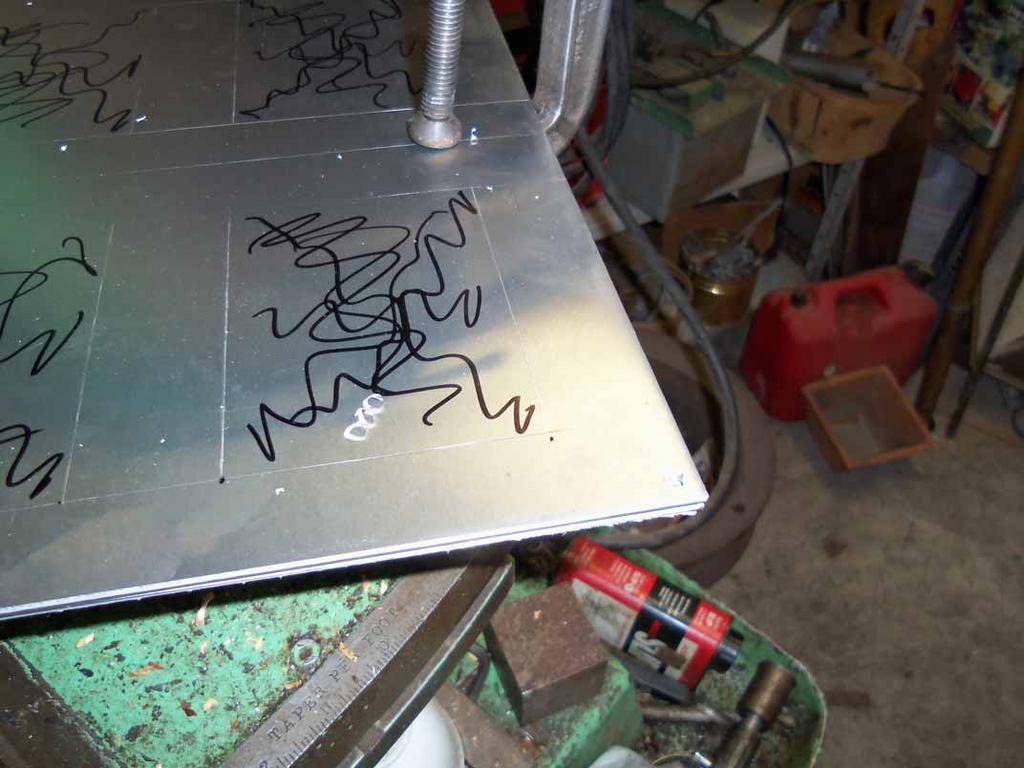
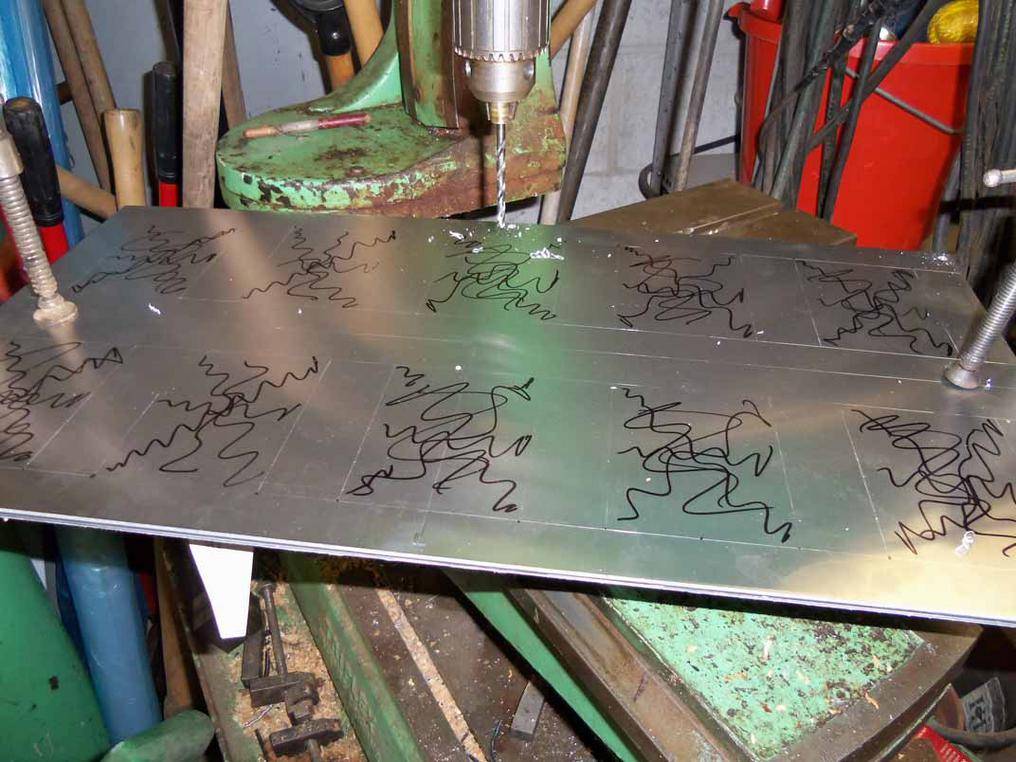
I took the Al. plates and secured them together, then proceeded to drill 6 holes along the outside. 3/16 dia. They are for the threaded rod which will hold the plates together and yet spaced apart for cooling.
picture.php


picture.php


picture.php
 

vukman

Active member
Veteran
After that step, I took the Al 'U' channel and laid it out evenly and marked it off so I knew where to attach it.

Since the back of the channel was rough, I took a file and then some sandpaper with a block as a solid backer and cleaned the backs of the 'U' channel so it was clean and smooth.

I had mentioned in that other thread that I would be using double sided thermally conductive tape which was the next step but left the 'backing' on one side until I was ready to attach it.

I took each channel, removed the backing off the tape, placed it onto the Al. plate and proceeded to drill through the channel and plate for rivets making sure that the rivets would not impact any LED chips where they would be placed later on according to the layout.

picture.php


picture.php


picture.php


picture.php
 

vukman

Active member
Veteran
The next images will show the channels attached and riveted onto the plate.

picture.php


picture.php


^^^^^^^^^^^^^^^^^^^^^^^^^^^^^^^^^^^^^^^^^^
That was all the work that got done today because I was still doing some material shopping such as threaded rod and nuts and also did not have a rivet gun either....

The project will continue tomorrow and hopefully I'll be onto the soldering of chips......

As you can see by the second image here and as I mentioned, not a perfectionist. The rivets are not all perfectly lined up but as long as they do not interfere with the LEDs, I don't really care....

Thank you and more tomorrow........:)
 

hempfield

Organic LED Grower
Veteran
A little late but 100% subbed. Thank you for sharing your work with us ! :tiphat:

L.E. How do you intend to keep the LEDs in place ? With 2mm bolts ? Well my friend, you will have some work to do, but I suggest you to try inserting the bolts without pre-threading the Al sheet (it's very easy to screw such bolt). As for the threaded rod, I think is cheaper to use long bolts (I used 5-6cm long for my led pannel).

What distance do you intend to have between the front and the back Al. sheet ? How do you plan to cut the large hole for the fans ? Do you plan to install the fan(s) between the two Al. sheets or outside, on top of the back sheet ?
 
Last edited:

vukman

Active member
Veteran
Hi Everyone:

Thank you again and always for your continued interest and support. You have no idea how much it means.........:bow:

Okay, so here we are on day two of the build which is Sunder Nov.,04/12.

I started work today on the top piece of the light. I first drilled out and chamfered four holes for the switches which I decided to use the toggle switches you see pictured.

Then I took a fan which is the 120mm variety and is 12V and 0.15A. It pushes 48cfm if I remember correctly. The work was done at my father's place and I tossed the box. Also, there is only one pictured because there was only one in stock where I bought it. It is a chain of stores so I'll go to another location and grab another one.

I marked out the diameter and took a 1/2 drill and drilled around the opening. When the drilling was done, I took some aviation/tin snips and cut out the rest of the hole..As I mentioned, I am not a perfectionist and this is just a test light so I was not all that worried about looks and aesthetics this time around.. I know it looks like shit but it will do the job and that's all I care about with this one.

picture.php


picture.php


picture.php


picture.php
 

vukman

Active member
Veteran
picture.php


picture.php


picture.php


picture.php


I had three 12" lengths of 3/16 threaded rod which I cut to 5" pieces and those are being used for the 'spacers' between the two plates.

On the top plate, I removed the protective film and with the cut off pieces from the threaded rod, I attached the fan in place. I also used the thermal tape to attach the terminal block in the middle of the plate.

I've also drilled holes throughout the top and bottom plates for pulling wires through as well.

That is all that has been done up until now.. As you can see, I've been putting off the soldering but alas, I can't put it off any longer.

To answer your questions, I will be using the double sided thermal tape to attach the LED chips and it has a holding temperature up to 120 C so the lights will fry way before the tape lets go. I think the rest of the questions have been answered about the fans and spacing although the spacing can always change if it needs to be but I think I've got a good space between the plates for now. Only time will tell if it really is good enough to keep the temperatures down..

Again, as always, thank you all for following and commenting as well...

Thank you
 

Hammerhead

Disabled Farmer
ICMag Donor
Veteran
You can use conductive glue no soldering needed. I use it with low voltage stuff. Soldering can burn up the device before you even use it. When I was making my door panels I used the glue to attach wires to the tweeters..
 

hempfield

Organic LED Grower
Veteran
Well done , my friend !

It look's awesome, trust me. I like what I see :biggrin:

I notice that you want the fans to blow air over the heatsink and not to suck it from the inside. It is more efficient for this kind of fans to pull the air rather than to push it, the air flow is smoother and more even over the components.

I don't know if conductive glue it's designed to work on high current , like the LEDs are supposed to do. 700mA of DC can cause a lot of heat if the resistance of the bond it's to high. I never use it, it may be great but I believe that and old school solder shiny point assure a good conductivity and increase the safety of the circuit, especially on long term usage.
 

Hammerhead

Disabled Farmer
ICMag Donor
Veteran
try it you might change your mind..I did not think it would work well myself until I tried some.The connection weather you solder or glue should not be hot. The only time I felt hot wires was when they where undersized...It's typically only good for low voltage application's. There are specialty glues that you can get like this one..


Useful Temperature Range -55 to 200 ºC

http://www.creativematerials.com/pr...kt=620225763&gclid=COmls6aytrMCFQ6CQgodOiMABw

Or this one

http://www.pemro.com/productDetails.cfm?ItemCode=LOC-1117
 
Last edited:

Husky Jackal

Very Neat Monster
Veteran
Good luck with your project !
One question though; Aren't you satisfied with your other LED lights or there's another reason you're building this ?
Peace, HJ.
 

Keep goin

Member
Subbed Vukman...looking good, can't wait to see it up and running.

I'm starting to think DIY is the way to go!! Even though I'm a bit intimidated, but looking into solderless kits to ease into it.

Good Luck...I'm watching with great interest
 

rives

Inveterate Tinkerer
Mentor
ICMag Donor
Veteran
Something that you might want to keep in mind for the future is that hole saws come in a very wide variety of sizes and aren't overly expensive. Something big enough for a fan would require a drill press (and cutting oil!), but it looks like you have access to one. Having fun?
 

vukman

Active member
Veteran
Hi gang:

thank you for all your well wishes and yes, I've been putting off the soldering but it's time although it being Sunday, a lot of my favourite shows are on.. Supernatural and Grimm to name a few so the soldering will come after that.

As to the question of whether I am happy or not with manufactured lights.......yes and no. They are good and they get the job done but as with anything, there is always room for improvement. I asked a few of the manufacturers what it would cost me to build something like I am building and the cost was cheaper for me to build it myself.

As for the fans and fan holes. First, the fans.......I am not planning on closing in the sides so pulling air through does not seem as practical as blowing it down through the fins. If, for some reason, the temps are too high or unmanageable, then I will redesign the light and fan placement.

As to the holes and roughness of them......yeah, I know....I was working in an unheated garage and I was getting cold already. I forget what the tool is called but it has a drill in the middle and then you can attach a carbide cutter onto it and it's adjustable.. I did machining work around 32-33 years ago and I remember something similar....Almost like an oversized hole saw but instead of a round saw blade encircling the drill bit, it's one cutting tool......

http://www.icscuttingtools.com/new-products/adjustable-hole-cutter.htm

there we go^^^^^^^^^^^ an adjustable hole saw..LOL....can you tell I'm tired..ahahah
That would do the trick real nice...

Thank you all for taking the time to write and thank you for caring enough to say careful and all the rest of that shit..:D.........:bow:


P.S. rives......I'm having a blast..
 

vukman

Active member
Veteran
flycutter.

Nice work, I've been lurking!!


ooooo, you sneek you!!!!!! LOL........yes, it's sort of a fly cutter but technically a fly cutter does not have to drill bit though or at least that's what I remember although I guess it is a fly cutter seeing that the blade is positioned the way it is..:)

No matter, we;re all on the same page.......I did do some soldering although not much....even the pictures don't show the full soldering job.

I managed to prep all the whites and then tape them down into their positions.

I have a question though now if someone can answer it please. Can I wire them in parallel or do I have to wire them in series? Why I am asking about parallel is if you look at the pictures, you'll notice that on the plate from left to right, the chips are in rows so if I wire each row from left to right and then splice all the positives and negatives together, will that work as well as wiring them all together starting from one end to the other and having only one positive and one negative?

I have to do some running around today so I hope someone will have an answer by the time I come back and have to start again..

As always, thank you all for following.....I never want to take any thing for granted any more.

picture.php


picture.php
 

hempfield

Organic LED Grower
Veteran
If you connect the LEDs in parallel , the current will be divided between those diodes, decreasing the light intensity. The LEDs must be connected in series and as much as possible as the maximum number allowed per driver to maximize efficiency.
 

Latest posts

Latest posts

Top