grouchy
Active member
To celebrate my 420th post on IC I wanted to give something back to the community.
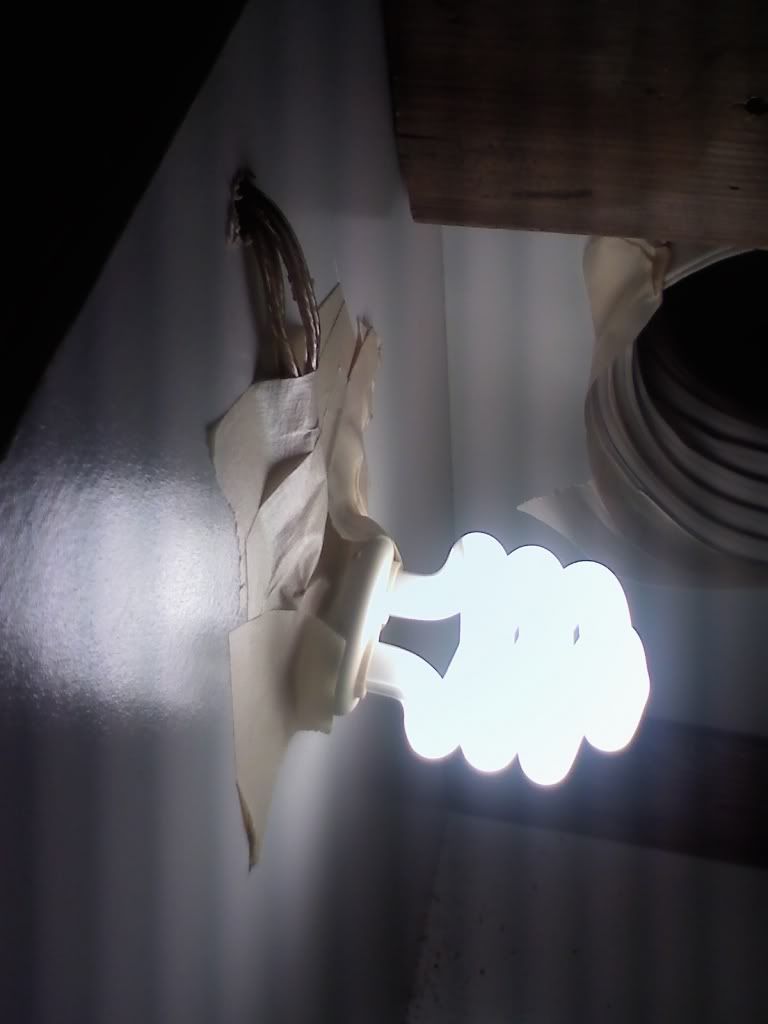
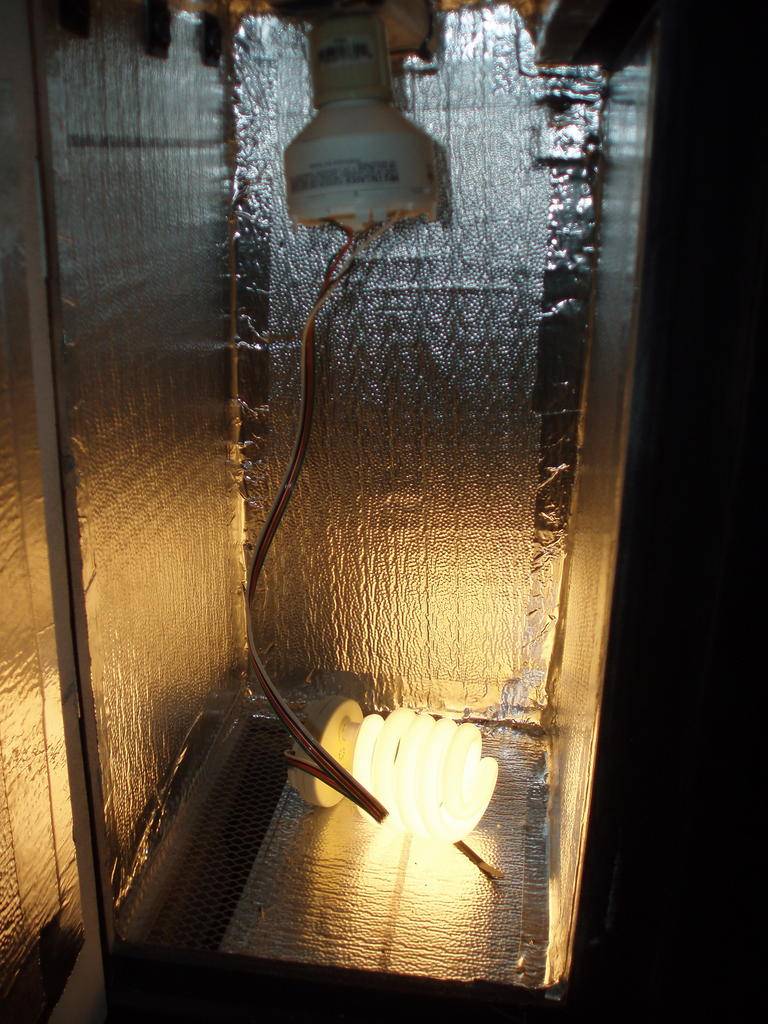
This is a DIY guide to making a standard GE 42w spiral cfl into a remote ballast grow light.

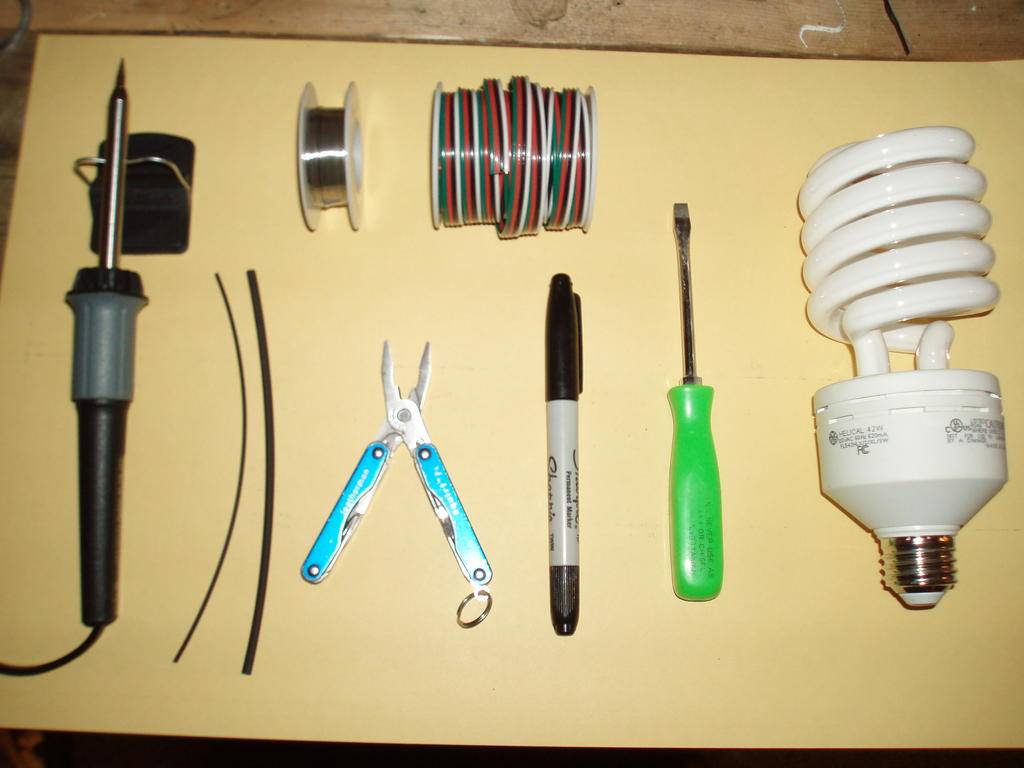
Tools and Supplies:
soldering iron and solder
1/8" shrink tube
4 conductor 24ga single strand wire
Needle nose pliers or tweezers
flat blade screwdriver
sharpie
GE 42w CFL
Optional - extra GE 42w CFL in nonworking condition for ballast cover and practice

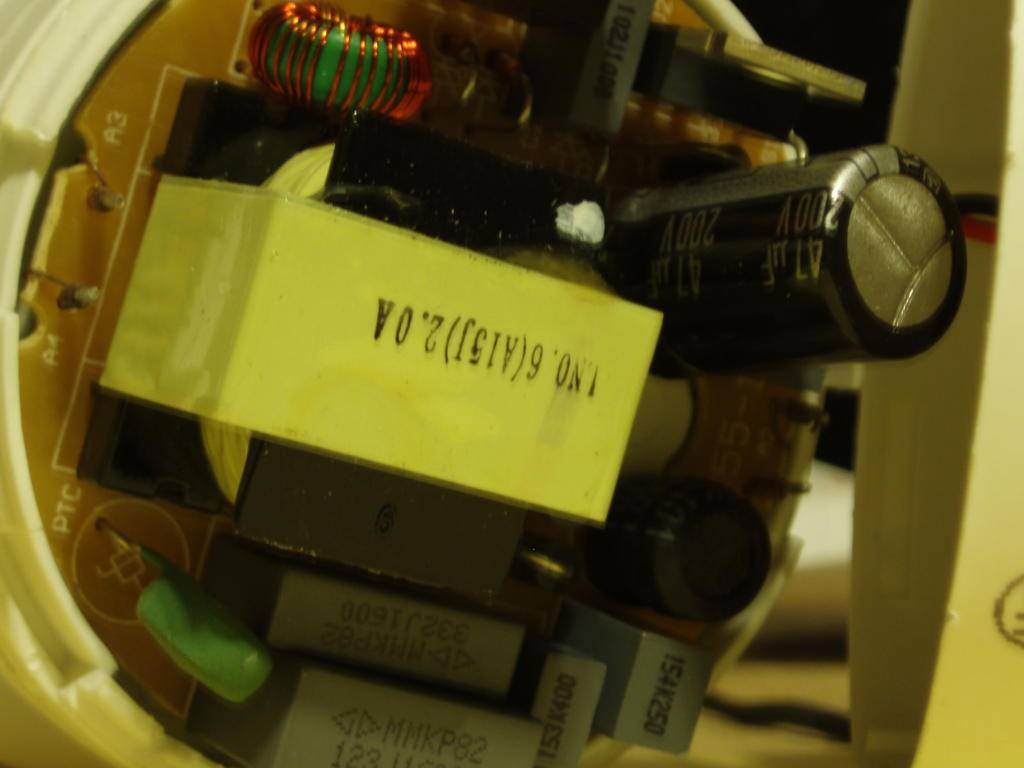
Step One: Use the flat blade screwdriver to carefully pry apart the ballast housing at the seam just above the print. It comes apart easily if you work your way around it. This will expose the ballast circuit board. Careful when separating so you don't pull out the red and black wires that go to the socket. You should have a board that looks like this.
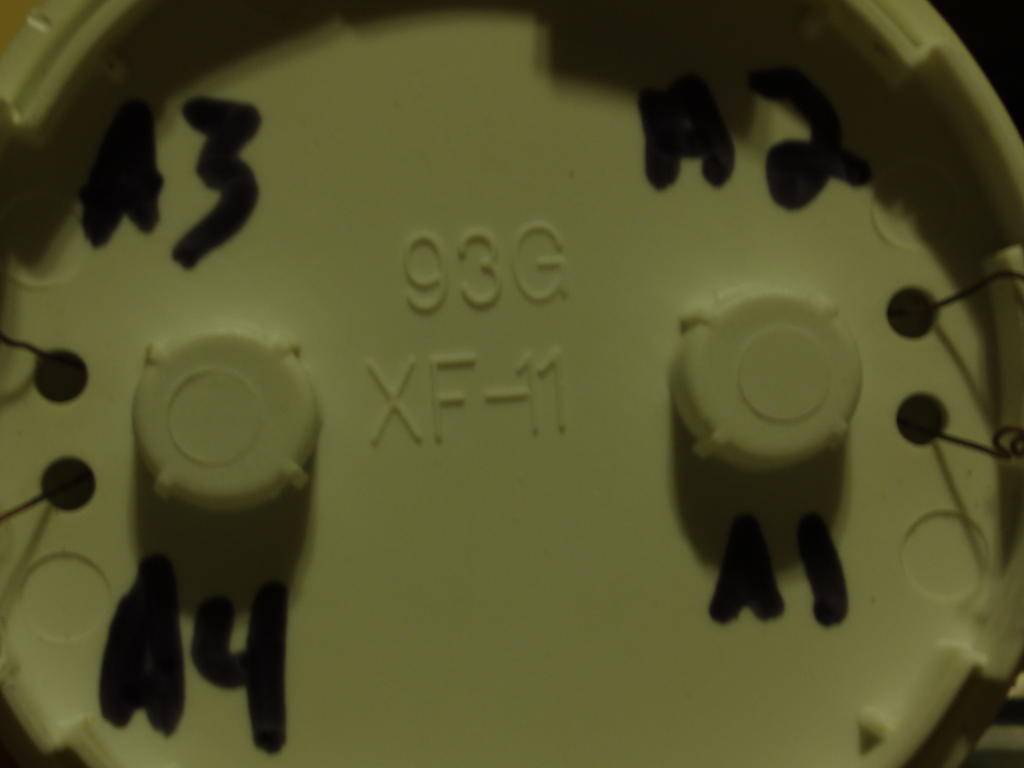
Step Two: When you have it separated you will need to locate the two pins on each side of the board that the bulb wires are connected to. They are labeled A1, A2, A3, and A4.
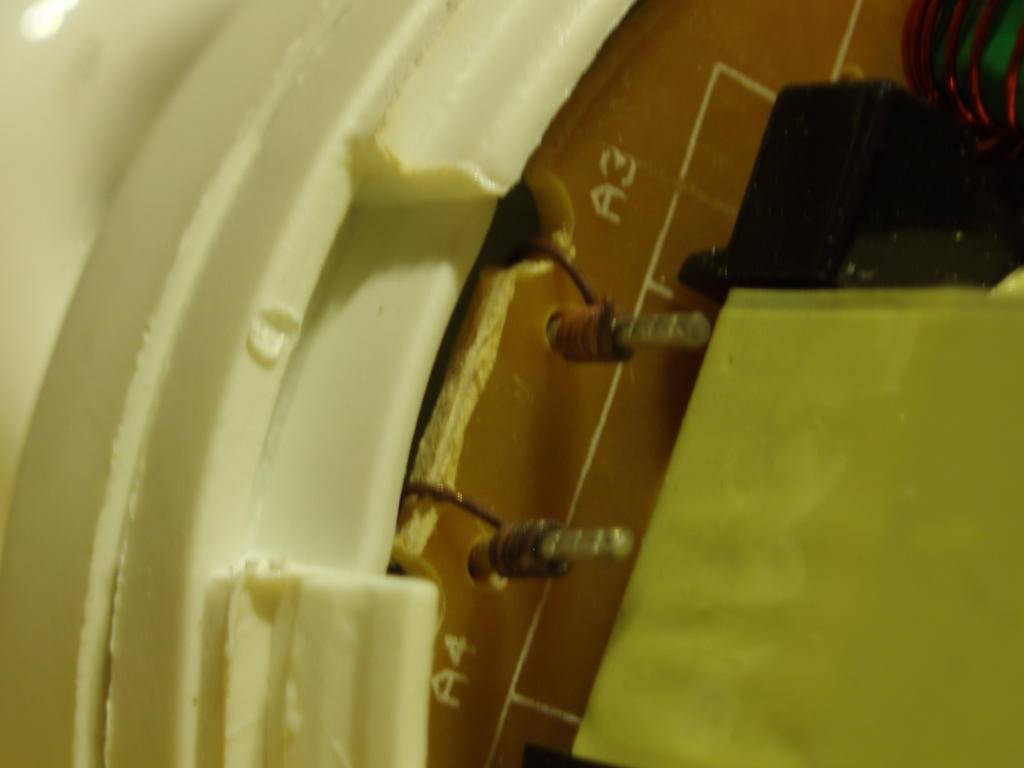
When you locate them you will see that the wire is connected to the post by twisting around it. You will need the needle nose pliers or tweezers to untwist the wires from the posts. When the wires are free the two halves of the light will be separated. You will need to label which wire came off of which post as you pull it apart.
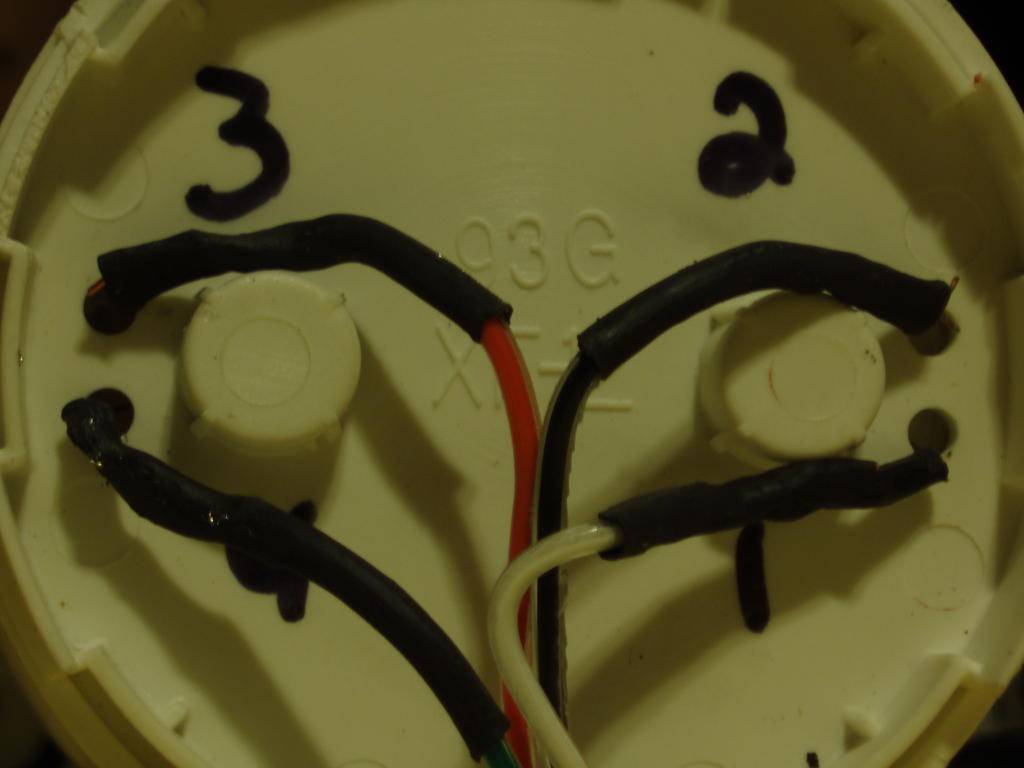
Step Three: Start by cutting the 4 conductor wire to the length needed. I am not sure how long you can make the wire so use the shortest length needed. Solder one of the wires coming from the bulb to each one of your wires and cover the connections with 1/8" shrink tube. It should look something like this
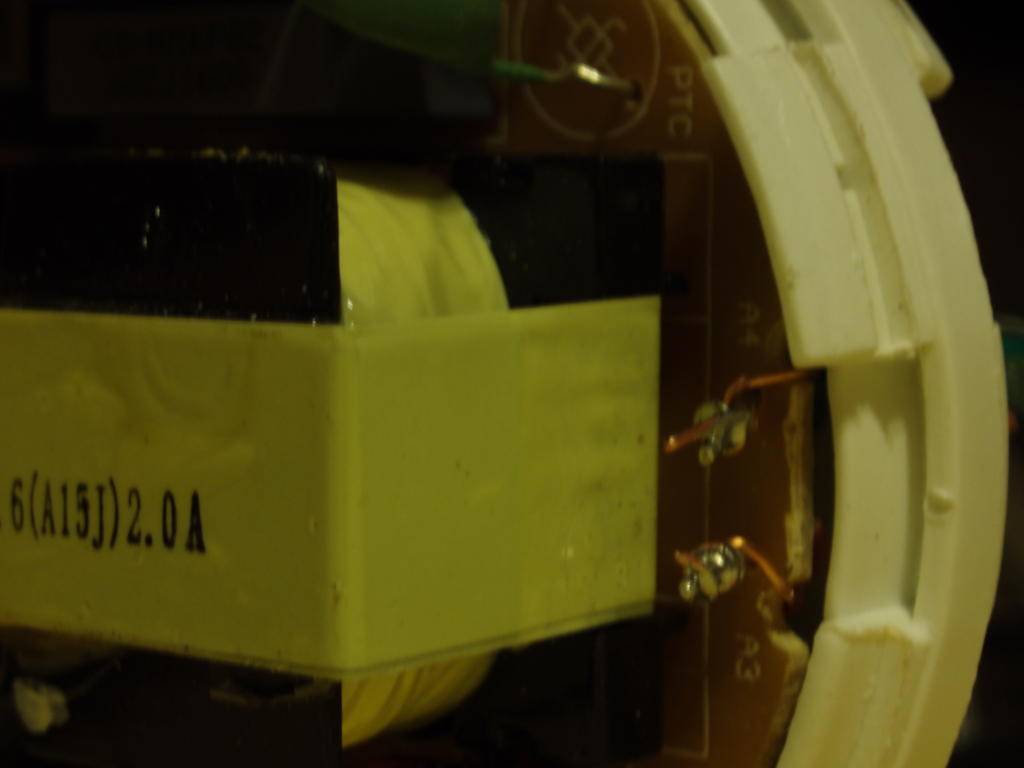
Step Four: This is where the extra CFL bulb comes in handy. If you have one that has burnt out or been used on a couple grows already it will be perfect. Take the other bulb apart and keep the piece that snaps the bulb together with the ballast. You can use it as a snap cover to your ballast that has been predrilled for your wires to go through. If you do not have an extra bulb you will need to find a safe way to house or cover the ballast so that nothing can short out against the board. You will want to run your new wires through the holes that the wires from the bulb were going through in the connecter piece. Since you are just lengthening the wires to the bulb you can reattach them to the post by twisting them around and soldering them back on like in the picture below.
Step Five: After the wires are soldered onto the posts you will need to snap the ballast cover back on. It has holes in the circuit board that line up with with the plastic connector to get it seated properly. Once it is snapped back together it should look like this.
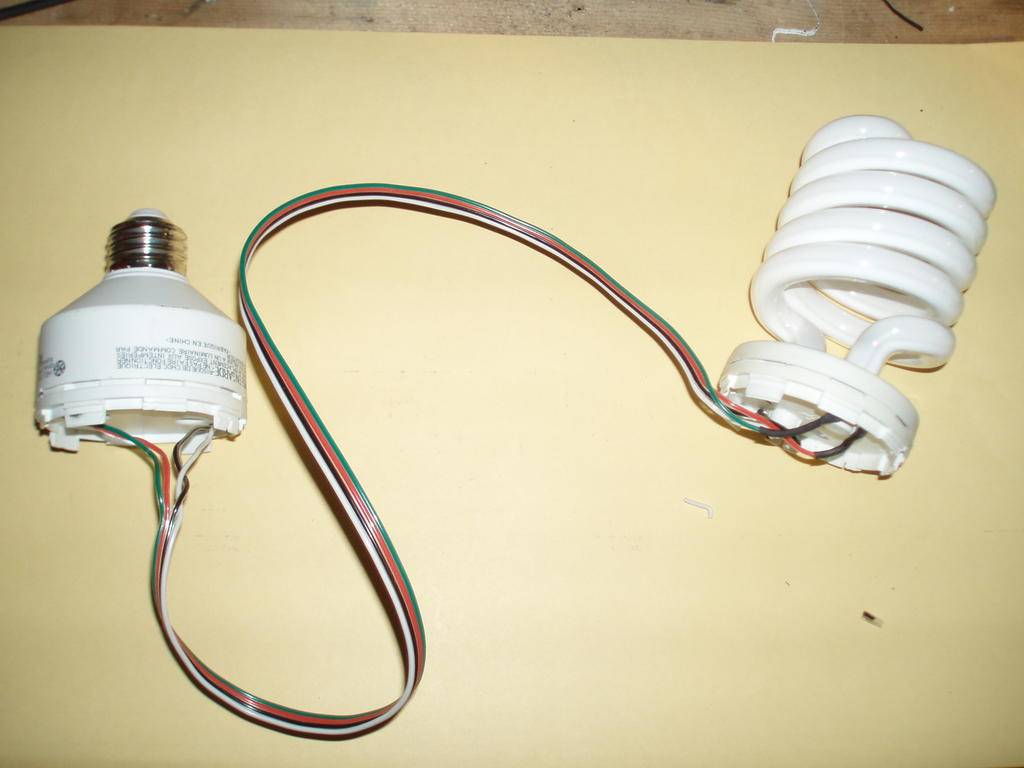
Testing proved the light was operational after the modification and will allow me to mount my ballast outside the growing area when it is installed. This would be very useful for micro grows or PC grows where heat is an issue. If you see anything I missed or could do better please let me know. I will also try to get better pictures soon.
This is a DIY guide to making a standard GE 42w spiral cfl into a remote ballast grow light.

Tools and Supplies:
soldering iron and solder
1/8" shrink tube
4 conductor 24ga single strand wire
Needle nose pliers or tweezers
flat blade screwdriver
sharpie
GE 42w CFL
Optional - extra GE 42w CFL in nonworking condition for ballast cover and practice
Step One: Use the flat blade screwdriver to carefully pry apart the ballast housing at the seam just above the print. It comes apart easily if you work your way around it. This will expose the ballast circuit board. Careful when separating so you don't pull out the red and black wires that go to the socket. You should have a board that looks like this.
Step Two: When you have it separated you will need to locate the two pins on each side of the board that the bulb wires are connected to. They are labeled A1, A2, A3, and A4.
When you locate them you will see that the wire is connected to the post by twisting around it. You will need the needle nose pliers or tweezers to untwist the wires from the posts. When the wires are free the two halves of the light will be separated. You will need to label which wire came off of which post as you pull it apart.
Step Three: Start by cutting the 4 conductor wire to the length needed. I am not sure how long you can make the wire so use the shortest length needed. Solder one of the wires coming from the bulb to each one of your wires and cover the connections with 1/8" shrink tube. It should look something like this
Step Four: This is where the extra CFL bulb comes in handy. If you have one that has burnt out or been used on a couple grows already it will be perfect. Take the other bulb apart and keep the piece that snaps the bulb together with the ballast. You can use it as a snap cover to your ballast that has been predrilled for your wires to go through. If you do not have an extra bulb you will need to find a safe way to house or cover the ballast so that nothing can short out against the board. You will want to run your new wires through the holes that the wires from the bulb were going through in the connecter piece. Since you are just lengthening the wires to the bulb you can reattach them to the post by twisting them around and soldering them back on like in the picture below.
Step Five: After the wires are soldered onto the posts you will need to snap the ballast cover back on. It has holes in the circuit board that line up with with the plastic connector to get it seated properly. Once it is snapped back together it should look like this.
Testing proved the light was operational after the modification and will allow me to mount my ballast outside the growing area when it is installed. This would be very useful for micro grows or PC grows where heat is an issue. If you see anything I missed or could do better please let me know. I will also try to get better pictures soon.


 Happy Holloween

