toastfighter2
Active member
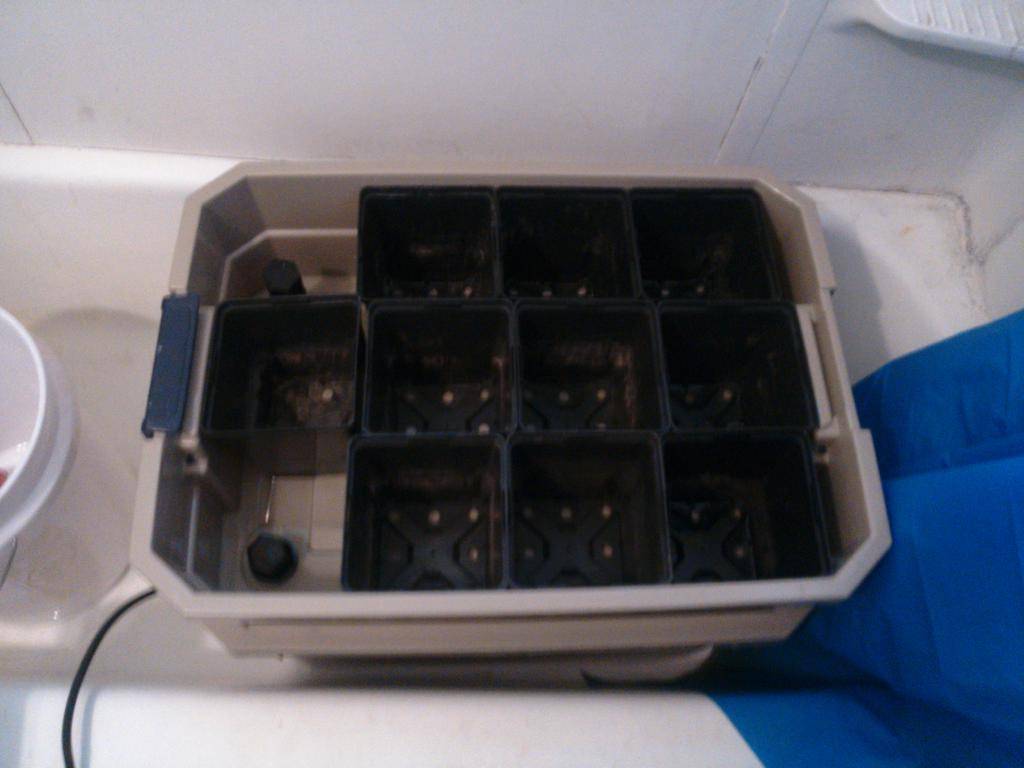
To start, I have been looking for the perfect flood and drain set-up to use in my closet to veg in, and the cheapest I could find a table(that would fit) was around 50 bucks, and that's just the table by itself. This little system would cost right around that if I had to purchase everything new, but I just had most the parts laying around the house.
PARTS LIST-
1- flood and drain kit- $7
1- 190gph pump -$25
1- 19 gallon heavy duty tote -$10(on sale)
1- 10 gallon hd tote -$10
1- 2 feet of 1/2 inner diameter rubber tubing-$2
1- Reliable digital timer(really a must have)-$15 and up
REQUIRED TOOLS
1- utility knife, dremel, or best the option, a stepped drill bit.
1- non toxic washable marker
Step one- assemble parts
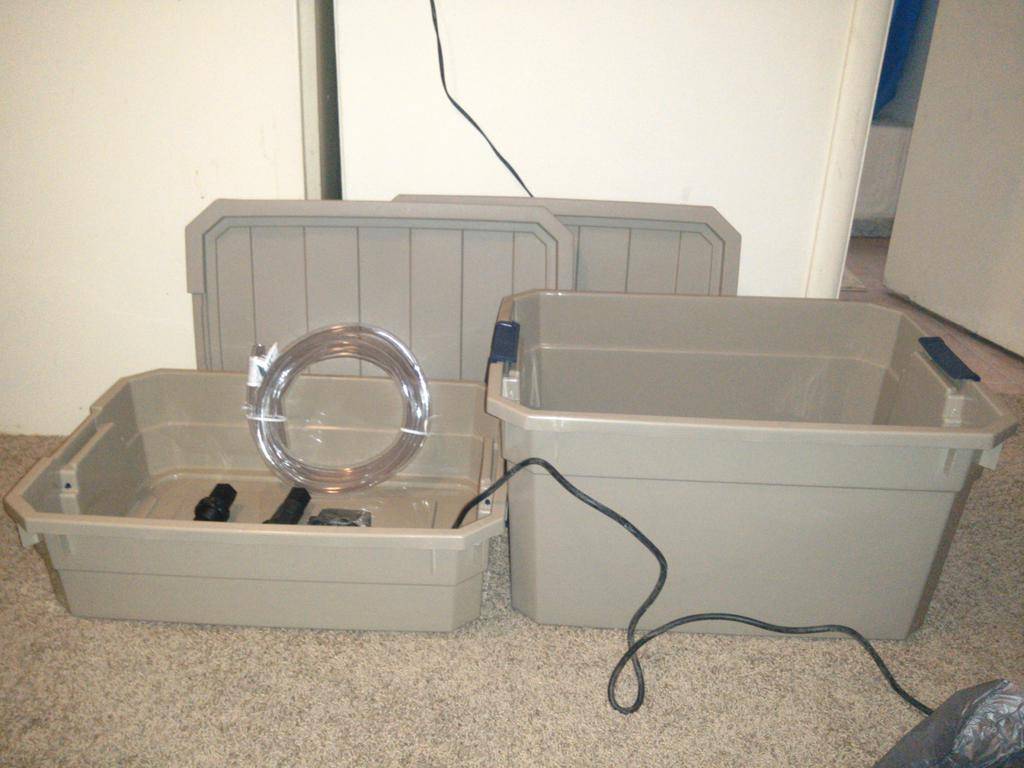
Step two- decide where you want to install the fill and drain parts(in the ten gallon tote), then remove the rubber washer from from one them. Trace the inside of the washer to use as guidelines to cut the holes. Pro tip-make the holes smaller than they they need to be, you can always make them bigger, but it's really hard to make them smaller.
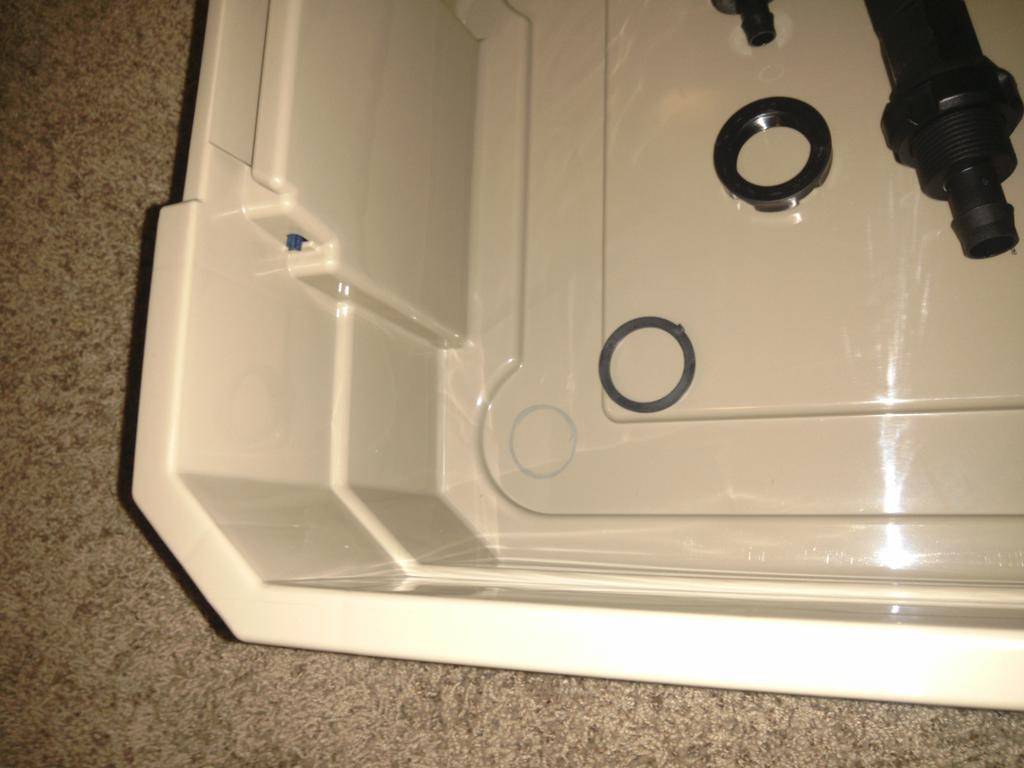
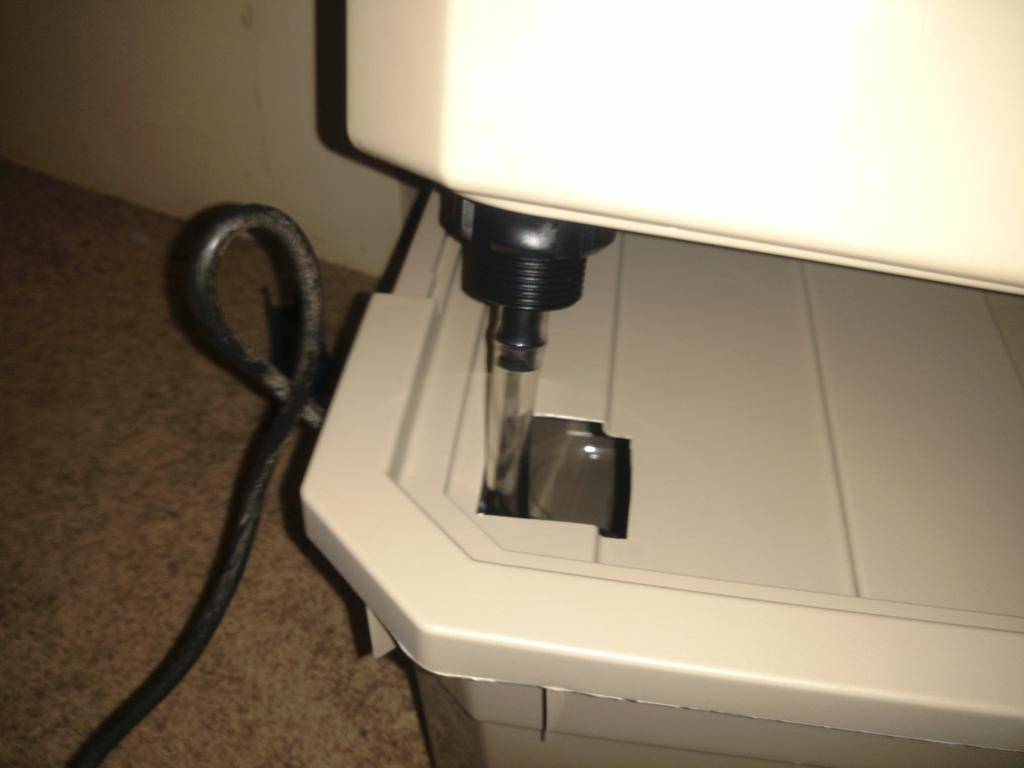
Step three-after test fitting the fill and drain parts, remove them and sst them aside. Place one of the lids on the 19 gallon tote and then trace the holes in the 10 gallon tote onto the lid. this is just to mark the general location of the holes, and they holes need to be larger than the plastic nuts that hold on the bottom of the ebb and flow kit. I choose to cut squares, strictly because it is easier that way.
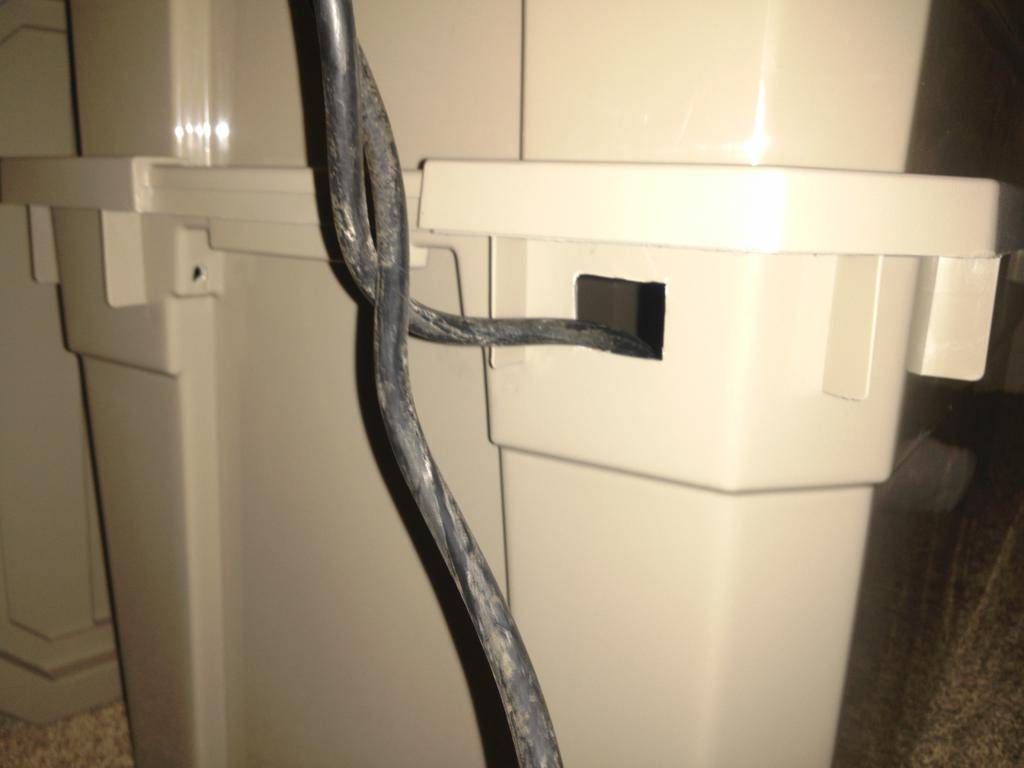
Step four- Cut a hole for the pump cord the come out of in the end of the 19 gallon tote just large enough for the plug to fit though.
Step five- Fit the tubing onto the pump,through the 19 gallon totes lid, and onto the fill side of the kit.(see pic from step three)
Step six-Program the timer. I personally choose to flood every 6 hours for 4 minutes, and my plant like it, plus it is just short enough that if my drain does get clogged, it stops short of overflowing(YMMV)
Step seven- Do a leak test in the bathtub, and if everything works fine, add your choice of medium, nutrients, and plants. Plug in your brand new mini ebb and flow table and hang a light above it.
PARTS LIST-
1- flood and drain kit- $7
1- 190gph pump -$25
1- 19 gallon heavy duty tote -$10(on sale)
1- 10 gallon hd tote -$10
1- 2 feet of 1/2 inner diameter rubber tubing-$2
1- Reliable digital timer(really a must have)-$15 and up
REQUIRED TOOLS
1- utility knife, dremel, or best the option, a stepped drill bit.
1- non toxic washable marker
Step one- assemble parts
Step two- decide where you want to install the fill and drain parts(in the ten gallon tote), then remove the rubber washer from from one them. Trace the inside of the washer to use as guidelines to cut the holes. Pro tip-make the holes smaller than they they need to be, you can always make them bigger, but it's really hard to make them smaller.
Step three-after test fitting the fill and drain parts, remove them and sst them aside. Place one of the lids on the 19 gallon tote and then trace the holes in the 10 gallon tote onto the lid. this is just to mark the general location of the holes, and they holes need to be larger than the plastic nuts that hold on the bottom of the ebb and flow kit. I choose to cut squares, strictly because it is easier that way.
Step four- Cut a hole for the pump cord the come out of in the end of the 19 gallon tote just large enough for the plug to fit though.
Step five- Fit the tubing onto the pump,through the 19 gallon totes lid, and onto the fill side of the kit.(see pic from step three)
Step six-Program the timer. I personally choose to flood every 6 hours for 4 minutes, and my plant like it, plus it is just short enough that if my drain does get clogged, it stops short of overflowing(YMMV)
Step seven- Do a leak test in the bathtub, and if everything works fine, add your choice of medium, nutrients, and plants. Plug in your brand new mini ebb and flow table and hang a light above it.
Last edited:


