If you want to heat a room with just one candle and save even more money you need to create thermal mass and then radiate it with terracotta pots. It more simple than you could ever imagine.
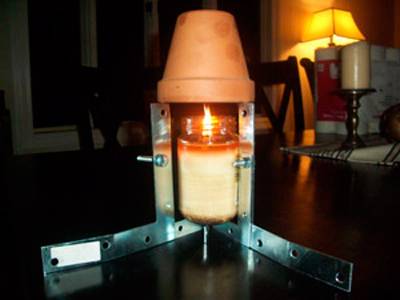
After a crazy week when half a million people visited our site to check out the video, 'How to Heat Your Room for 8 Pence a Day', we thought you would appreciate a refinement of this idea that generates even more heat from a candle by increasing the thermal mass within the first pot. Please share this page too so that those who saw the first post can also test out this new design.
Putting it all Together
The process for putting together the candle heater is very simple:
What You Need
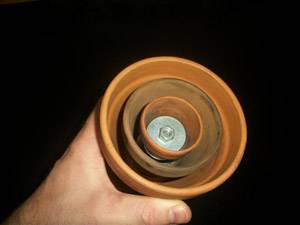
Some stainless steel nuts, washers and a bolt plus three flowerpots! Do not use zinc as it gives off toxic fumes when heated. Here's the detail.
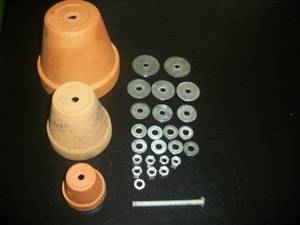
One 4″ terracotta (not glazed) pot
One 2″ terracotta (not glazed) pot
One 1 1/2″ terracotta (not glazed) pot
Two 1 1/2″ x 1/4″ washers
Three 1 1/4″ x 1/4″ washers
Three 1″ x 1/4″ washers
Eight 3/4″ x 1/4″ washers
Seven 1/4″ nuts
One 3″ x 1/4″ bolt
Assembly Instructions
I think that the easiest way for you to learn how to put one of these heaters together is to follow the cutout image (to the left) I used from the heatstick.com site:
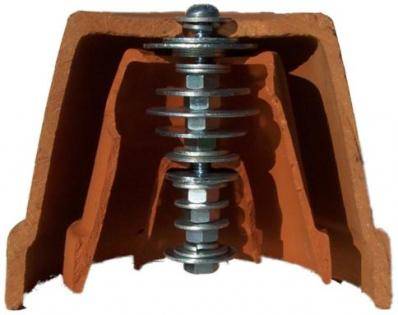
After a crazy week when half a million people visited our site to check out the video, 'How to Heat Your Room for 8 Pence a Day', we thought you would appreciate a refinement of this idea that generates even more heat from a candle by increasing the thermal mass within the first pot. Please share this page too so that those who saw the first post can also test out this new design.
Putting it all Together
The process for putting together the candle heater is very simple:
What You Need
Some stainless steel nuts, washers and a bolt plus three flowerpots! Do not use zinc as it gives off toxic fumes when heated. Here's the detail.
One 4″ terracotta (not glazed) pot
One 2″ terracotta (not glazed) pot
One 1 1/2″ terracotta (not glazed) pot
Two 1 1/2″ x 1/4″ washers
Three 1 1/4″ x 1/4″ washers
Three 1″ x 1/4″ washers
Eight 3/4″ x 1/4″ washers
Seven 1/4″ nuts
One 3″ x 1/4″ bolt
Assembly Instructions
I think that the easiest way for you to learn how to put one of these heaters together is to follow the cutout image (to the left) I used from the heatstick.com site:


