Hello guys. Here is a very compact, free flowing light trap I designed and made out of minimal equipment, cost and skill. I saw a door vent in the hardware store and got the idea for using the angles but they had used a rather dodgy system to space them out. I thought on it for many weeks until I realised I could just use other angle as the spacers and get a very professional looking product. I'll let some pics do the talking because it isn't exactly rocket science.
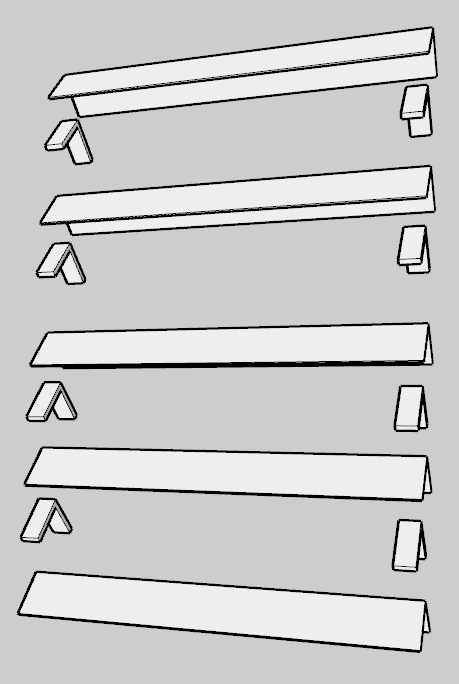
The basic idea, exploded
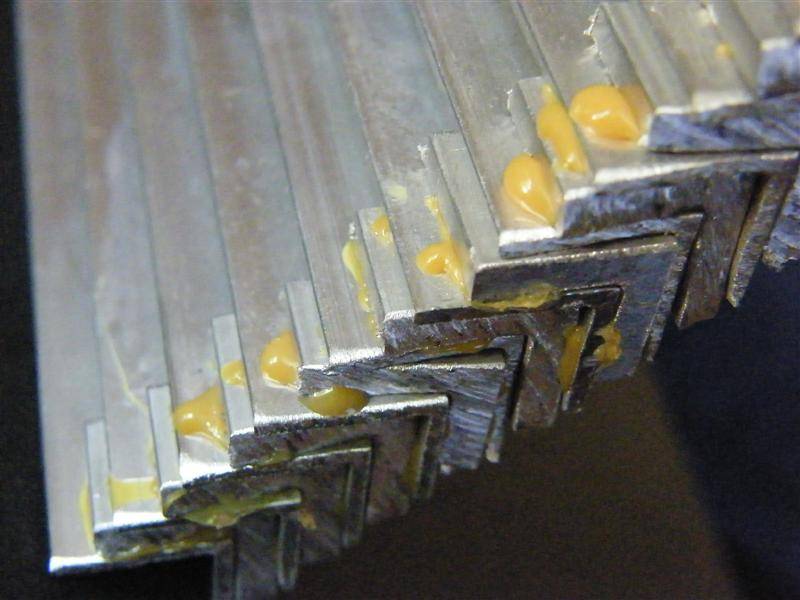
The pieces cut out and small dab of glue applied to each (you don't need to do the top one remember)
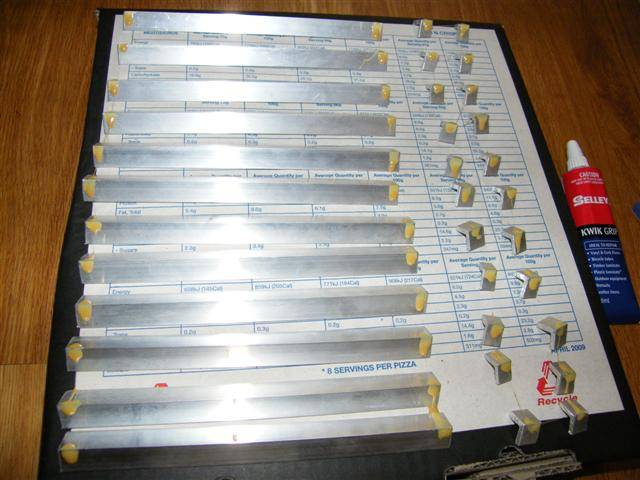
Stuck together
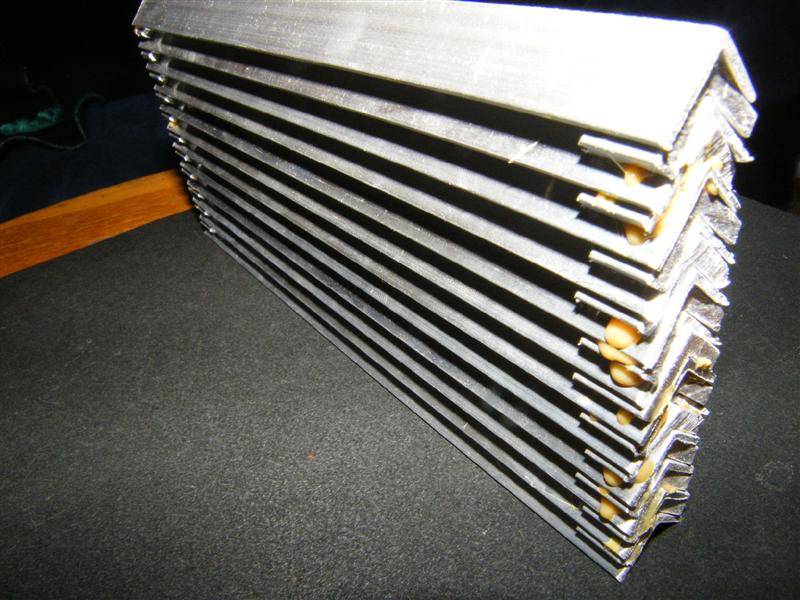
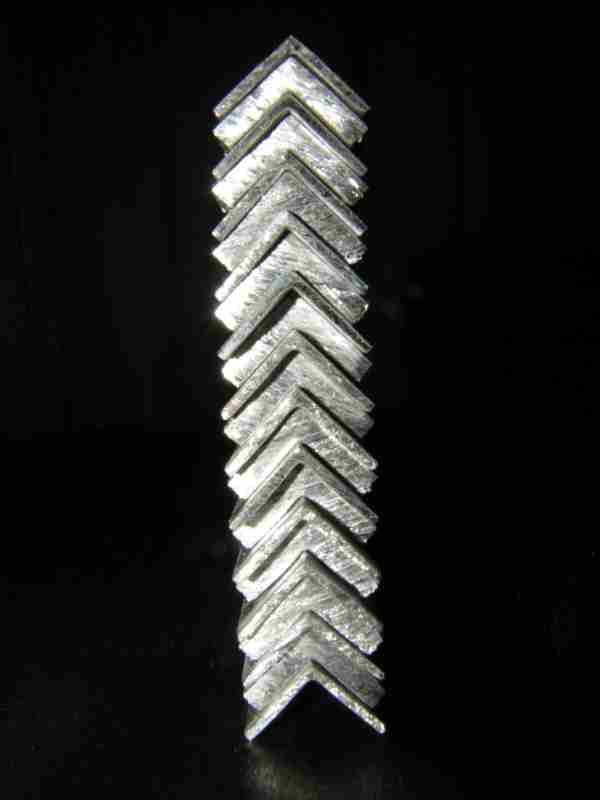
Painted flat black
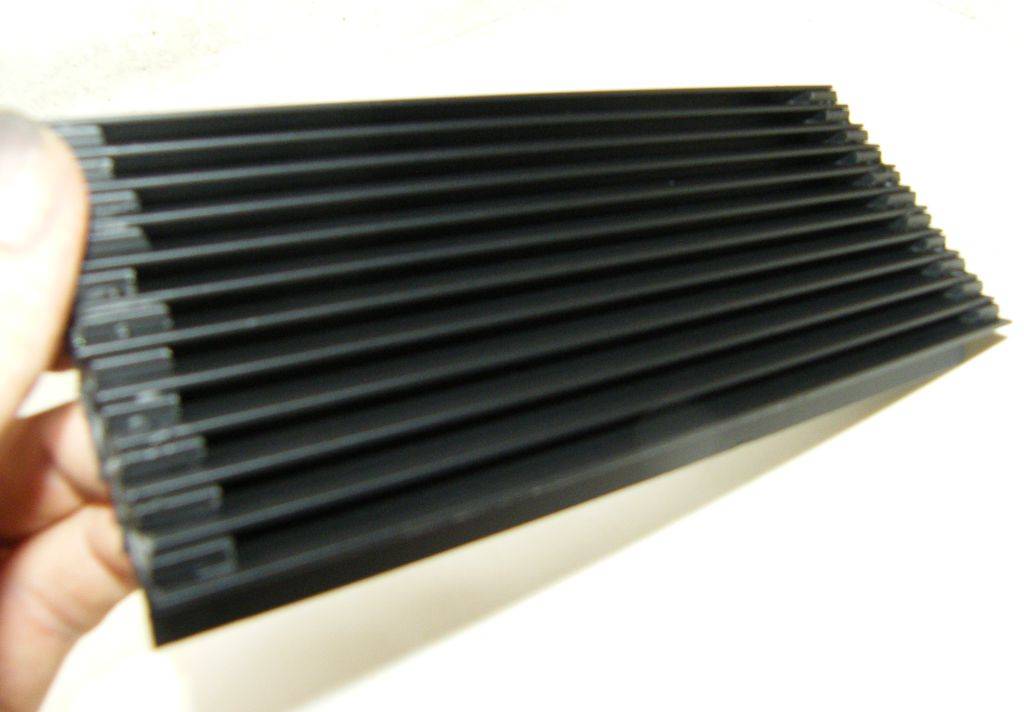
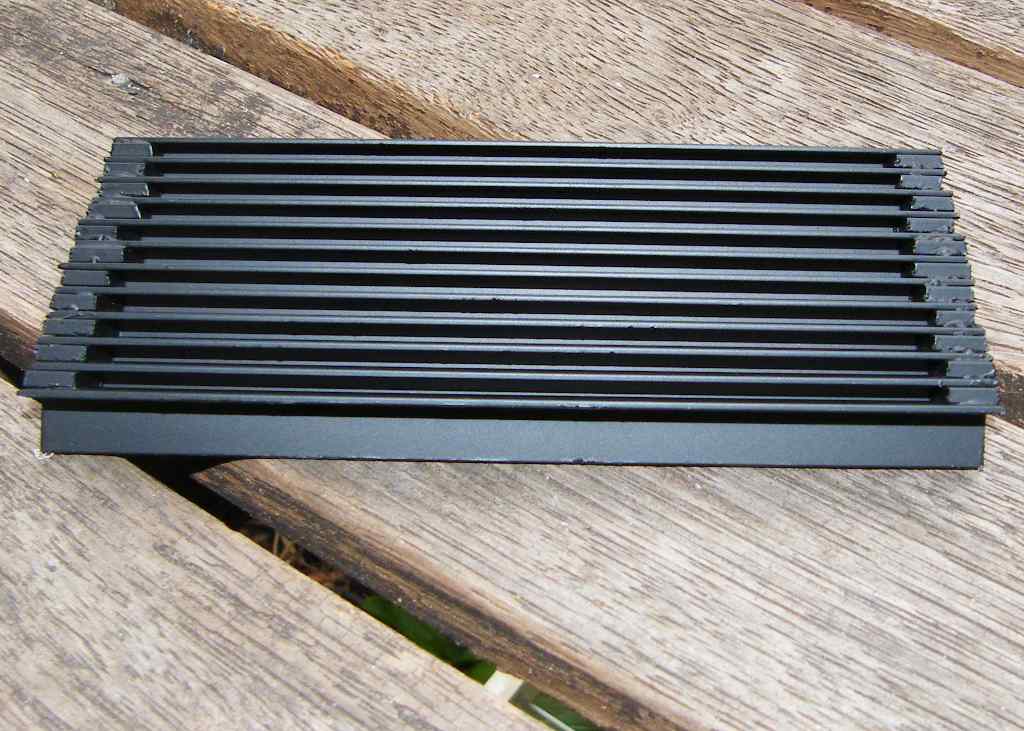
As mentioned, it's very free flowing. It blocks 99.99% of the light. At first I thought it blocked 100% but after letting my eyes adjust in a dark room, there is a slight glow coming from it, just enough that I wouldn't place it solely between a veg and flower room personally. Not enough to catch on camera! But it is noticeable with the naked eye if you concentrate.
It suits the purpose I made it for perfectly as it's in a cab in a dark room and the intake is facing a wall. But my next build for my other cab will use wider angle and I'm quite confident it will stop 100% of the light. Here are the sizes of aluminium angle used:
My completed unit is 150mm x 70mm x 17mm thickness. I'm unsure what other angle sizes are available exactly but my next build will be in the area of:
If anyone would like to use this idea and/or modify it, please go ahead and please try other dimensions. I'd encourage you to use dimensions in the ballpark of what I'm planning for the next one if you are trying for 100% blocked. I can't even be sure it'll work in a 100% situation but see no reason why not. Or maybe you guys can come up with an improvement?
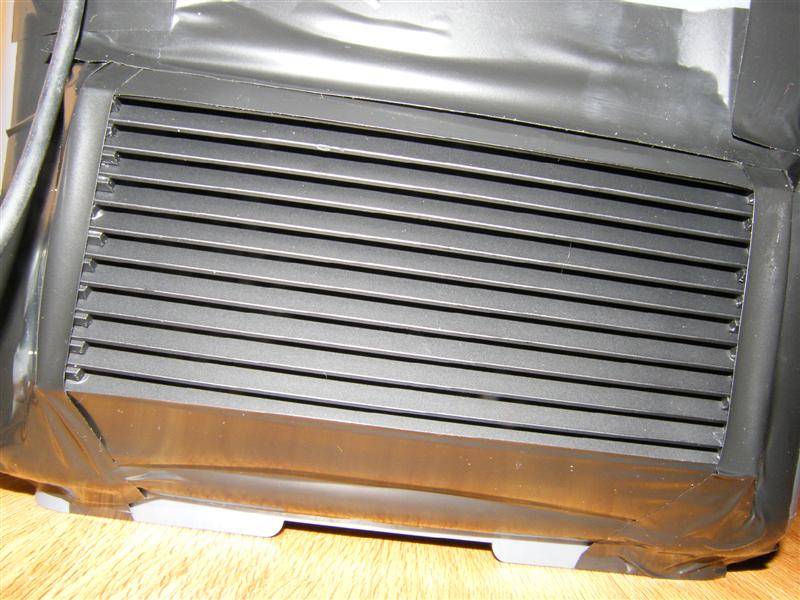
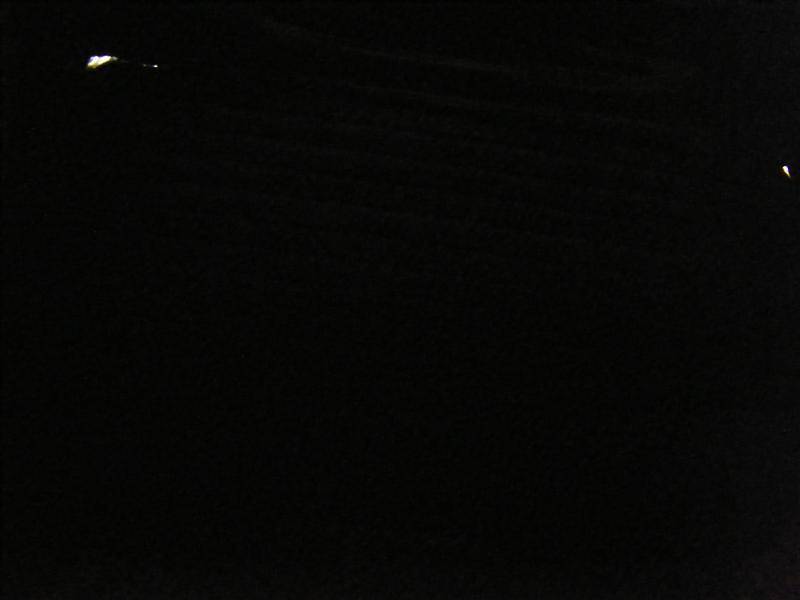
I think you'll be surprised at how much it blocks. Here is the final product quickly taped into place for testing. The tape let through some light leaks but I left them like that because it gives a better idea how minimal the glow is. Both shots taken rapid fire with/without flash:
Fatigues suggested using plastic or wood angling which I think would make it easier to cut up! I used a hacksaw and though it wasn't exactly a party, it was not too tedious. Aluminium is no match for a hacksaw. Tedious comes when you have to bevel each cut on each piece so they sit together neatly.
Another factor to keep in mind: the thickness of the fins is paramount here. You want as thin as possible to increase the ratio of free air flow to blockage. I used 1.4mm thickness for the fins (lets call it 1.5 including glue, for convenience) and the spacers were 3mm, so right there we can see that there's approximately 66% free flow. I just sized my intake hole proportionately beforehand so I still have far more than 2x intake:exhaust ratio, as per the dummy's guide.
Another issue was that it's hard to coat the very inner recess of the angles with spray paint when assembled. Hydro-Soil suggested painting them before assembling and I think this is a good idea. Just try to leave a tiny patch on the ends for the glue to stick to, so it's metal > glue > metal..... instead of metal > paint > glue > paint > metal.
Simple huh? Total cost: a few bucks? Not worth counting for my micro project. Please post pics and reports if you make this. Cheers.
The basic idea, exploded
The pieces cut out and small dab of glue applied to each (you don't need to do the top one remember)
Stuck together
Painted flat black
As mentioned, it's very free flowing. It blocks 99.99% of the light. At first I thought it blocked 100% but after letting my eyes adjust in a dark room, there is a slight glow coming from it, just enough that I wouldn't place it solely between a veg and flower room personally. Not enough to catch on camera! But it is noticeable with the naked eye if you concentrate.
It suits the purpose I made it for perfectly as it's in a cab in a dark room and the intake is facing a wall. But my next build for my other cab will use wider angle and I'm quite confident it will stop 100% of the light. Here are the sizes of aluminium angle used:
- Main fins - 12mm x 12mm x 1.4mm thick
- Spacers - 12mm x 12mm x 3mm thick
My completed unit is 150mm x 70mm x 17mm thickness. I'm unsure what other angle sizes are available exactly but my next build will be in the area of:
- Main fins - 25mm x 25mm x 1.4mm thick
- Spacers - 25mm x 25mm x 2.8 thick (two of the 1.4mm thick "main fin" angles placed together)
If anyone would like to use this idea and/or modify it, please go ahead and please try other dimensions. I'd encourage you to use dimensions in the ballpark of what I'm planning for the next one if you are trying for 100% blocked. I can't even be sure it'll work in a 100% situation but see no reason why not. Or maybe you guys can come up with an improvement?
I think you'll be surprised at how much it blocks. Here is the final product quickly taped into place for testing. The tape let through some light leaks but I left them like that because it gives a better idea how minimal the glow is. Both shots taken rapid fire with/without flash:
Fatigues suggested using plastic or wood angling which I think would make it easier to cut up! I used a hacksaw and though it wasn't exactly a party, it was not too tedious. Aluminium is no match for a hacksaw. Tedious comes when you have to bevel each cut on each piece so they sit together neatly.
Another factor to keep in mind: the thickness of the fins is paramount here. You want as thin as possible to increase the ratio of free air flow to blockage. I used 1.4mm thickness for the fins (lets call it 1.5 including glue, for convenience) and the spacers were 3mm, so right there we can see that there's approximately 66% free flow. I just sized my intake hole proportionately beforehand so I still have far more than 2x intake:exhaust ratio, as per the dummy's guide.
Another issue was that it's hard to coat the very inner recess of the angles with spray paint when assembled. Hydro-Soil suggested painting them before assembling and I think this is a good idea. Just try to leave a tiny patch on the ends for the glue to stick to, so it's metal > glue > metal..... instead of metal > paint > glue > paint > metal.
Simple huh?


