What's new
  • ICMag with help from Landrace Warden and The Vault is running a NEW contest in November! You can check it here. Prizes are seeds & forum premium access. Come join in!

~BHO LOVERS~

Sirdabsalot46n2

Member
Veteran
With the utmost pleasure

With the utmost pleasure

May we have more information?
Absolutely.

And hello Gray Wolf!
Ohmmmmmmmmmmmmnnnnnn!
Haha.

I am a bit of numskull when it comes to this stuff, so I asked my friend that made the unit, to provide me with a simple explanation how it works.

This was foreseeing the curiosity of my fellow posters.

Here is his explanation...(copy and paste)

Regarding the mechanics of this thing, it uses a resistive heater in an annealed nickel/steel tube, formed to fit this application. There's a strategically placed thermocouple bundled in there as well. I'd love an induction setup, but the closer things are to off-the-shelf, the more reliable and less expensive they tend to be. Heaters like these are usually used in plastic extrusion machines, massive high temp glue dispensers, etc...

Hope that helps, if you would like to know more, just ask and I will get you the answer.
Thank you for all you do.GW!

oh!!!!!!!


Speaking of..
My collective, the one I ordered the MKIIIa for, if you recall...

They finally got all the necessary equipment to get the machine running..
We plan to start using it very soon.

I should
/could google a resource, but in the brief time that I've searched the web, I have not yet found a ” how to run the MkIII”
is there a link?

Thank you in advance!:tiphat:
 
Looking good fellow BHO lovers.....

From 303 genetics, Snow Goddess #2 pheno..
Mini-run.

7 grams in about 1.5 ish back.

I love oil!!!
View Image

Hope y'all are having a wonderful Super bowl Sunday!
Stay super dabbed my friends.

I know I will....

Y'all ever seen an E-nail that doesn't cost an arm & leg?

A very close friend made me one.....as I have a terrible disease very similar to Rheumatoid Arthritis and utilize hash oil very heavily.

He designed this thing to fit most any rig.

View Image


View Image

Dabs on demand..I love it!!!

Dope!! Where can I get one?
 

Sirdabsalot46n2

Member
Veteran
Hello Bubba Krch, and thank you for the kind words.

My friend builds these units custom to user request, and he is a one man team.


I will be seeing him this coming Saturday..
At that point I will get more detail and report back.
He is going to swap my power box with an upgraded version with easier temp control.

Here I have more images to share, this was trim run.

8 days after the ” chop”, I loaded about an oz of close trim and some frosty larf.

3.6 gram return., will probably run again, as I was toying around with how tight I've been packing my tubes.

When I first started extracting oil, I packed VERY hard. Recently I've been packing tightly, but not too much, this particular run I packed firm, but not tight.

I think a happy medium is ideal.
IMAG1966_zps2703e235.jpg


IMAG1965_zpsf92bf8f1.jpg


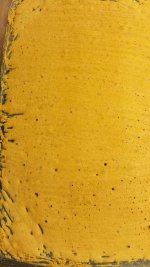
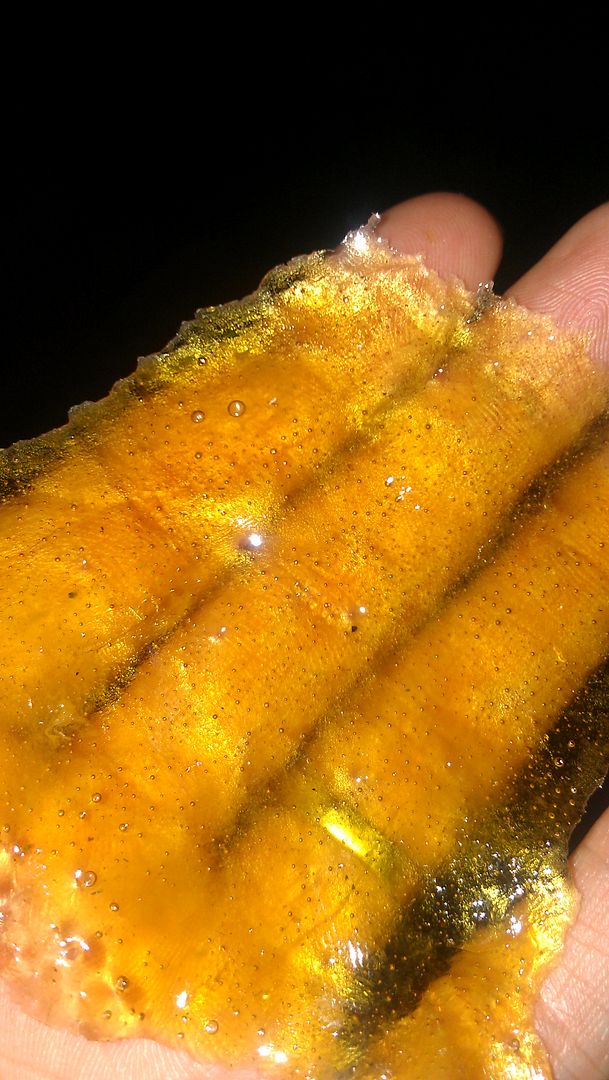
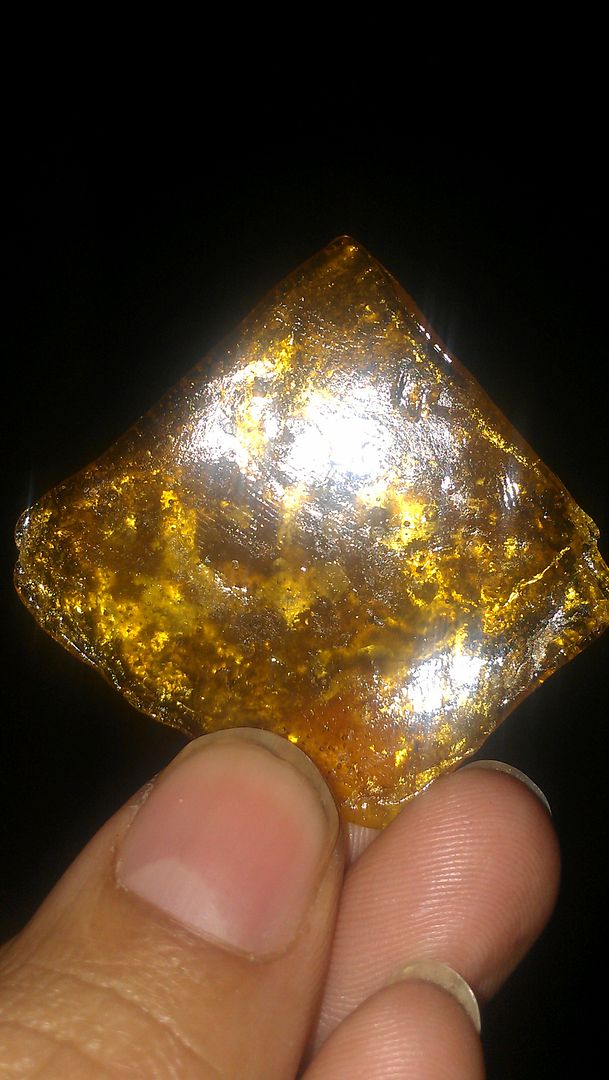
Folded up into a square ...
IMAG1974_zps28ac48ce.jpg


IMAG1976_zpsd0f3ab19.jpg
 

Gray Wolf

A Posse ad Esse. From Possibility to realization.
Mentor
ICMag Donor
Veteran
Absolutely.

And hello Gray Wolf!
Ohmmmmmmmmmmmmnnnnnn!
Haha.

I am a bit of numskull when it comes to this stuff, so I asked my friend that made the unit, to provide me with a simple explanation how it works.

This was foreseeing the curiosity of my fellow posters.

Here is his explanation...(copy and paste)

Regarding the mechanics of this thing, it uses a resistive heater in an annealed nickel/steel tube, formed to fit this application. There's a strategically placed thermocouple bundled in there as well. I'd love an induction setup, but the closer things are to off-the-shelf, the more reliable and less expensive they tend to be. Heaters like these are usually used in plastic extrusion machines, massive high temp glue dispensers, etc...

Hope that helps, if you would like to know more, just ask and I will get you the answer.
Thank you for all you do.GW!

oh!!!!!!!


Speaking of..
My collective, the one I ordered the MKIIIa for, if you recall...

They finally got all the necessary equipment to get the machine running..
We plan to start using it very soon.

I should
/could google a resource, but in the brief time that I've searched the web, I have not yet found a ” how to run the MkIII”
is there a link?

Thank you in advance!:tiphat:

Thanks, I'll check it out.

Building and operating instructions with diagrams at http://skunkpharmresearch.com/mk-iii-terpenator/

Here are the basic steps operating it to make oil. I copied them from the above and added verbiage describing the valves.

Check the IC Mag Terpenator Station thread by FE to pick up on some of the more recent nuances of making carboxylic acids.

1-22-12
Terpenator Operating Instructions

The Terpenator series are operated as follows:

1.0 Open all valves, except for valve #4, the butane supply valve.

2.0 Turn on high vacuum pump and pump system down to -29.5″Hg.

3.0 Close #1 vacum pump isolation and lower dump valve #3.

4.0 Turn off high vacuum pump and turn on the recovery pump.

5.0 Place one hand on the vent line exiting the top of the column and turn on butane flood valve #4.

6.0 When you feel the sudden chill of liquid butane reaching the vent tube, close upper vent valve #2, and then butane flood valve #4. Record the number of seconds required to flood the column with the existing packing density.

7.0 Continue to pump with the recovery pump, until the internal pressure is reduced to -10″Hg.

8.0 Open vent valve # 2 and butane flood valve # 4 for the same number of seconds that it took to flood the column the first time.

9.0 Close valve #2 and then #4 and continue to pump, until the system pressure is again reduced to -10″Hg.

10.0 Repeat steps #8 and #9 for as many cycles as you choose to run. Typically three cycles for the Mk IA and II, and five cycles for the faster Mk III and IIIA.

11.0 At the end of the last cycle, when the gauge hits -10″Hg, open valve vent #2 and then dump valve #3 to dump column.

12.0 Continue to pump until the system reaches -22″Hg, at which point close valve #5 and turn off the recovery pump.

13.0 Open vacuum pump valve #1, and turn on the high vacuum pump.

14.0 Pump the system down to -29.5″Hg and close vacuum pump valve #1.

15.0 Shut off the vacuum pump and allow the system to sit under hard vacuum for 5 minutes to purge.

16.0 Remove product from lower collection tank.
 
Last edited:

Sirdabsalot46n2

Member
Veteran
With the most sincere sentiment, Thank you for that post GW!

My apologies for my lack of depth in regards to looking for a” how to” on the web...

Silly me, I was searching the incorrect verbiage/phrasing by specifying the MKIIIa.
Which led me to nothing I could grasp onto.

So, thank you very much.

This is going to make getting our Terpenator operating much more comprehensive, the step by step is fantastic, and I'll be studying the aforementioned Terpenator Station thread.

I think we plan on Monday to inaugurate the Terp. Until then I'll be lurking both SPR and said ICMAG thread.

I'm guessing I do not have enough posts under my belt here to have the capability to give rep.
So, I'll rep ya somewhere else.

Ohmmmmmmmmmmmmmnnnn!
 

MrGoodBudz

Member
Veteran
Self taught only inspired. Been told by few my method and result is unique.

Self taught only inspired. Been told by few my method and result is unique.

I used 565g of quality A trim (prepared) clean grow. Returned 102.2g. Divided between x2 2 1/2" x 36" custom ABS tubes with coffee filters. X12 cans 300ml ea whip it brand "zero impurities" 6 cans per tube. The purge starts in hot water baths. Temps never above 110degree f. 2 or 3 baths. 30-45 mins here. Then to my 2 bulb 300w total uv lights for about an hour and a half. I whip the oil regularly throughout the hot water and uv light purge until bubbles are small and even. Then I let it rise slightly and even out in the Pyrex. The oil quickly dulls and flattens in texture and sheen. Then I scrape it out in as big of clumps as possible because I think it looks cool and its easy to deal with.
 

Attachments

  • image.jpg
    image.jpg
    90.7 KB · Views: 31

Sirdabsalot46n2

Member
Veteran
Light colors are derived from bone dry, fresher material, and the use of low heat...

Do not exceed 120° throughout the entire process.
Keep moisture away from the extraction.

moisture in any form will contribute to the darkening of any concentrate, as the need to increase temps to purge out moisture content.

How tightly is the material being packed into your column?

Hope this helps, I'll post some more on my lunch break.
 

Sirdabsalot46n2

Member
Veteran
Obtaining light Transparent colors

Obtaining light Transparent colors

How are you getting the oil this clear? I am running a MKIIIA, and every batch I've ever made comes out a lot darker. Any tips would be great.

Good Afternoon Norcal.

My apologies on the late reply.
^ Above are some very basic tips to apply to your overall technique.

I need a bit of info from you to assist you more appropriately.

Your Material?
Self grown?
How old from clipping?

Your solvent mix?
Are you using a combo of Propane Iso-Butane and N-Butane?
If so what are the ratios?

If you are simply tapping into cans, what brand of solvent?
Ambient temperatures and relative Humidity levels will often impact the color and consistency of the extract.

IMAG1991_zps61b6f4f5.jpg


Keep your temps under 120°,115° being ideal.

Vacuum purge temps are extremely crucial.

Under a full vacuum the 115° mark is critical, being under vac the boiling points of everything in the chamber are lowered significantly, hence
You can burn the extract of you are not careful and mindful of the amount of time under vacuum.

Keep the oil as thin as possible, known widely as ” Thin film Purging”
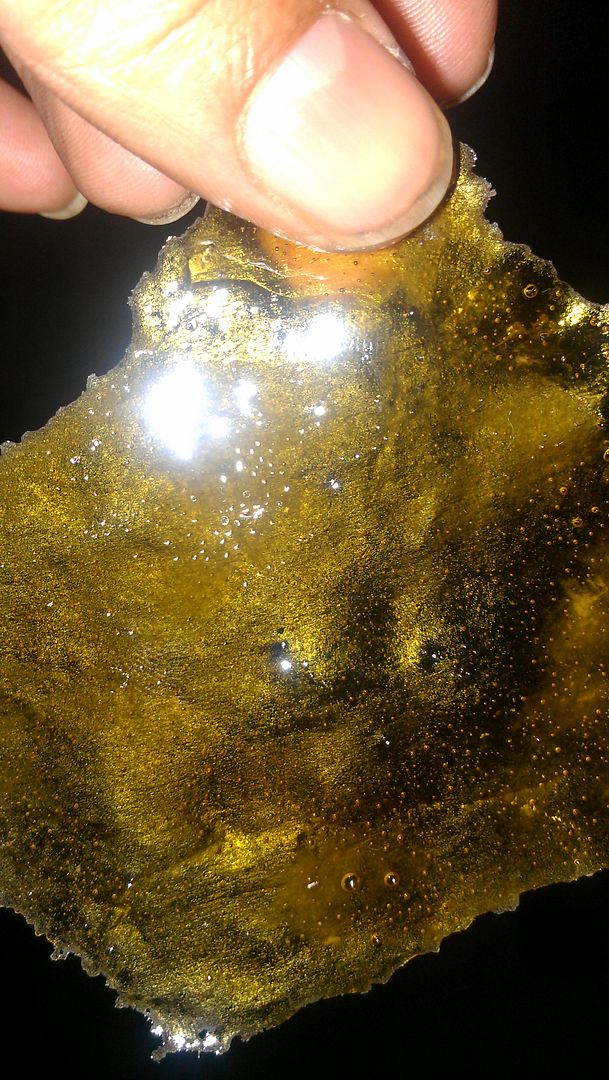
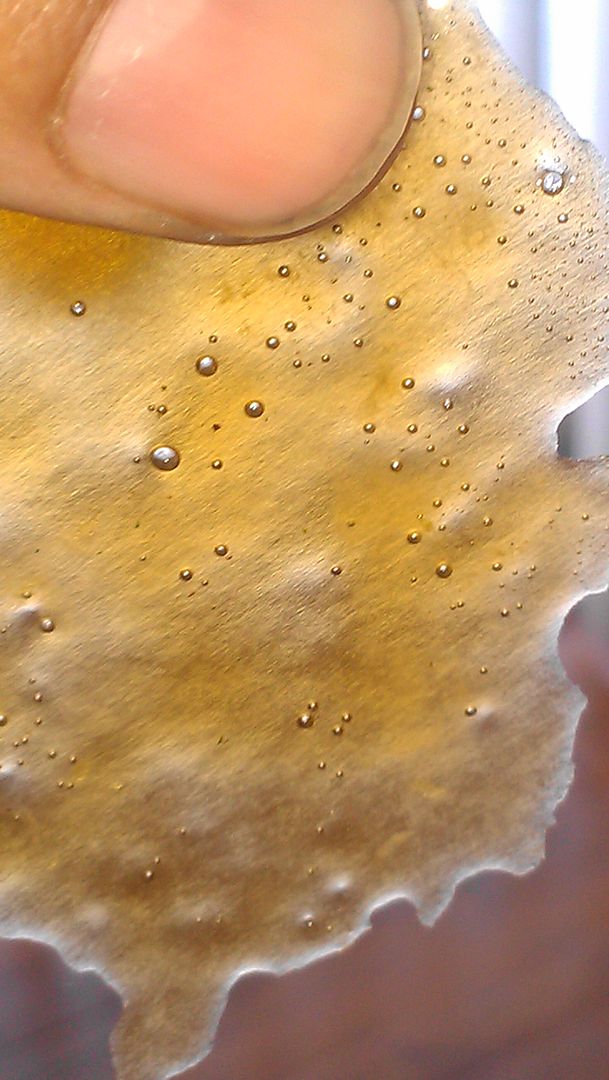
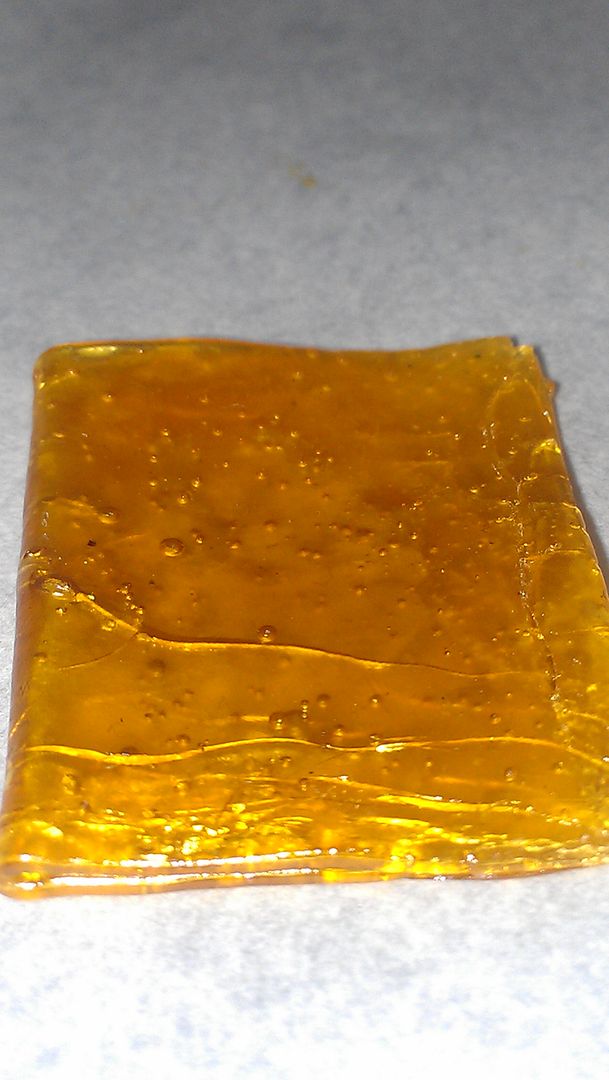
Like this thin......

IMAG1969_zps5e705d29.jpg


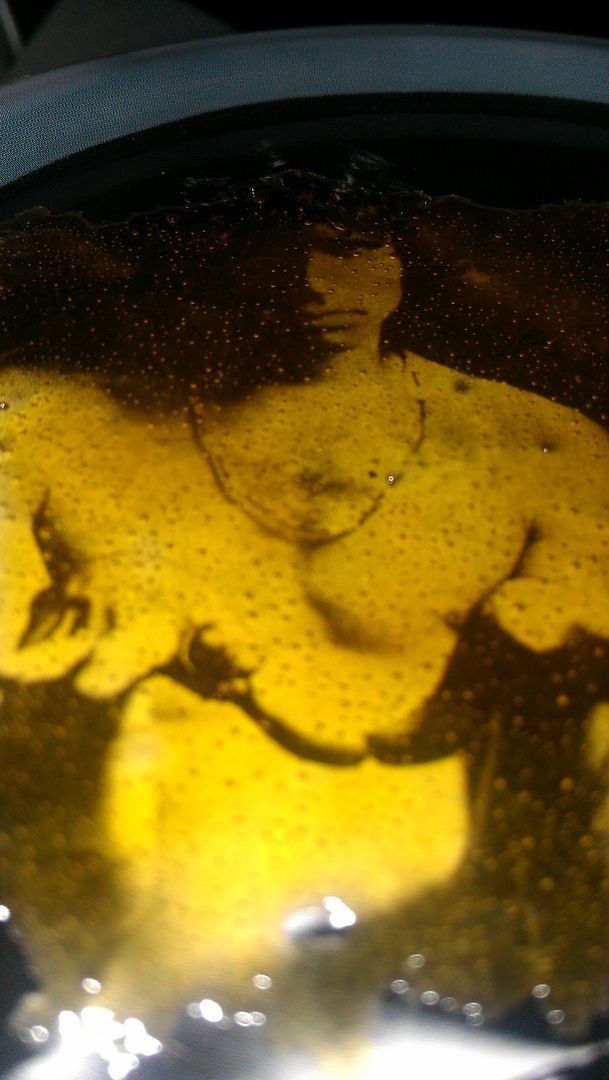
Note how clear the oil is, that is a picture taken after the vac purge.

After the vacuum session is complete, I will let the oil sit in the chamber with the lid on, but no vac applied at 115° for about 15 minutes.

I do this to” smooth” out the oil, fill in all the holes, and melt into a glassy patty.

While still warm, I'll fold the oil onto itself, being very careful, warm the edge of the fold with the heat from your fingers, and slowly bend...careful as it may send shards of oil flying.

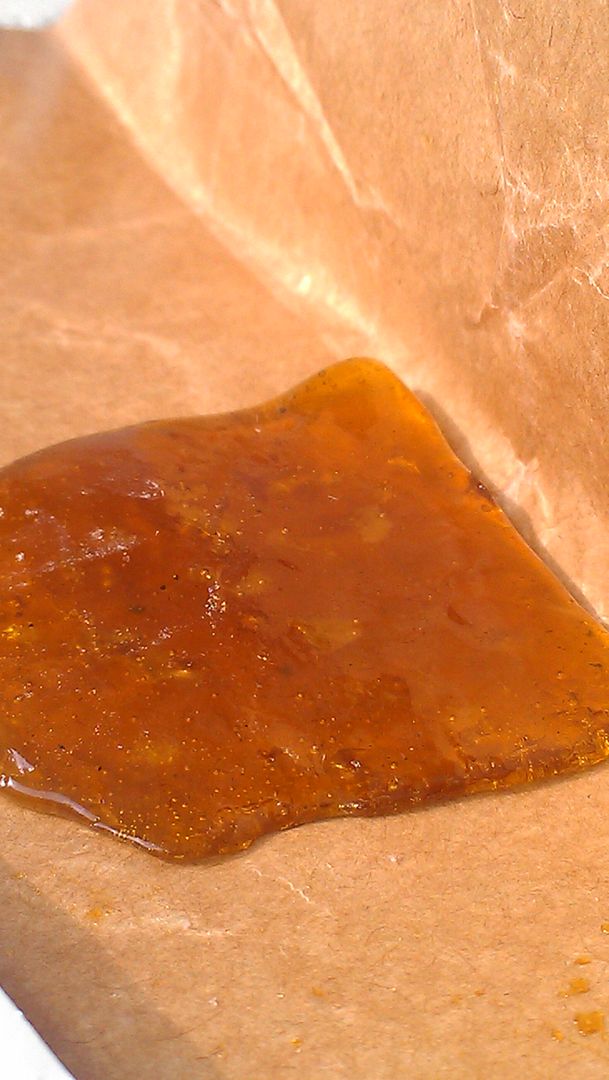
It will look kind of like so....
IMAG1973_zpsd585513e.jpg


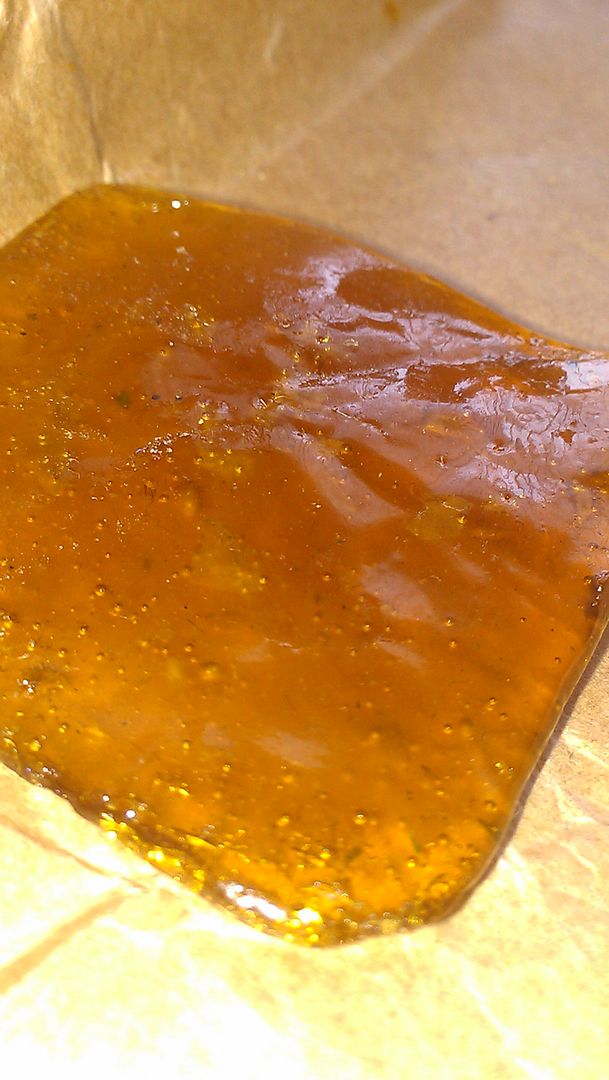
After the oil sits at ambient temps for a day or so, it should take on a sheen,
IMAG1994_zps456c81ab.jpg


Obtaining pristine” pretty” extracts is not an easy task, it will take time to develop your technique and familiarize yourself with certain strains, and how they react to the methodology chosen for it's extraction.

Different strains will produce a myriad of colors and textures.

The key in this whole thing is learnin” Variables” and how to react to occurrences as they happen.
This comes with repetition, and practice, you will get it my friend.

I have been and still get frustrated at times, because the oil game is hard to predict.

Keep in mind, the starting material is the largest factor..

Old material will always produce a darker concentrate.

Perhaps try dehydrating your material prior to extraction, as I mentioned above, moisture will certainly darken also.

I've used my vacuum chamber to dry my material prior to extraction, and it produces the color and clarity seen in the images.
Only takes about 15 minutes per oz of material to dehydrate in your chamber..

This can be done at room temp. As water turns to vapor under full vacuum.

Hope these tips are of benefit.
If you have further questions, please feel free to ask.
Happy oil making!!
Sir_dabs
 

Sirdabsalot46n2

Member
Veteran
Doggonit , I sure wish I could edit my posts..

Anyway..

I also go not use a water bath ever.

You may ask, what I'm using then.....

All purpose SandI use sand in the place of water.

My setup consists of a deep dish griddle, and I first layer a bed of raw rice, then dump in a generous amount of sand, nestle my chamber in there, and add more sand around the walls of the chamber.
For initial boil off...

I simply fill a larger dish than I'm blasting into with sand, maybe two or three separate dishes depending on the size of the run. I'll throw em in the microwave for 5 minutes...

Surface will read about 200° F... By the time you are ready to evap the tane the temps will be around 120°...this is where the extra dishes would come into play.

But, sand holds heat VERY well, and doesn't evaporate like water, so changing out will not be as crucial with a water bath.

Water baths also bring water into the mix in the form of steam.

A pool of liquid butane is known as ” super-cooled” thus will ultimately pull atmospheric moisture into itself.
Ever since I used sand... Never looked back.
 

Hashmasta-Kut

honey oil addict
Veteran
a rule of thumb as to types of product affecting color are the more purer indica, and the more mature, the darker the oil may be naturally. also if you have much time go by between first drying the product and extracting from it, it can darken considerably as well. for the lightest possible color it would be achieved with early harvest very close to pure sativa. some sativas are more light yellow than others.
 

Sirdabsalot46n2

Member
Veteran
^ Got to agree.

I also must introduce myself, and display my gratitude to you HMK.

I began my BHO journey about 2 years ago and like a large majority of us, was inspired and mocked your technique.

Many thanks to you sir!!
It's an honor to post with you!

Your contributions to the canna-community are invaluable.
I still rock the HMK tek to this day.. On my ” mini runs”..

Much respect,
Sir_dabs
 

Sirdabsalot46n2

Member
Veteran
Glassy Extracts

Glassy Extracts

Please tell me how u made a glass? Can i make it without vacum proces?? thx for info
Hello Jajda.

The glass texture can be obtained by using fresh material, and keeping your temperatures low.

Older, cured material is less likely to produce glass, as THCa is no longer in it's hard carboxylic form, from the slow de-carb that occurs during the curing process.

However, using a Polar solvent such as Ethanol or Isopropyl Alcohol in a ” quick wash application”...(30 seconds or less)

A vacuum is not required, however is very advantageous and makes the process faster, and safer to consume as medicine.

If you want to start learning BHO shatter, you must have a source of fresher plant material, 5-14 days from clipping is ideal.
Without a vacuum...

Low, slow heat..
Try to find a source for both heat from the bottom and the top, such as a toaster oven set to 130°

*Patience*
Do not be overly anxious to ” finish”..
It will take a while to purge the gas out..

Check out the ” HMK Tek” for producing glass quickly.
 
Last edited:

Jajda z okjesu

Well-known member
Veteran
Thank you Sirdabsalot for helpful info.

picture.php

this is my not too glassy BHO
Why you can take it to hand? my bho is very sticky, only when i store it at fridge i can take it to hand, but at room temp wiill go to wax....:dance013:
 

Sirdabsalot46n2

Member
Veteran
Edit to my post

Edit to my post

Please excuse the double post...

I could not yet edit my posts and made a typo regarding polarity.
Sorry ICMAG!
:thank you:
 
Last edited:

Latest posts

Latest posts

Top