I don't like to waste material and I also don't like to buy grow products if I can avoid it.
I had some empty spaces in my cab that were too small to fit a pot in, but seemed large enough to grow something there.
I figured grow bags would be good but I didn't have any and the ones I've seen seem a bit wide.
I had some scraps of Panda film laying around and I also have a 12" impulse sealer, so I got the idea to try to make some homemade grow bags to fit into those spaces.
Here's how I made mine.
First lay out some Panda film
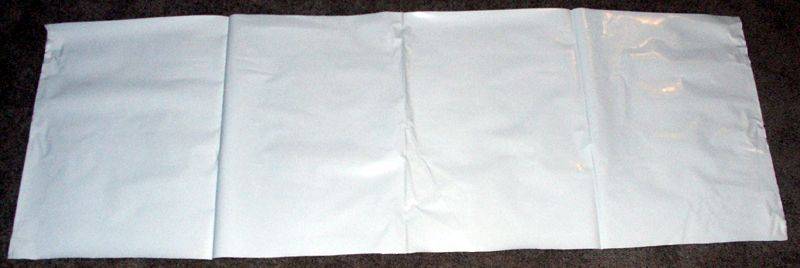
The pieces of Panda film I use to make bags, are approx 14" x 20".
The piece of Panda film above is approx 56" x 20".
We will cut this into 4 pieces, each approx 14" x 20". This allows us to make 4 bags from the one piece above.
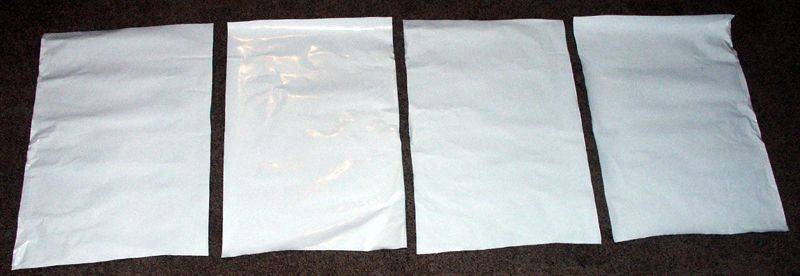

Here's a ruler showing the approx lengths of each side (14" x 20")
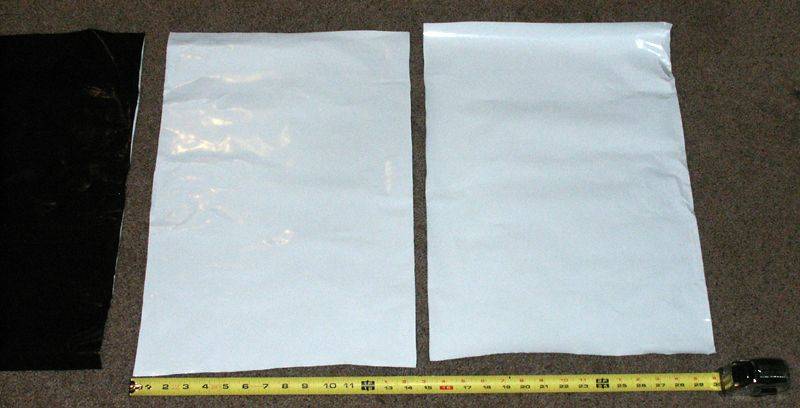
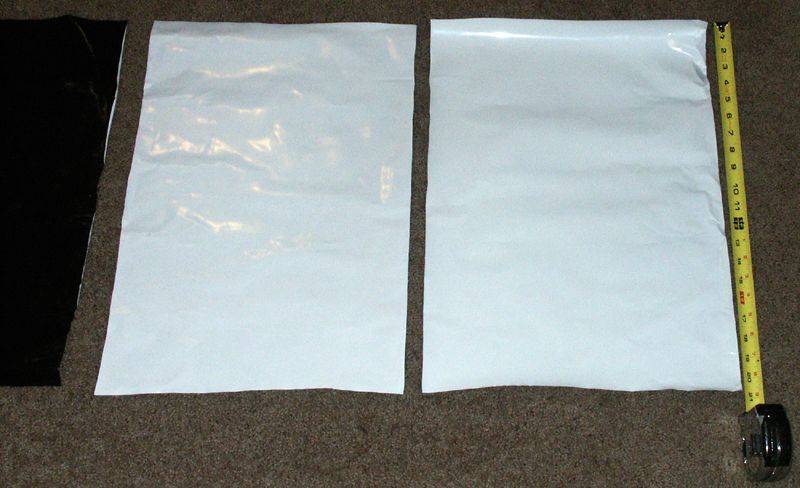
Here's the impulse sealer and 2 cut pieces of Panda film that will be used to make 2 bags
Before starting this you should test seal 2 small pieces of Panda film together so your impulse sealer will be at the right settings when making these bags.
(The dial on the impulse sealer below was set a little above 3)
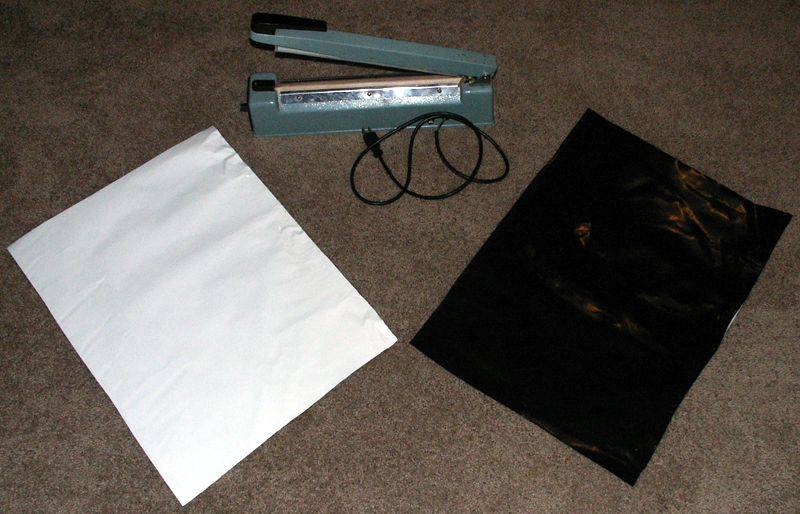
Fold the Panda film in half along the 14" side. This will make your bag approximately 7" x 20"
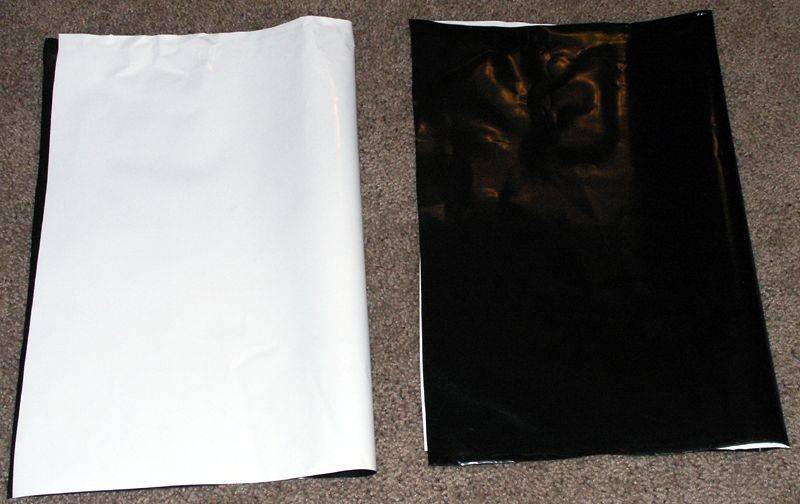
The bottom of the bag needs to be sealed, so put it into the sealer
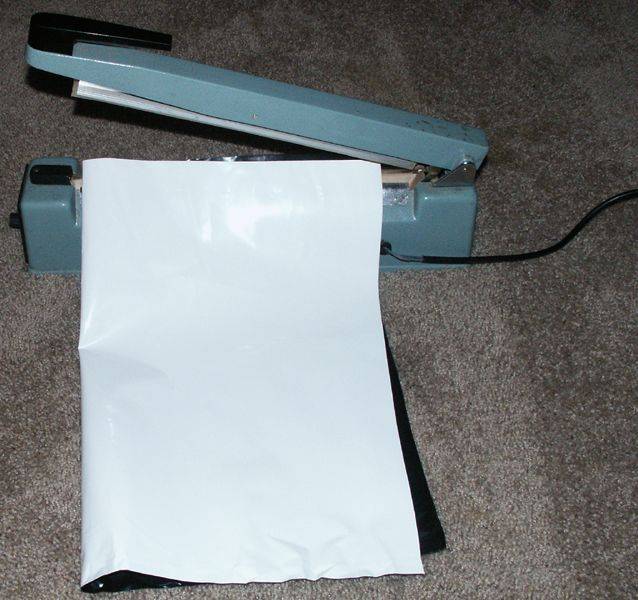
Press down on the handle, it should click/seal
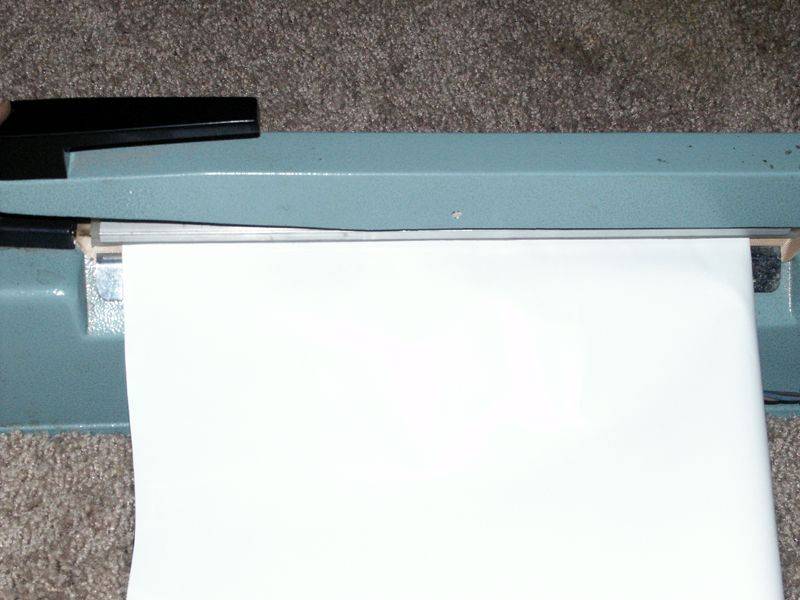
Release the handle and the bottom should be sealed
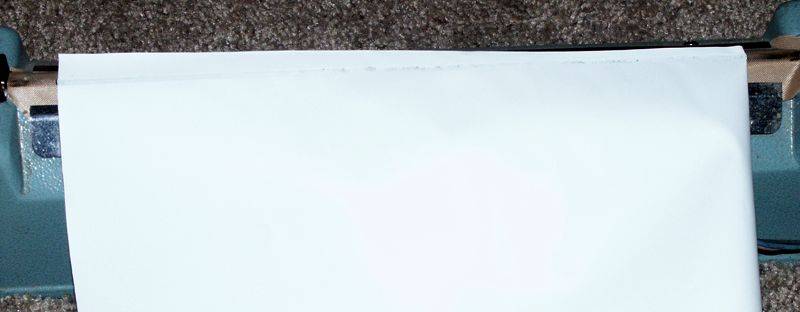
I usually seal the bottom twice

Next you have to seal the side. Since the sides are 20" and the impulse sealer is only 12", we have to do the sides in 2 steps.
First step is to seal from the bottom up as high as the sealer will reach.
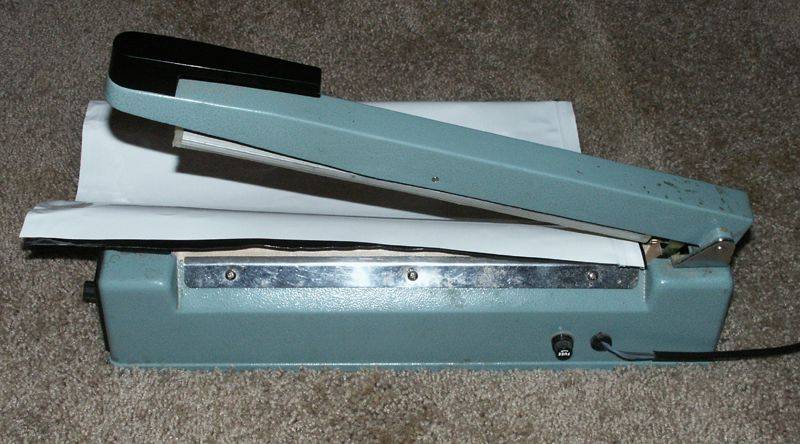
My sealer kind of makes a small hole in the plastic at the end of the 12", but thats not a big deal because it is in the seam and not the side.
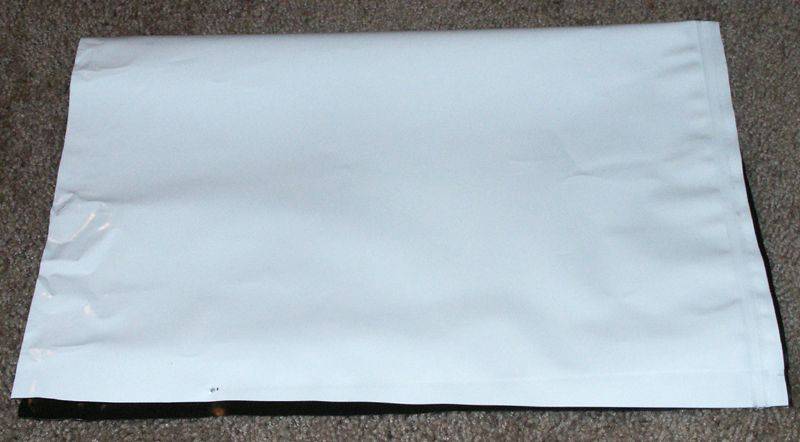
Now you have to seal from the end of where the first seal left off, up to the top of the bag. So put that part of the bag on the sealer and seal it.
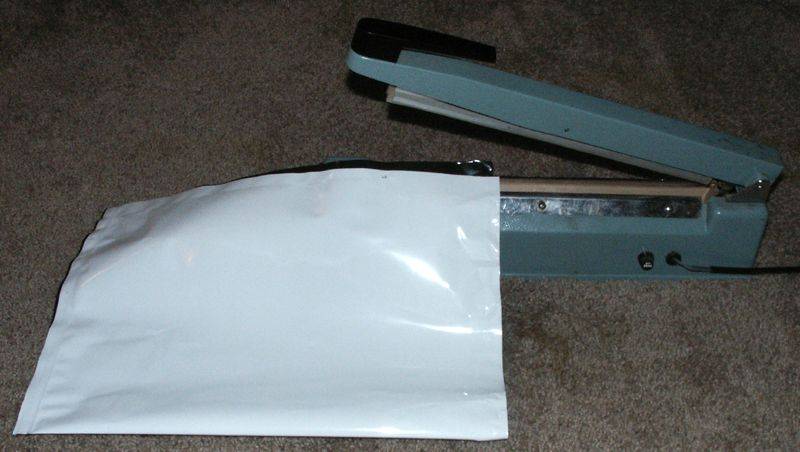
After you have released the sealer handle, remove the bag.
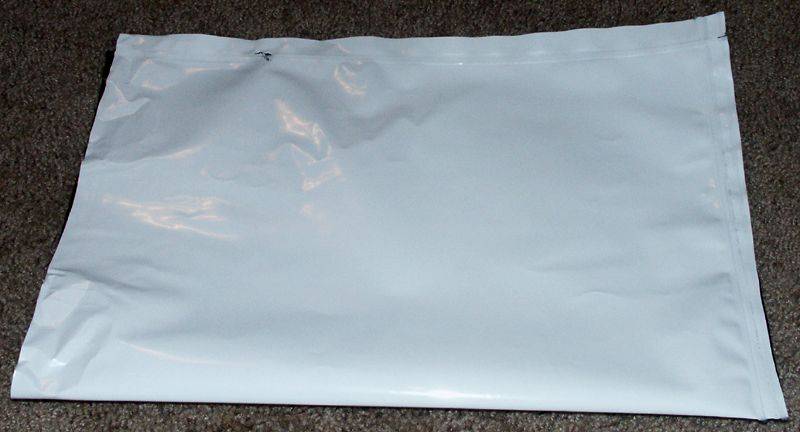
The bag is finished and ready for use.
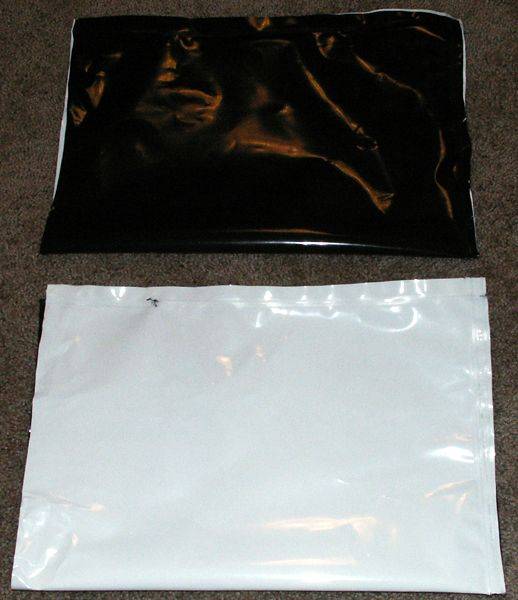
Here is a black bag and a white bag made from scrap Panda film.
Here's some examples of different plants grown in these bags.


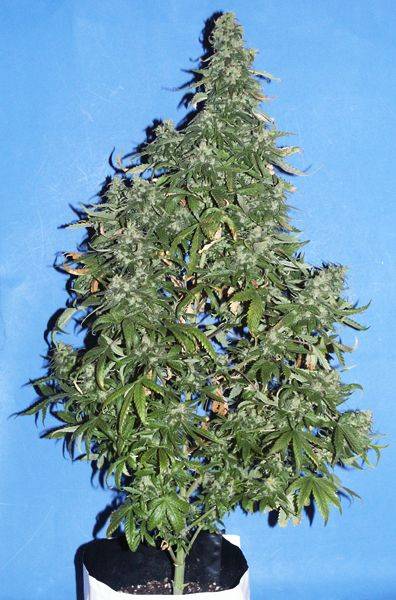
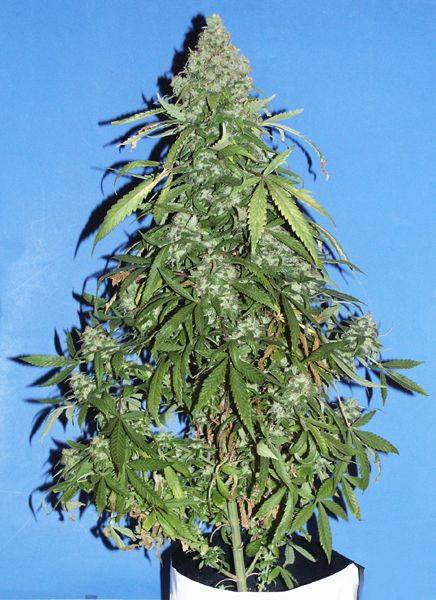
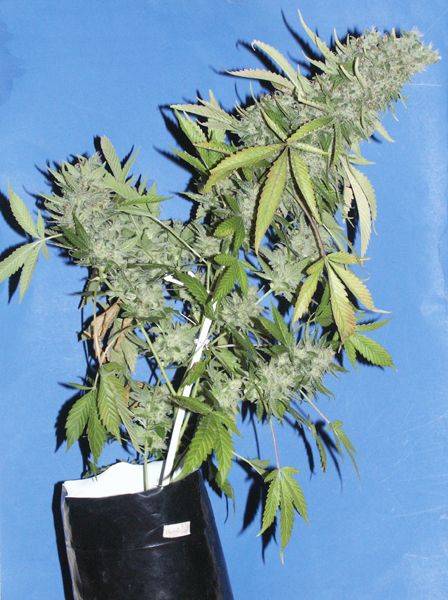
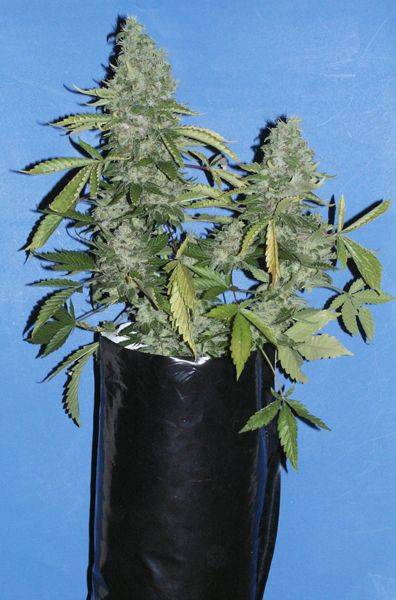
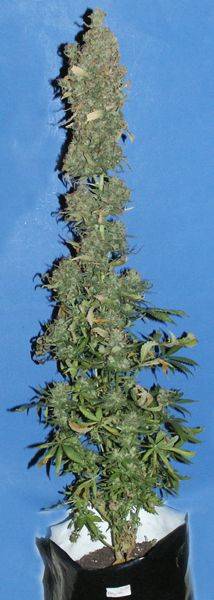
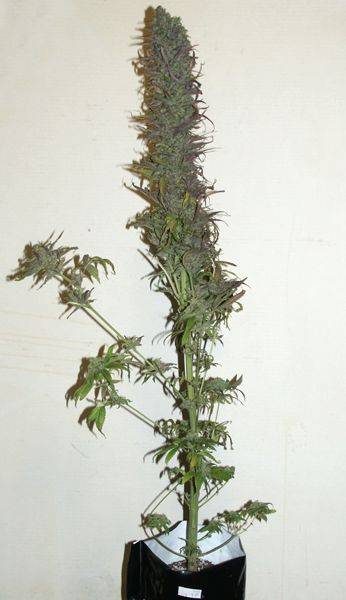
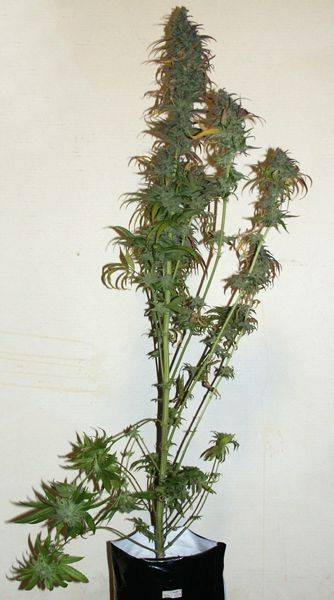
These bags are all the same size, just the plant sizes are different.
The bags hold a bit less than 2 gals of soil.
I don't like drain holes in my grow bags, so I don't make any. You could always cut holes/slits in the bottom if you want them.
I had some empty spaces in my cab that were too small to fit a pot in, but seemed large enough to grow something there.
I figured grow bags would be good but I didn't have any and the ones I've seen seem a bit wide.
I had some scraps of Panda film laying around and I also have a 12" impulse sealer, so I got the idea to try to make some homemade grow bags to fit into those spaces.
Here's how I made mine.
First lay out some Panda film
The pieces of Panda film I use to make bags, are approx 14" x 20".
The piece of Panda film above is approx 56" x 20".
We will cut this into 4 pieces, each approx 14" x 20". This allows us to make 4 bags from the one piece above.
Here's a ruler showing the approx lengths of each side (14" x 20")
Here's the impulse sealer and 2 cut pieces of Panda film that will be used to make 2 bags
Before starting this you should test seal 2 small pieces of Panda film together so your impulse sealer will be at the right settings when making these bags.
(The dial on the impulse sealer below was set a little above 3)
Fold the Panda film in half along the 14" side. This will make your bag approximately 7" x 20"
The bottom of the bag needs to be sealed, so put it into the sealer
Press down on the handle, it should click/seal
Release the handle and the bottom should be sealed
I usually seal the bottom twice
Next you have to seal the side. Since the sides are 20" and the impulse sealer is only 12", we have to do the sides in 2 steps.
First step is to seal from the bottom up as high as the sealer will reach.
My sealer kind of makes a small hole in the plastic at the end of the 12", but thats not a big deal because it is in the seam and not the side.
Now you have to seal from the end of where the first seal left off, up to the top of the bag. So put that part of the bag on the sealer and seal it.
After you have released the sealer handle, remove the bag.
The bag is finished and ready for use.
Here is a black bag and a white bag made from scrap Panda film.
Here's some examples of different plants grown in these bags.
These bags are all the same size, just the plant sizes are different.
The bags hold a bit less than 2 gals of soil.
I don't like drain holes in my grow bags, so I don't make any. You could always cut holes/slits in the bottom if you want them.


