Blue_adept
Active member
Well i have learned so much around here i figured i should repay the knowledge. Here is a pictoral build of the stealth tub setup i designed/built. I will start off by saying Red-Greenery inspired me to build a tub setup long ago, but i wanted something that would be as inconspicuous as possible.
On to the good stuff
your going to need:
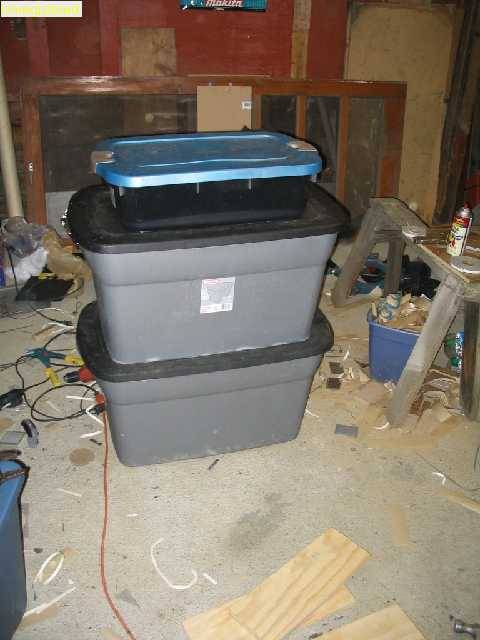
2 large stackable rubbermaid tubs (your choice on size really)
1 rubbermaid tub to sit atop the stack (the pics will show you)
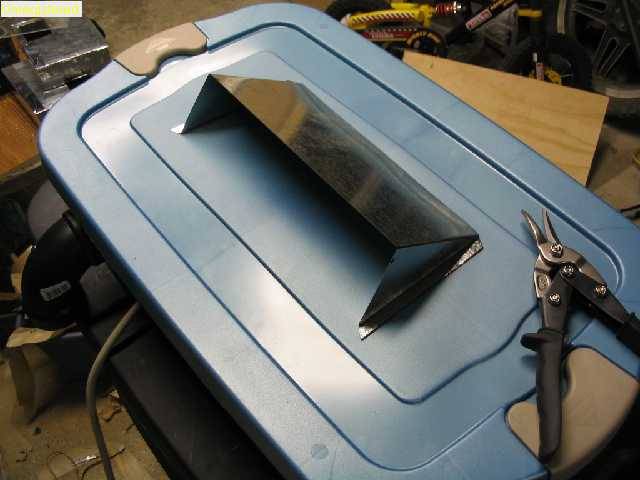
1 sheet of galvanized duct sheet metal
2ft of 3in ABS +2 3in couplers
2 1.5in ABS elbows + ~6in 1.5 ABS
~1sq ft of screen
1-2 rolls weatherstripping
12 EZ light bases + bulbs of choice
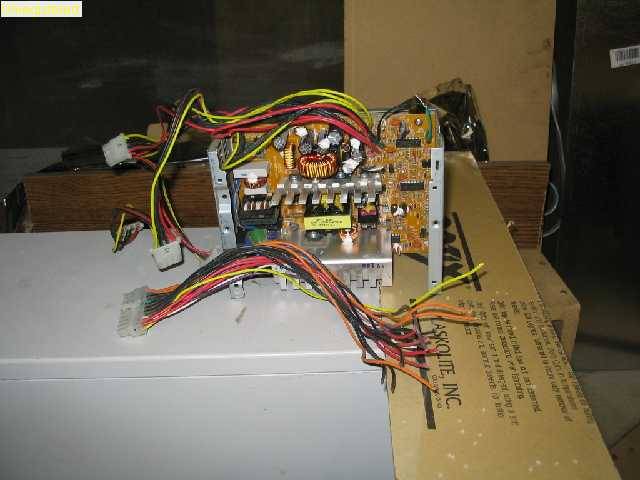
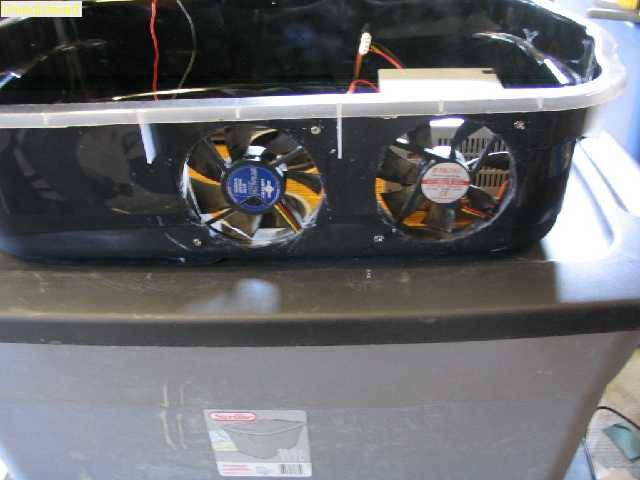
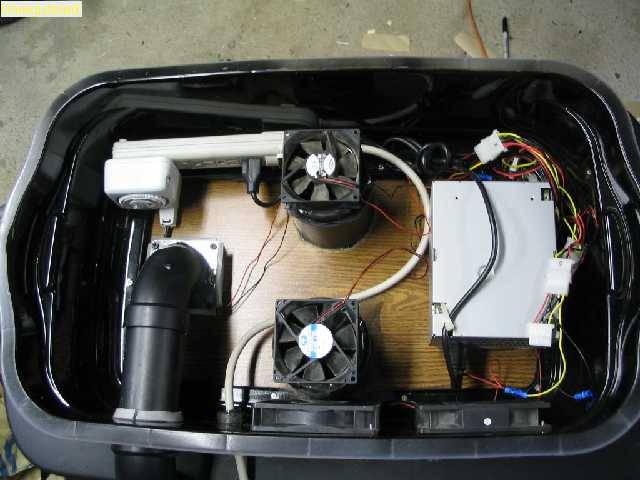
1 PC power supply+ 2 80mm fans + 2 120mm fans
misc wire/wood
1 piece of 1/8th plexi, you will find out your size later
rivets
Krylon fusion paint, or other suitable
Tools req: (well the ones i used anyway)
jig saw, box knife, screwdriver, rivet gun, compass or circle jig, tape measure, hammer, pliers, drill(1/16th bit, and 1/8th)
Start by painting the large tubs with a few coats of black paint, then heavy coats of white. Remember we are going for stealth here, so no light transmittance is needed.
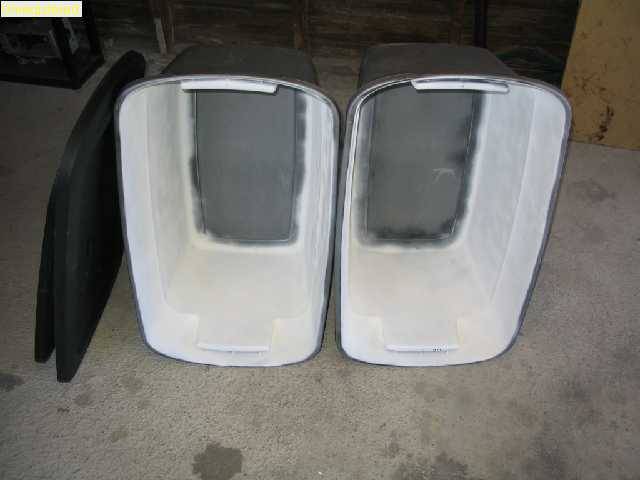
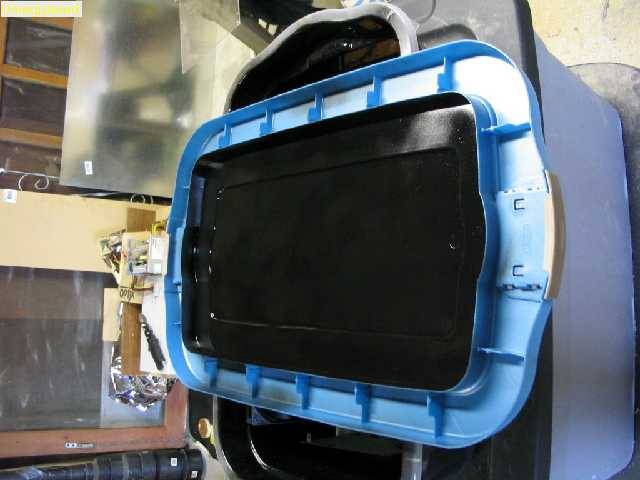
Cut out the bottom of your top tub, leaving enough overlap to rivet the bottom to the top of the bottom tub.
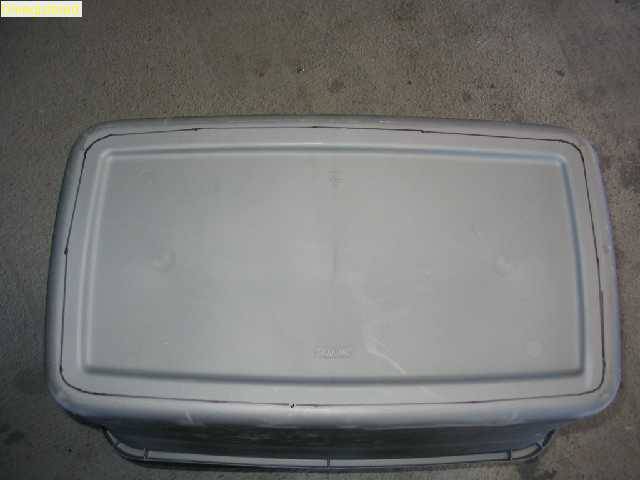
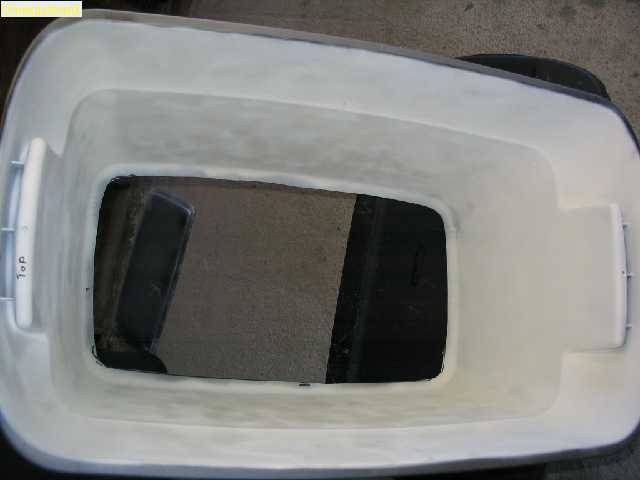
Set your cut tub on the lid for the bottom tub, trace and cut, then rivet the tub to the lid.
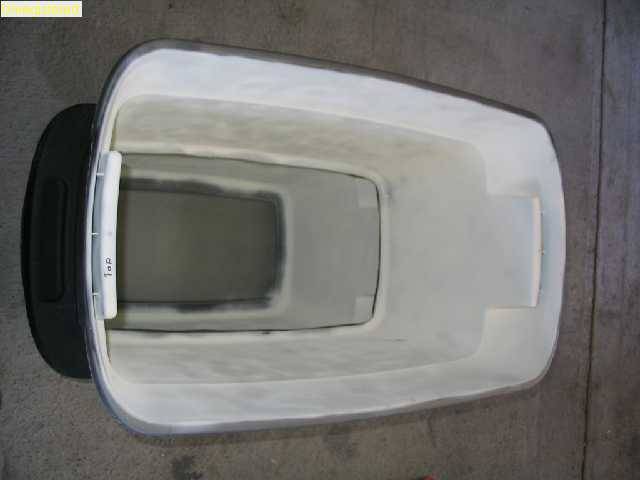
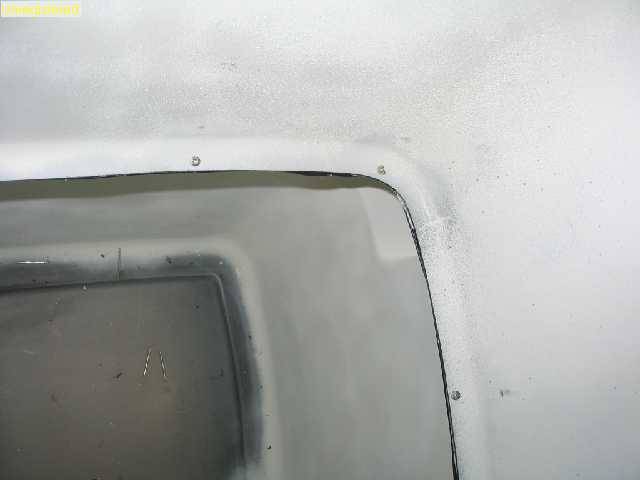
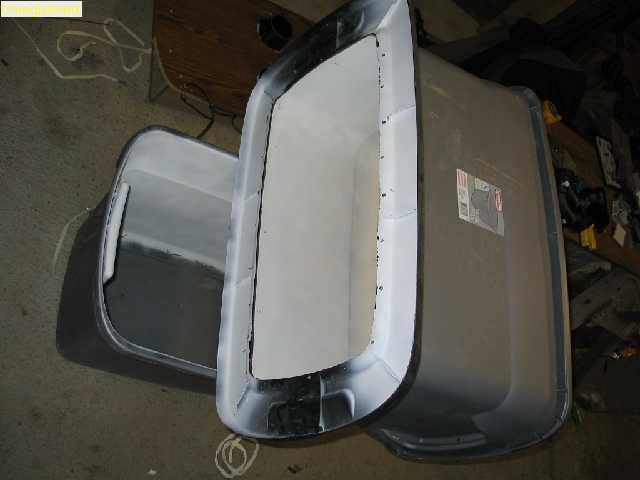
Now we get to do a little carpentry
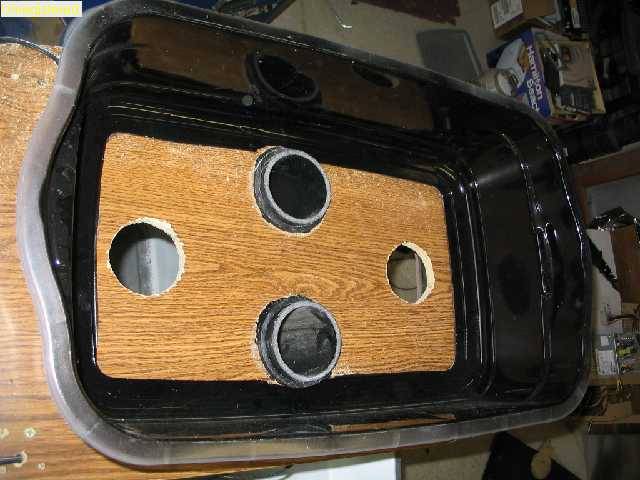
Get yourself a suitable pice of wood to use as the light box/electronics base. I happened to have an old Ikea wardrobe that was 5/8 mdf.
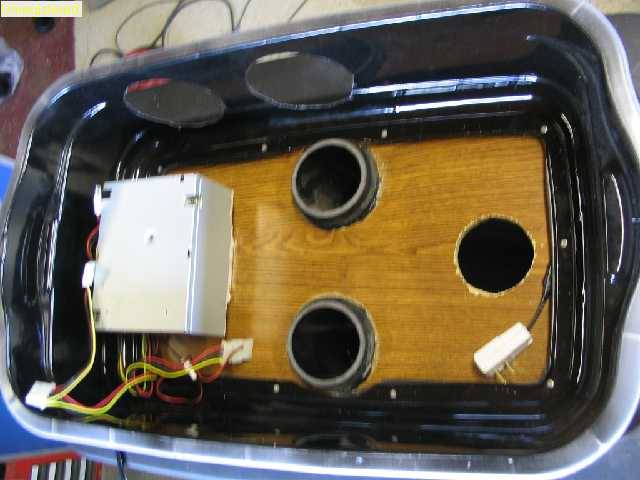
Turn your top tub upside down on your wood and trace the outline of the inside of the tub. You want the wood to fit like so:
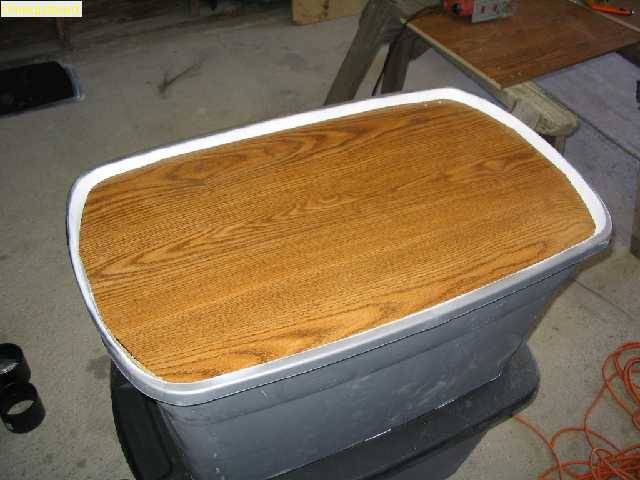
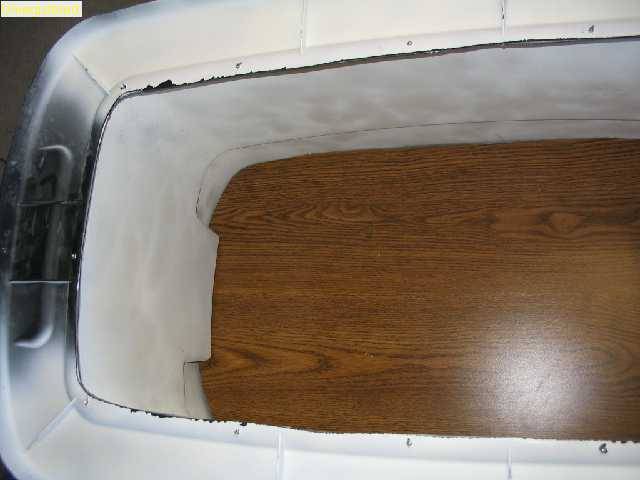
Make marks inside so that when you build the light box it will actually fit in between the handles of the tubs, i have notice most have a pretty good taper here, and what fits in the top may not fit 6in down from the top.
From the lines you made earlier, we can make a simple box to house our lights. I went with 6in rips of 3/4 MDF because i had it laying around.
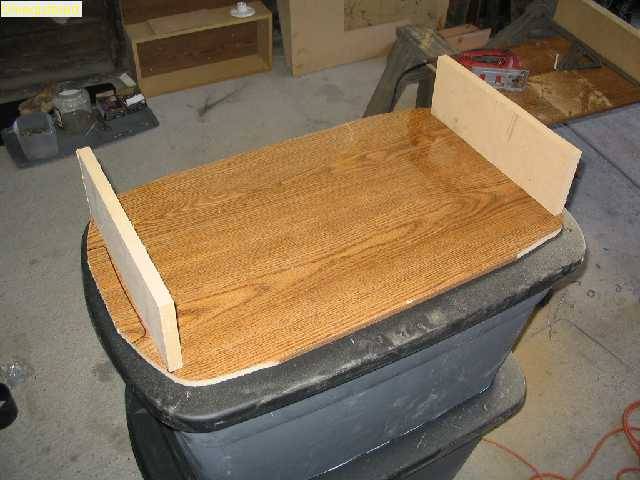
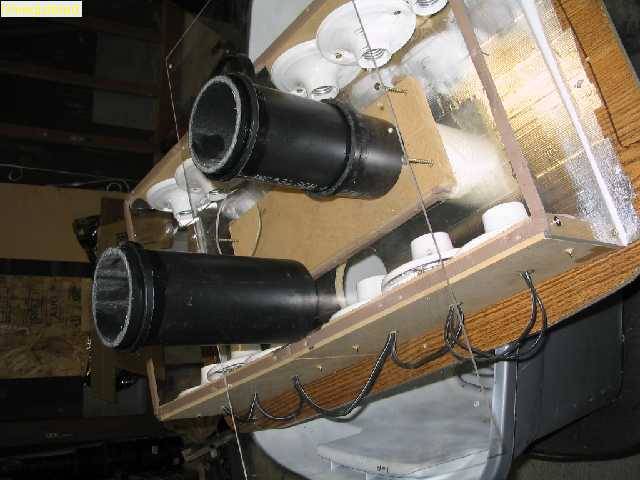
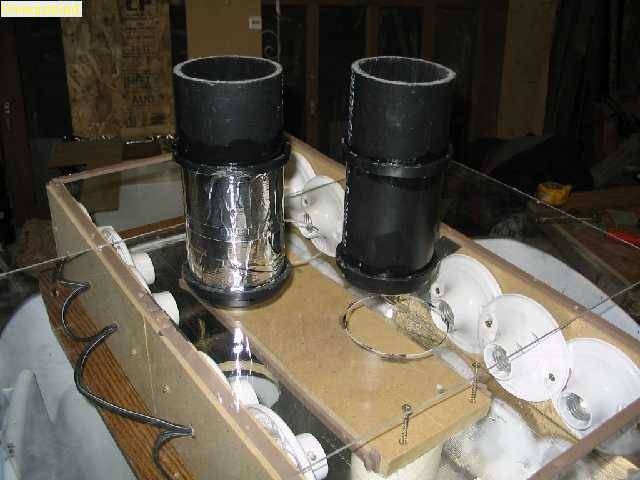
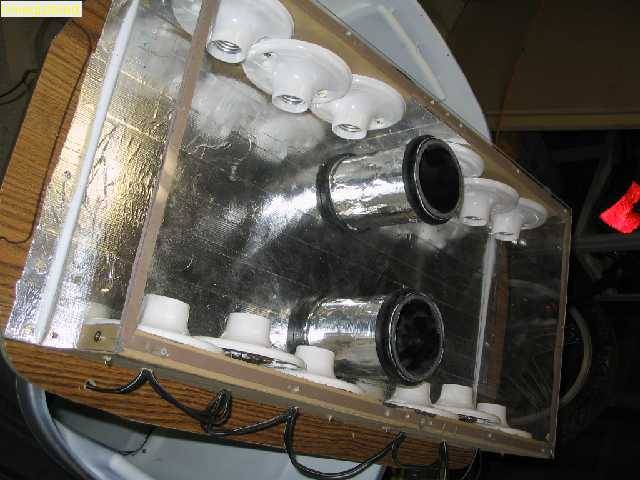
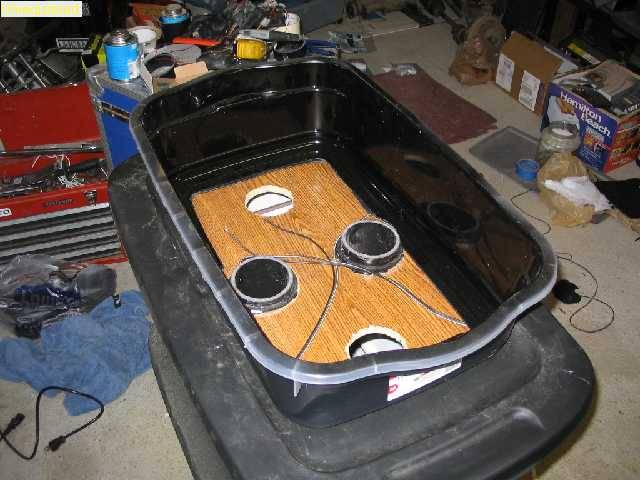
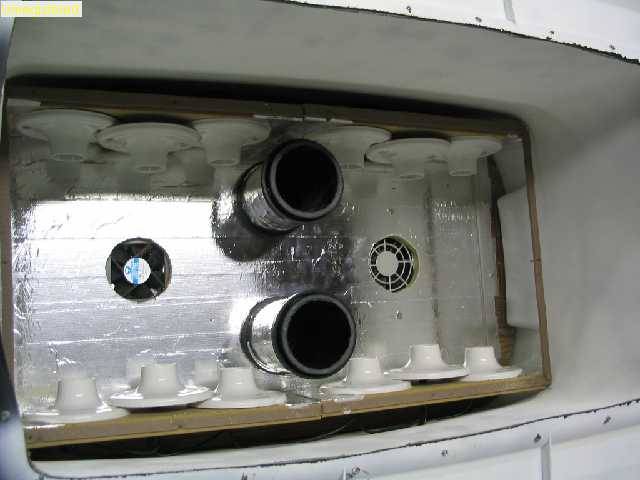
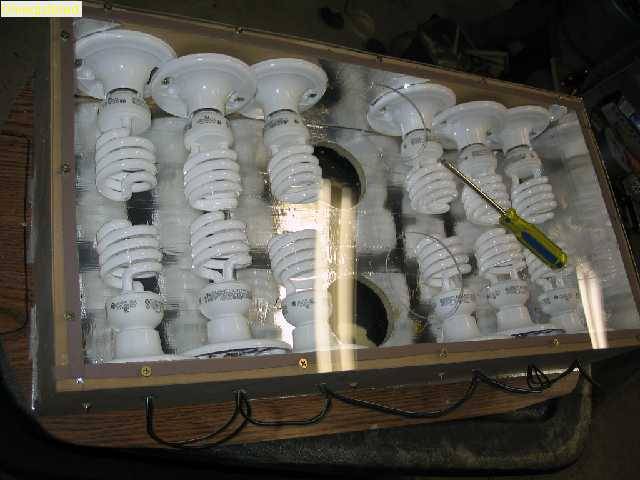
once the box is built for the lights i would suggest test fitting it in the tubs, just to make sure you have adequate clearance. If it fits, then move on to installing the light bases/wiring. I chose to go with 4 groups of 3 for my lighting. This allowed me to have adequate room in the center for the grow chamber venting ( which you will see later)
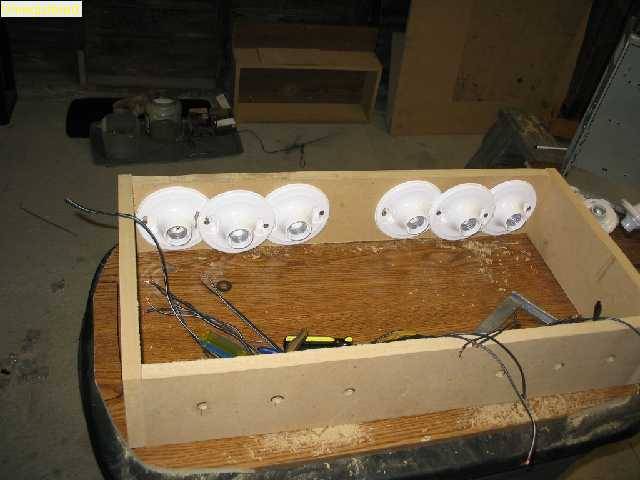
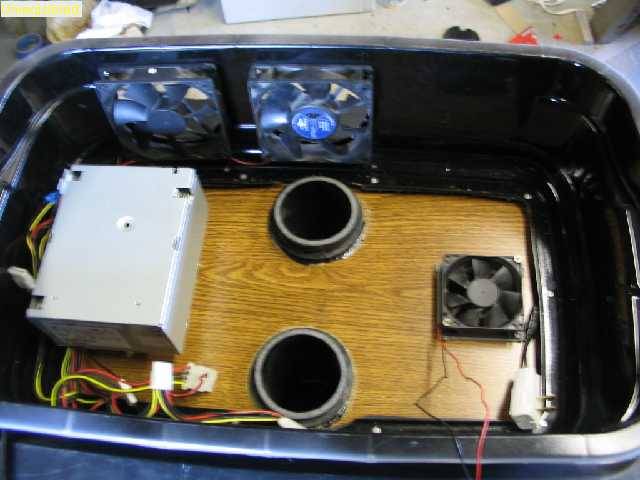
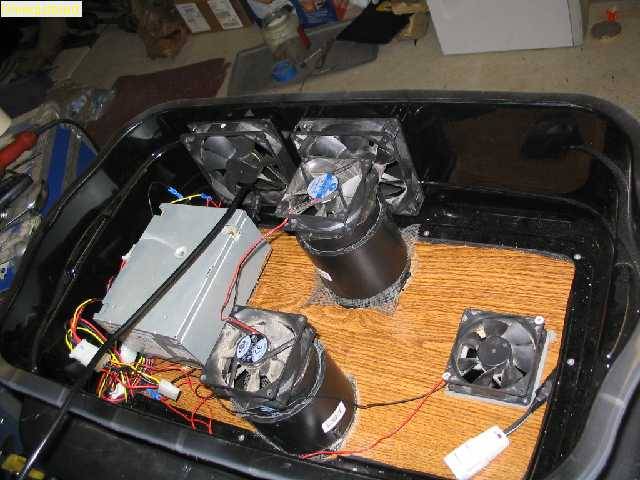
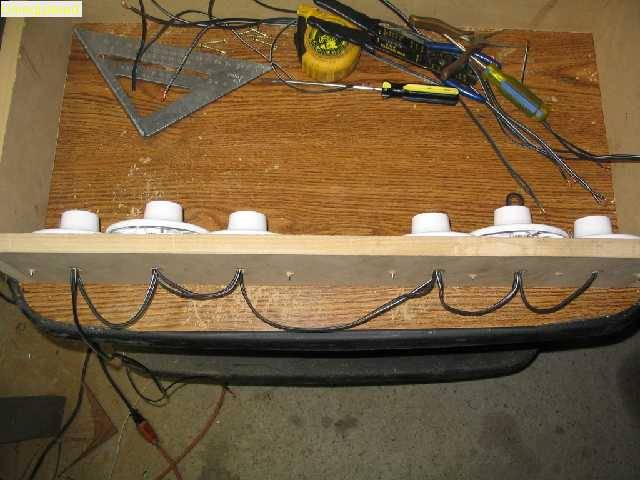
Wire your lights in parallel, and drill 2 holes in your light box top to feed the lighting wiring up into the electrical/filter/vent tub.
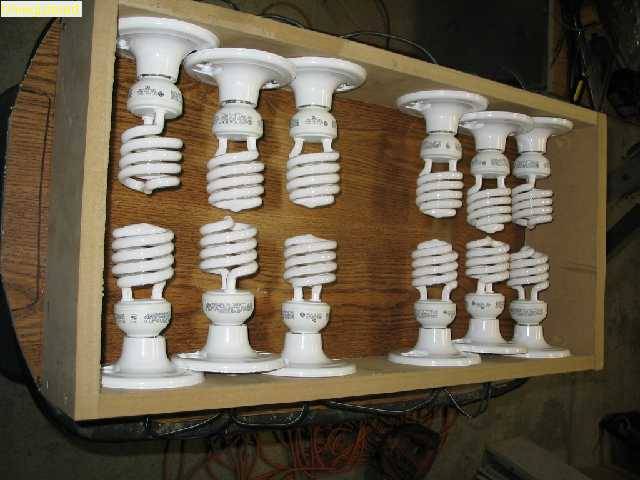
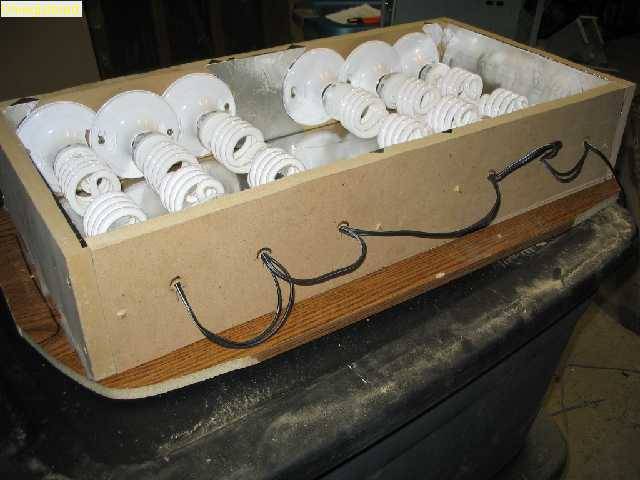
At this point i took the light box back apart and applied aluminum tape as a reflective surface to the entire light box interior.
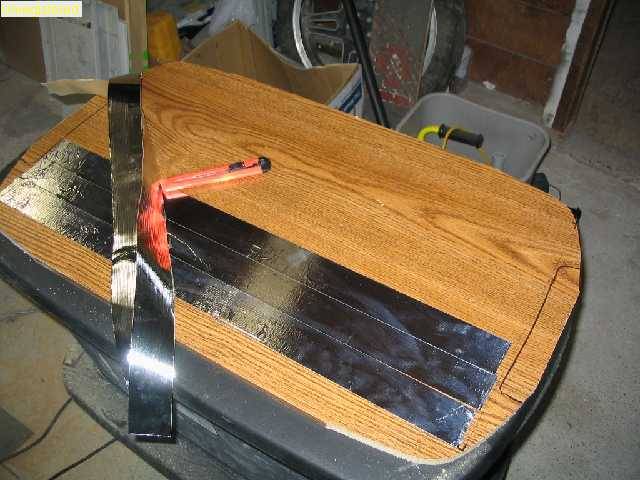
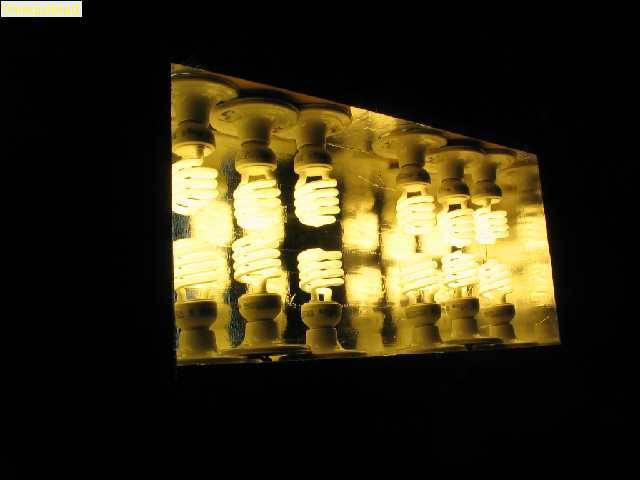
Now we will get started on the venting
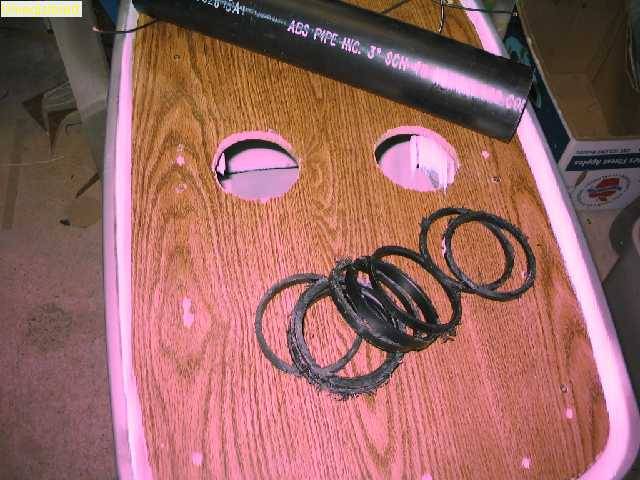
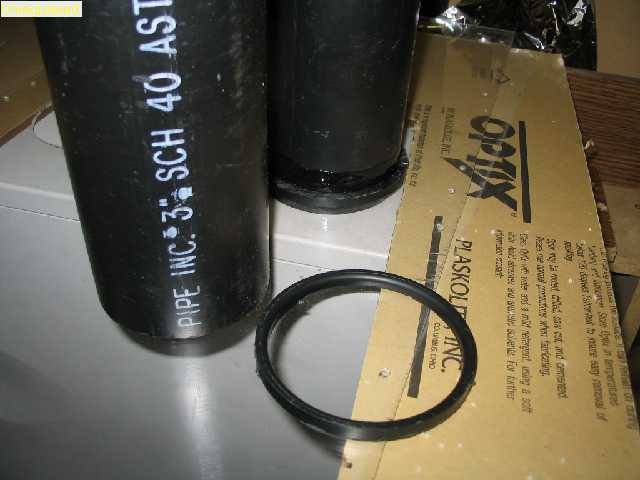
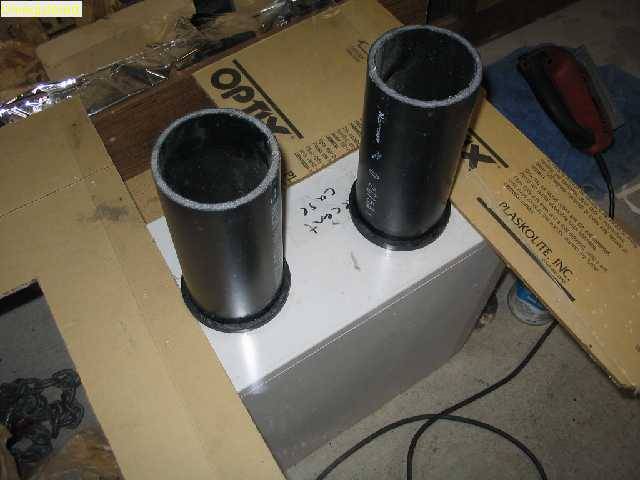
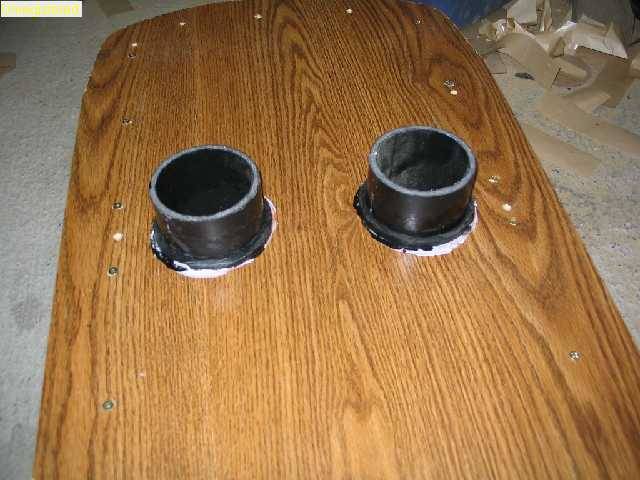
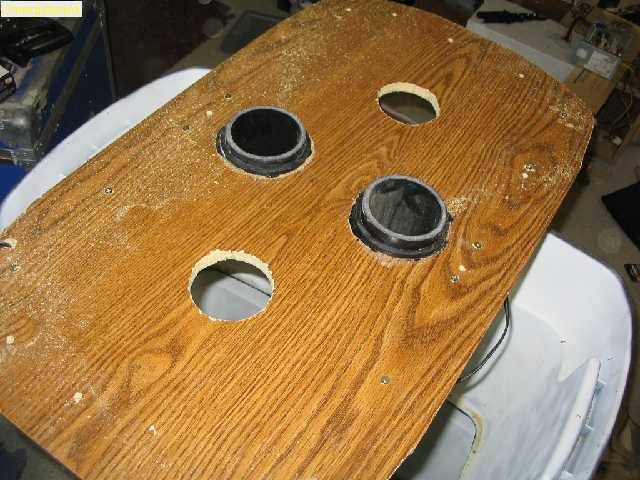
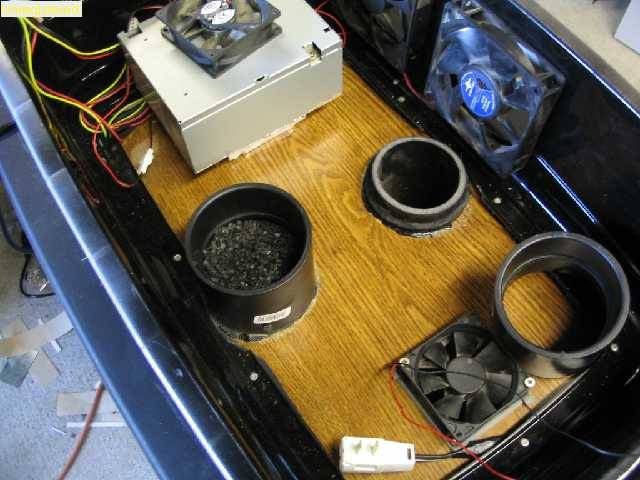
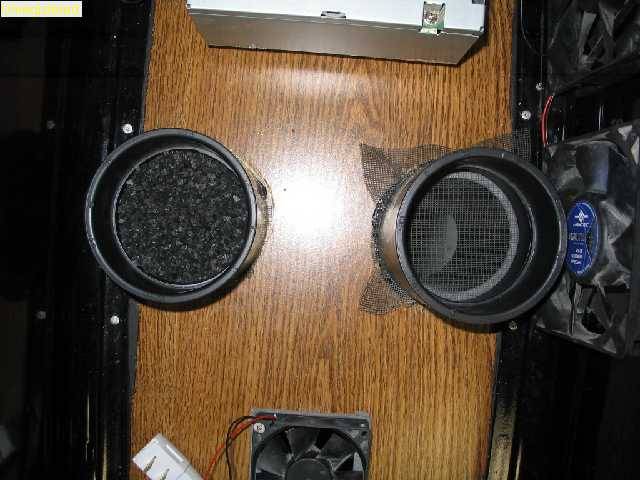
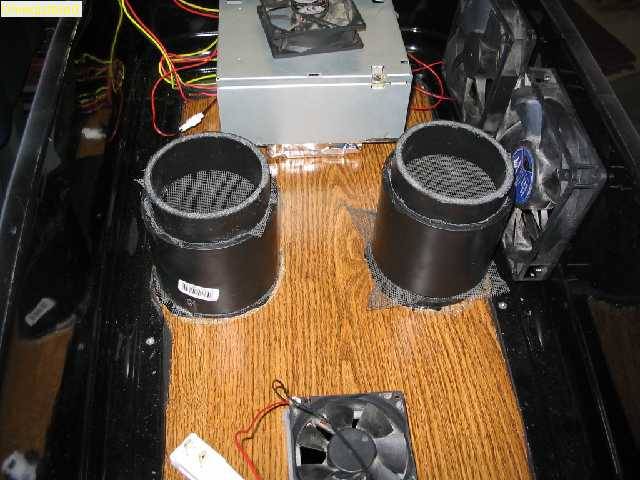
In the center of your light box top (take the bulbs out if you put them in for testing) measure and mark/cut two circles approximately 3in in diameter. You can use a compass or use the 3in ABS you have. You can now measure and cut your plexi to match the light box, and transfer the 2 holes to it as well.
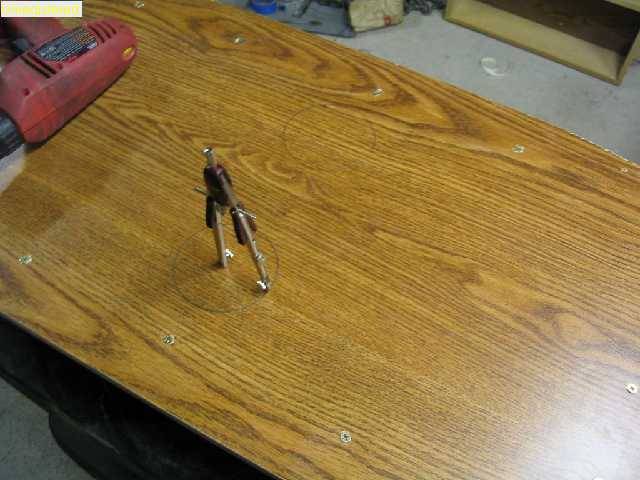
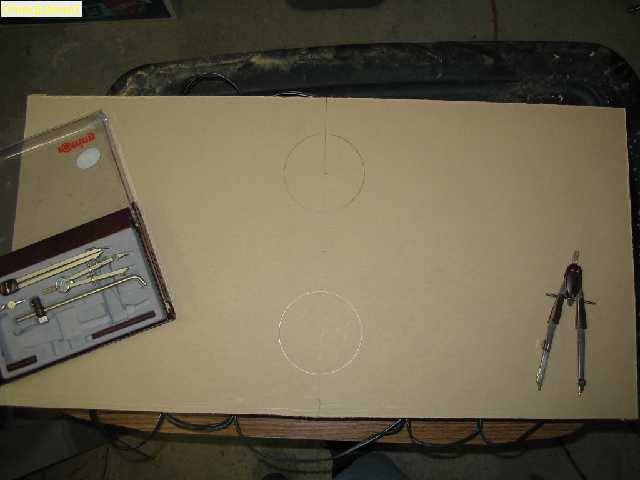
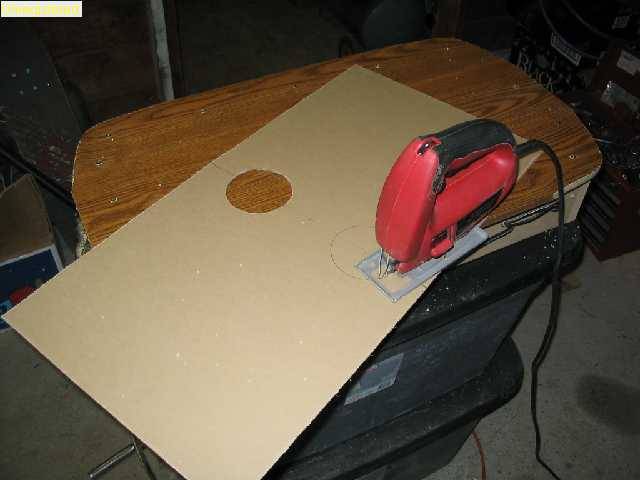
To attach the plexi drill 1/16th pilot holes in the mdf then drill a 1/8th hole in the plexi. If you dont make the holes in the plexi larger than the screws it will crack in a most unpleasant way.
Go ahead and weatherstrip and attach the plexi just to make sure everything fits good.
On to the good stuff
your going to need:
2 large stackable rubbermaid tubs (your choice on size really)
1 rubbermaid tub to sit atop the stack (the pics will show you)
1 sheet of galvanized duct sheet metal
2ft of 3in ABS +2 3in couplers
2 1.5in ABS elbows + ~6in 1.5 ABS
~1sq ft of screen
1-2 rolls weatherstripping
12 EZ light bases + bulbs of choice
1 PC power supply+ 2 80mm fans + 2 120mm fans
misc wire/wood
1 piece of 1/8th plexi, you will find out your size later
rivets
Krylon fusion paint, or other suitable
Tools req: (well the ones i used anyway)
jig saw, box knife, screwdriver, rivet gun, compass or circle jig, tape measure, hammer, pliers, drill(1/16th bit, and 1/8th)
Start by painting the large tubs with a few coats of black paint, then heavy coats of white. Remember we are going for stealth here, so no light transmittance is needed.

Cut out the bottom of your top tub, leaving enough overlap to rivet the bottom to the top of the bottom tub.


Set your cut tub on the lid for the bottom tub, trace and cut, then rivet the tub to the lid.


Now we get to do a little carpentry
Get yourself a suitable pice of wood to use as the light box/electronics base. I happened to have an old Ikea wardrobe that was 5/8 mdf.
Turn your top tub upside down on your wood and trace the outline of the inside of the tub. You want the wood to fit like so:


Make marks inside so that when you build the light box it will actually fit in between the handles of the tubs, i have notice most have a pretty good taper here, and what fits in the top may not fit 6in down from the top.
From the lines you made earlier, we can make a simple box to house our lights. I went with 6in rips of 3/4 MDF because i had it laying around.

once the box is built for the lights i would suggest test fitting it in the tubs, just to make sure you have adequate clearance. If it fits, then move on to installing the light bases/wiring. I chose to go with 4 groups of 3 for my lighting. This allowed me to have adequate room in the center for the grow chamber venting ( which you will see later)

Wire your lights in parallel, and drill 2 holes in your light box top to feed the lighting wiring up into the electrical/filter/vent tub.


At this point i took the light box back apart and applied aluminum tape as a reflective surface to the entire light box interior.


Now we will get started on the venting
In the center of your light box top (take the bulbs out if you put them in for testing) measure and mark/cut two circles approximately 3in in diameter. You can use a compass or use the 3in ABS you have. You can now measure and cut your plexi to match the light box, and transfer the 2 holes to it as well.


To attach the plexi drill 1/16th pilot holes in the mdf then drill a 1/8th hole in the plexi. If you dont make the holes in the plexi larger than the screws it will crack in a most unpleasant way.
Go ahead and weatherstrip and attach the plexi just to make sure everything fits good.


