Anima
Active member
 Hi all!
Ok first let me start out by saying that this is not my original idea.
Initial credit as far as I can tell for the principals of how this system works goes to a guy named Praxis.
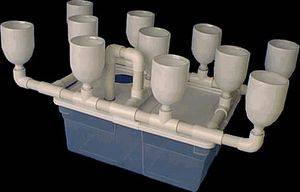
and you can visit his site here:
http://www.hydroponicsonline.com/11plan01.htm
_________________________________________________
This is also not the first thread on these boards about this system... That path was pioneered by a very cool cat named BONZO. Whose brain I had the honor of picking one magical winter night. He takes credit for evolving the idea from a 2 litre version to the multi-flow bucket style that I have grown to love, and advocate to my fullest.
This thread can be found here:http://www.icmag.com/ic/showthread.php?t=7876
_________________________________________________
I ended up copying almost to a "T" his 2 bucket 3.5 gallon version for my first ever venture into hydroponic growing. It worked flawlessly!!!!
soo..
I wanted to make a nice condensed thread with everything you need to know about constructing your very own Super Simple Ebb and Flow system!
So here goes:
This is basically a DIY multi flow style ebb and flow system that eliminates the need for a seperate controller and reservior by utilizing gravity. Reducing the parts involved, and flooding risks associated with normal multiflow systems with float valves/switches that can stick/malfunction.
This system can be added to easily be increasing the size of the reservior, and adding more buckets. The overflow can be put anywhere in the system. PVC and fittings are 1 inch. All connections are just pressed into place (although you can glue them if you NEED to ensure a leak free connection)
The key points of this system are:
1.The reservoir must be below the buckets
2.All of the buckets have to be at the same level.
3.The height of the top of the overflow must be a bit lower than the rim of the bottom bucket.
4.Your reservoir should be at least 2x the volume of the buckets combined volume. i.e. 2 buckets x 3.5 gallons x 2 =14 gallons MINIMUM!
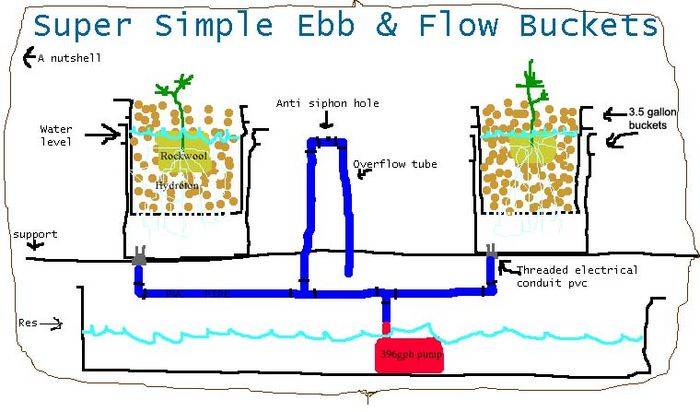
For this tutorial I will be illustrating how to build a 2 bucket system with 3.5 gallon buckets which have been the most productive for me so far. Capable of more than 10oz each harvest- under a 400w HPS.
Each "bucket" is actually a stack of TWO 3.5 gallon buckets.
The top bucket has a bunch of holes in the bottom and is filled up with hydroton. This is a pic of the bottoms of both of my top buckets, after drilling:

This is what it looks like after the top buckets are filled up with hydroton. (you must rinse it off THOROUGHLY! before using):

Notice that the buckets are now stacked. you don't put anything in the bottom bucket. The space will fill up with roots.
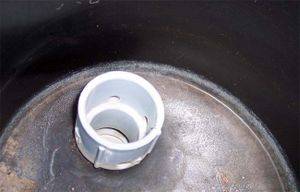
The bottom bucket only has one hole slightly larger than 1 inch. The buckets are hooked up to the system with 1 inch electrical conduit pvc connections (grey). You will need 2 rubber o-rings or gaskets per bucket to ensure a leak-free connetion.
Also shown is the Threaded PVC "T" joint (black and white) that the pump connects to(you will find the black screw in piece in the sprinkler sect. The grey pieces can be found by the electrical conduit.):

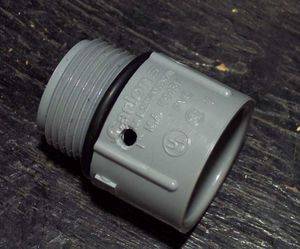
The end that goes inside the buckets have a few holes drilled in them to allow for more complete drainage.
I use an Eco-plus 396GPH pump connected to the system with a bit of hose. It puts out plenty of overflow, creating more dissolved oxygen in your nute mix, which your plants will love your for!.:
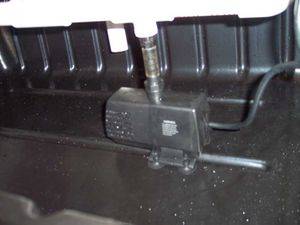
To determine the size of pump you will need you should check the pumps "Maximum head height" and make sure it is higher than your overflow spout.
You will need a digital timer to hook up the pump to.
Set to 15 mins on every 4 hours.
This is a close-up, top down view, of the anti-siphon hole in the top of the overflow spout. **Very important**This hole (1/4" is fine) lets in air to prevent a siphon action from forming as the water goes down the overflow. If there is no hole there a siphon may form and drain the buckets faster than the pump can fill them!

The pump turns on filling the buckets up, and eventually overflowing out of the overflow causing a bit of a waterfall effect adding dissolved oxygen to the water.
Until the pump shuts off and (utilizing gravity) all the nutrient solution drains through the system, and backwards out of the pump.
Here's an animated .gif i made showing the process:

I added a smaller pump and an aquarium heater to keep temps at 72 deg F., and the water flowing.
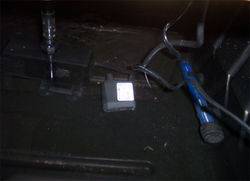
I also have a small aquarium air pump hooked up to an airstone, and an aquarium filter with the filter removed so it just kind of makes a waterfall all day. You want lots of water movement and dissolved oxygen to prevent stagnation and root rot!!!

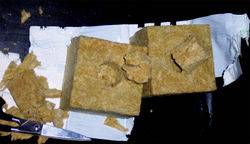
Here's a pic of what the 4 inch cubes of rockwool look like that are buried down to water level in the hydroton:
You will need to monitor EC/PPM (electrical conductivity/parts per million) of your nute solution. It is best to get a meter so you can tell where you are at. You can pick one up for $20-25.
I veg at about 600ppm and work my way up as I get into flower.
I never go above EC 2.4 or about 1200ppm on the hanna meters. Some plants might be able to take 1500ppm, but I never go that high.
Here is an electrical conductivity/parts per million chart because not all meters are the same and you need to be able to tell the difference:

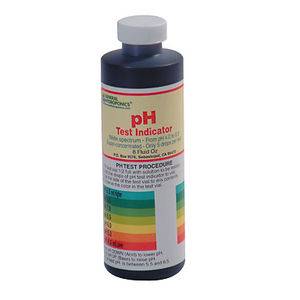
And also something to keep track of your pH. I recommend the liquid drops tests...way cheaper and more reliable than digi meters:
Approx off the top of my head list of supplies/cost:
Hydroton Clay rocks
PVC pipe/fittings:$15 famale grey connectors, male grey connectors
buckets (3.5 gallon x4 BLACK):$20 (highball estimate)
Reservoir:$13 from lowes "MacCourt Super tub"
Pump:$25 (Ecoplus 396)
circ pump:$15
digi timer for pump:$15
Air pump:$10
4" rockwool cubes: $3
Tube to hook up pump to system:$.50
TOTAL:$146.50
Not including NUTES, LIGHTS, VENTILATION, ODOR CONTROL, PH drops/meter, and TDS/EC/PPM METER...OH AND A FIRE EXTINGUISHERclick here for an awesome & cheap($60) automatic one that can save your house from disaster! just in case
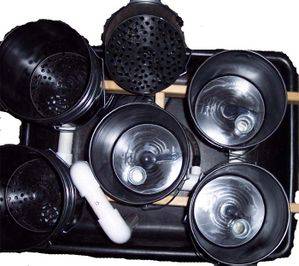
Here's a few pics of a 5 bucket system using 1 gallon buckets instead of the 3.5 gal ones:


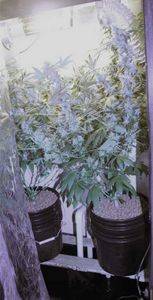
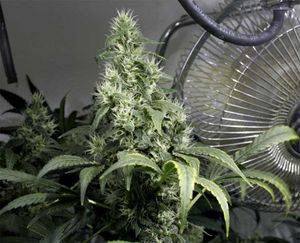
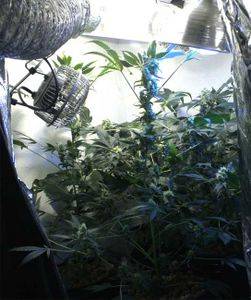
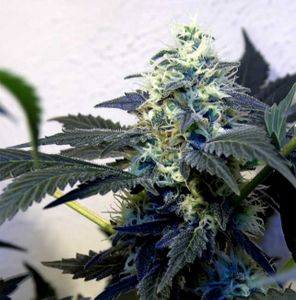
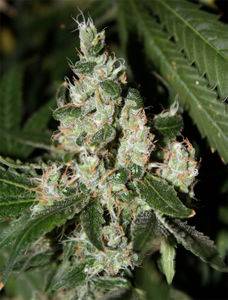
I cant leave without putting up some nuggage that was grown using this system:


The main idea of this system is that it is relatively cheap and simple to build, yet is very bulletproof when it compares to systems of similar simplicity.
-LOW MAINTENANCE top off with water every other day(or less with larger reservoirs) and change nutes every 2 weeks.
-NO rapid pH swings due to large res.
-NO controller bucket malfunctions (no controller bucket)
-NO WORRIES about leaks (the whole thing sits above the res)
-HUGE YEILD capable of >10 oz with a productive strain.
-BULLETPROOF I have left the pump on accidently for 2 days...Plants were fine...I have left the pump unplugged for 2 weeks (read: shutdown for the summer) before plants started drying and dying!
The only few drawbacks are that you must work within the first 4 guidelines I laid out at the beginning of this tutorial, and that its kinda a PITA to clean that hydroton and get ready for the next cycle. TIP: It is best if you remove the rootmass from the hydroton while it is still alive. Letting it dry will cause the roots to break up, making it harder to clean.
I usually initiate flowering when I start to see roots coming out of the bottom of the top bucket. usually about 25 -30 days or so.
Here's an animation showing veg plant growth of a freshly rooted clone in this system over 8 days time:

Well, hopefully I got it all in there!!! I hope everyone gives some serious consideration to the S.S. Ebb and Flow next time you all are planning your next hydroponic system!
If there is any ?'s related to this system I'd be happy to try and answer them.
I wish every one a productive, and safe grow!
Peace and Kindness
-Anima
Last edited:

 , i like it nice and neat, Good job champ.


 . i thought about it and im going to use those little carbon filter bags that are used in the canaster type filters for aquarium's.they are some what like mesh but tighter woolven and can hold the root mass in it
