OgreSeeker
Active member
Ok, I have to make a disclaimer like everyone else.
***I did not invent this unit. My unit is an improved, copycat version***
***Follow these directions step by step and this unit is foolproof***
In the spirit of Blaze, Krypto, SoQuick, HOG, MiaStoner, Bubbleman and all you other cats out there that have inspired me throughout the years...
I've built a multi-flow controller and will be putting together pics and information (parts list, item numbers, how to, etc) and documenting it here. This will -hopefully- be an easy to follow, easy to understand tutorial. Should be easy as 1-2-3 -IF YOU PAY ATTENTION-
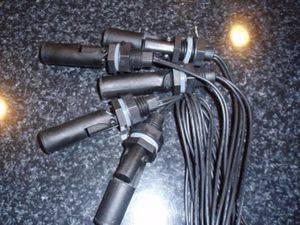
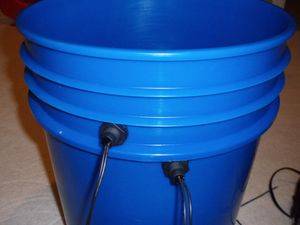
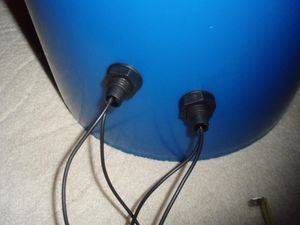
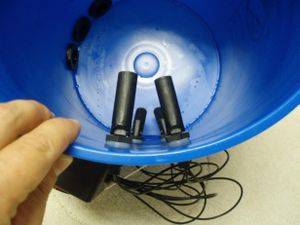
I'll start by saying there is a small but significant difference in my controller VS the other DIY controllers. I use horizontal floats instead of vertical floats. This eliminates the need to use grommets,elbows, glue etc when installing the float switches. Instead all you have to do is drill the hole, feed the wire through and tighten the nut on the opposite side (just like a bulkhead fitting).
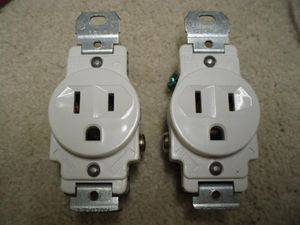
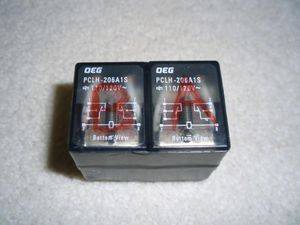
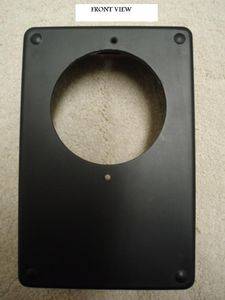
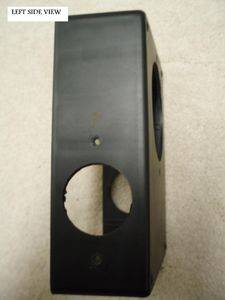
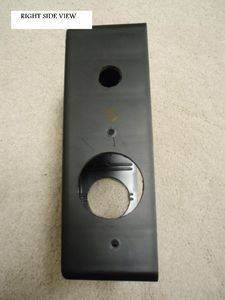
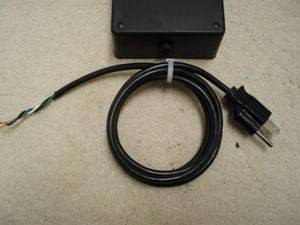
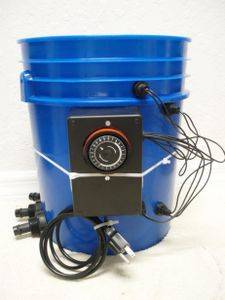
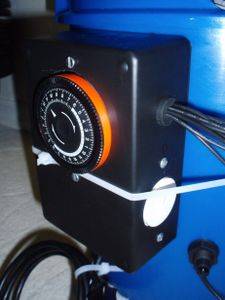
Here are a couple pics of the finished controller.
I'll start getting my stuff together and get back at ya guys with an update soon...
***I did not invent this unit. My unit is an improved, copycat version***
***Follow these directions step by step and this unit is foolproof***
In the spirit of Blaze, Krypto, SoQuick, HOG, MiaStoner, Bubbleman and all you other cats out there that have inspired me throughout the years...
I've built a multi-flow controller and will be putting together pics and information (parts list, item numbers, how to, etc) and documenting it here. This will -hopefully- be an easy to follow, easy to understand tutorial. Should be easy as 1-2-3 -IF YOU PAY ATTENTION-

I'll start by saying there is a small but significant difference in my controller VS the other DIY controllers. I use horizontal floats instead of vertical floats. This eliminates the need to use grommets,elbows, glue etc when installing the float switches. Instead all you have to do is drill the hole, feed the wire through and tighten the nut on the opposite side (just like a bulkhead fitting).

Here are a couple pics of the finished controller.
I'll start getting my stuff together and get back at ya guys with an update soon...
Please don't be intimidated by the length of this thread. If you actually read the thread then you will see that this unit is extremely easy to build. If you just scroll through the pictures without reading it's going to look overwhelming and your gonna say to yourself "holy sh*t...I ain't doing all that".
This controller cost me around $120.00 to build.
Last edited:


