
CovertCrops
Member
Hello all you ICmag DIY'ers. I wanted to share with you a cheap, effective, and flexible hydroponic setup. I built this one as a top-fed system but it can easily convert to E/F, DWC/SWC, and aero. I use it to veg my clones.
Let us begin.
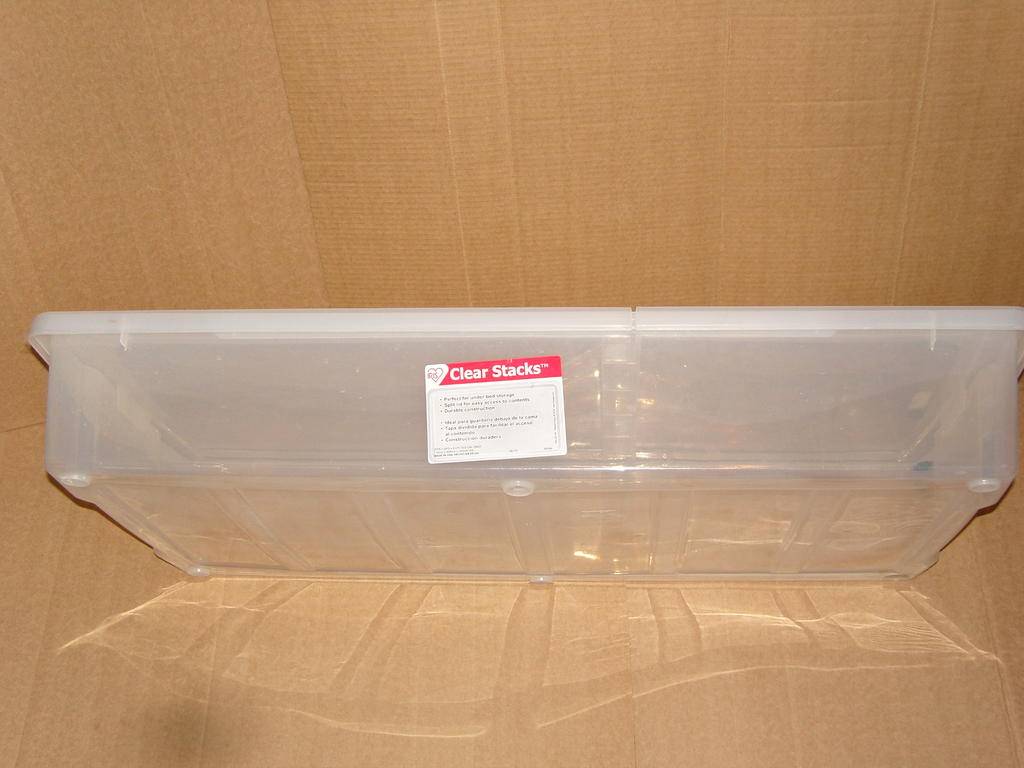
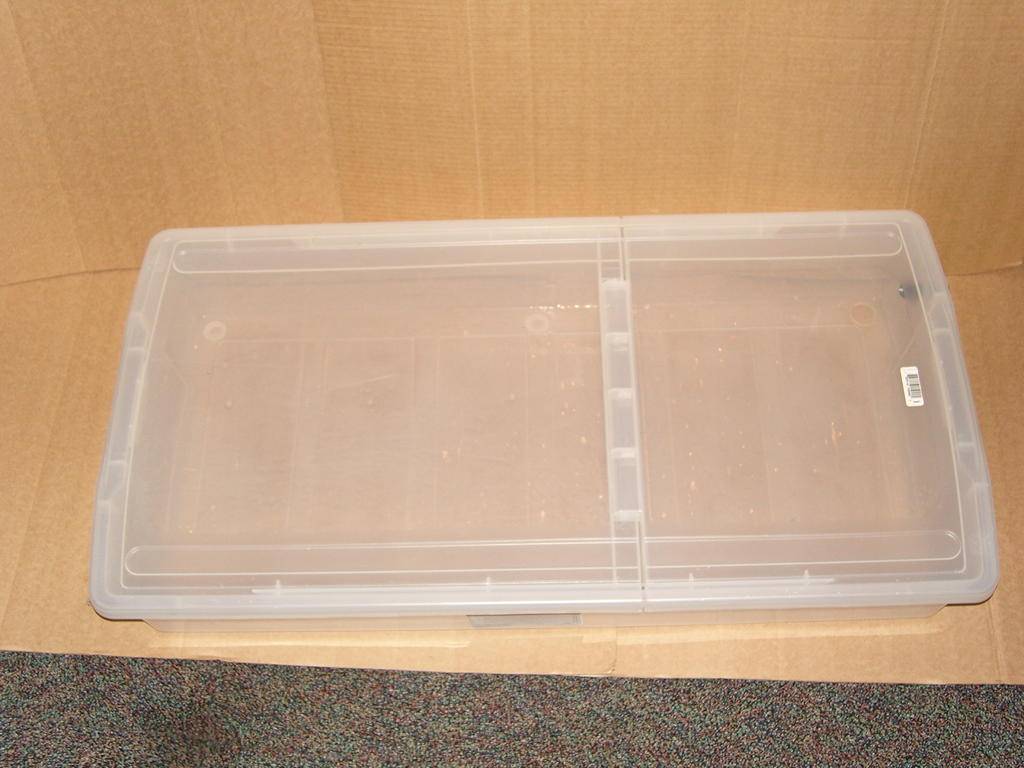
First you need a plastic tub with a top. I used a 16 gallon under the bed type for this build.
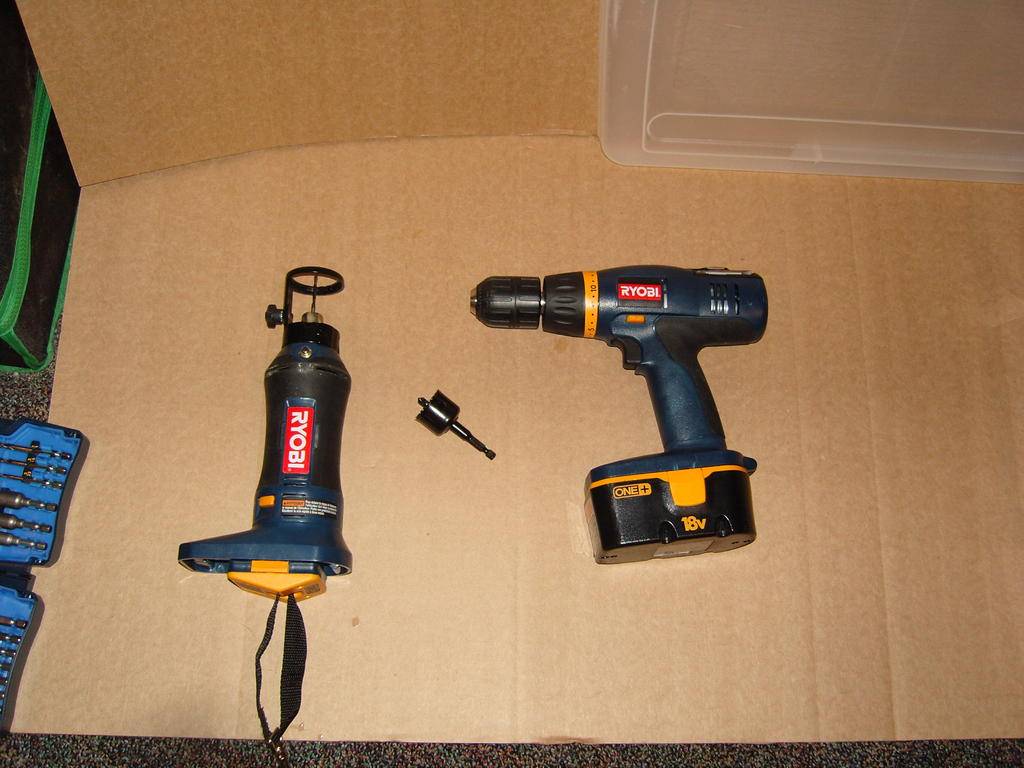
Here are the tools you will need. The hole saw is 1 1/4" and you will also need a 1/4" drill bit.
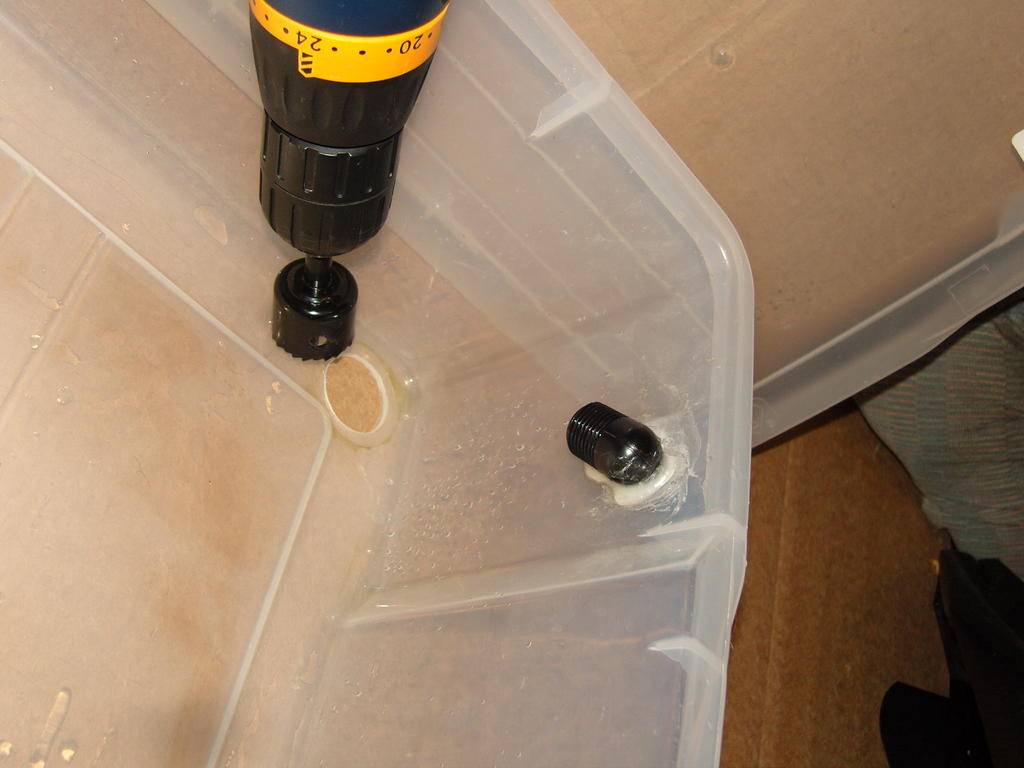
Now drill a hole into the bottom for your drain. ( ignore black object )
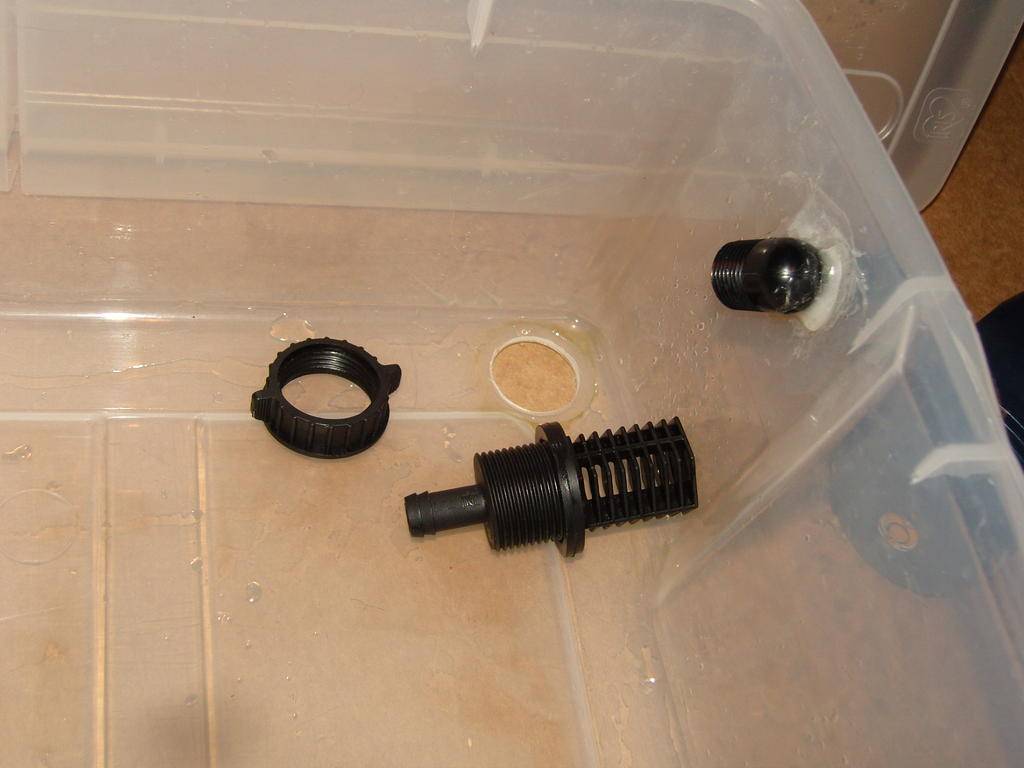
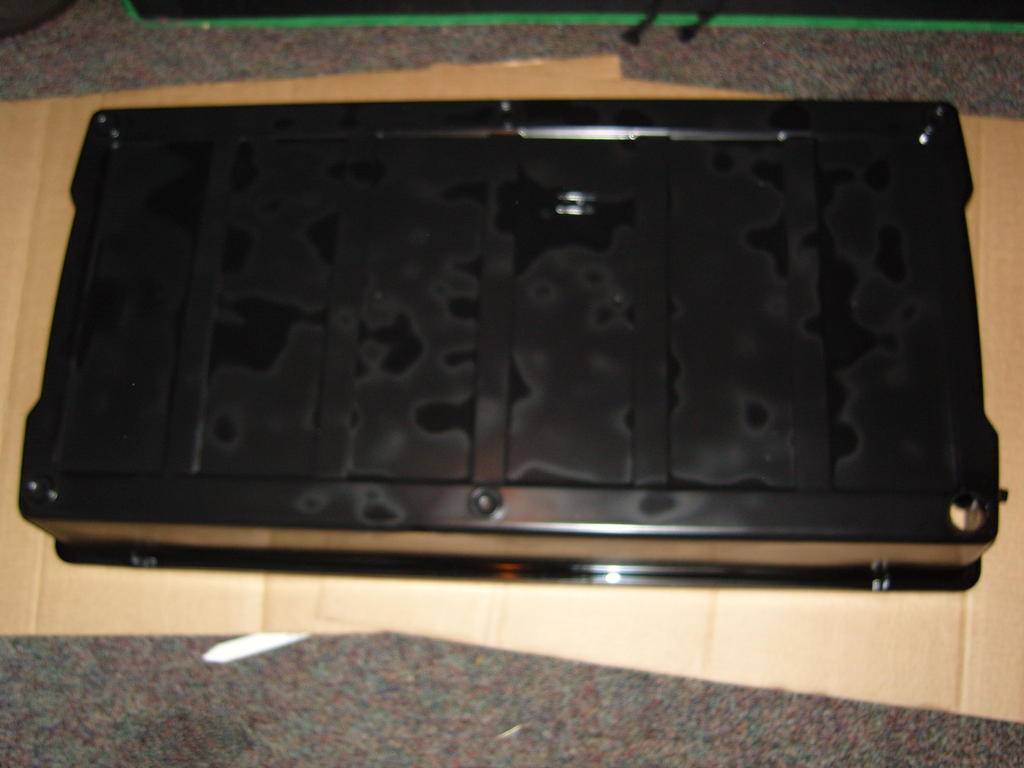
I recommend painting the tub before installing the 1/2" drain. I painted the outside of the tub with a black spray paint designed for plastic. I do not advise painting the inside of the tub.
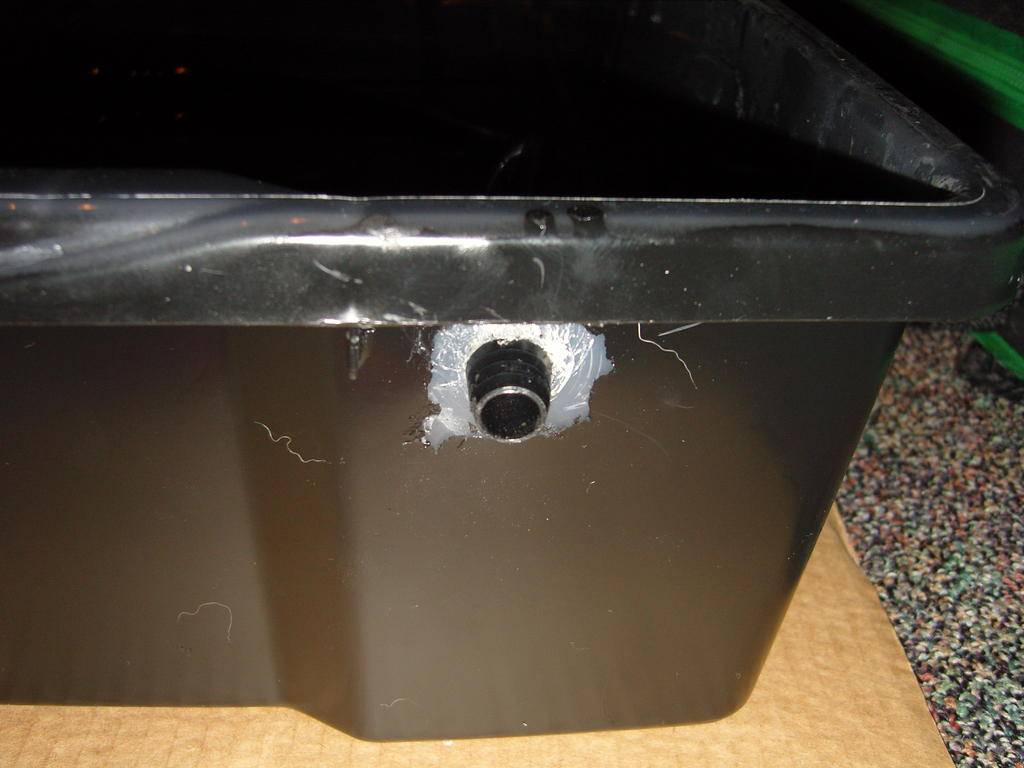
A 1/2" straight barbed connector is placed through a hole in the side of the tub. This is where you will hook up the feed line from the pump.
A length of 1/2" hose is cut and attached to the other side of the barbed connector.
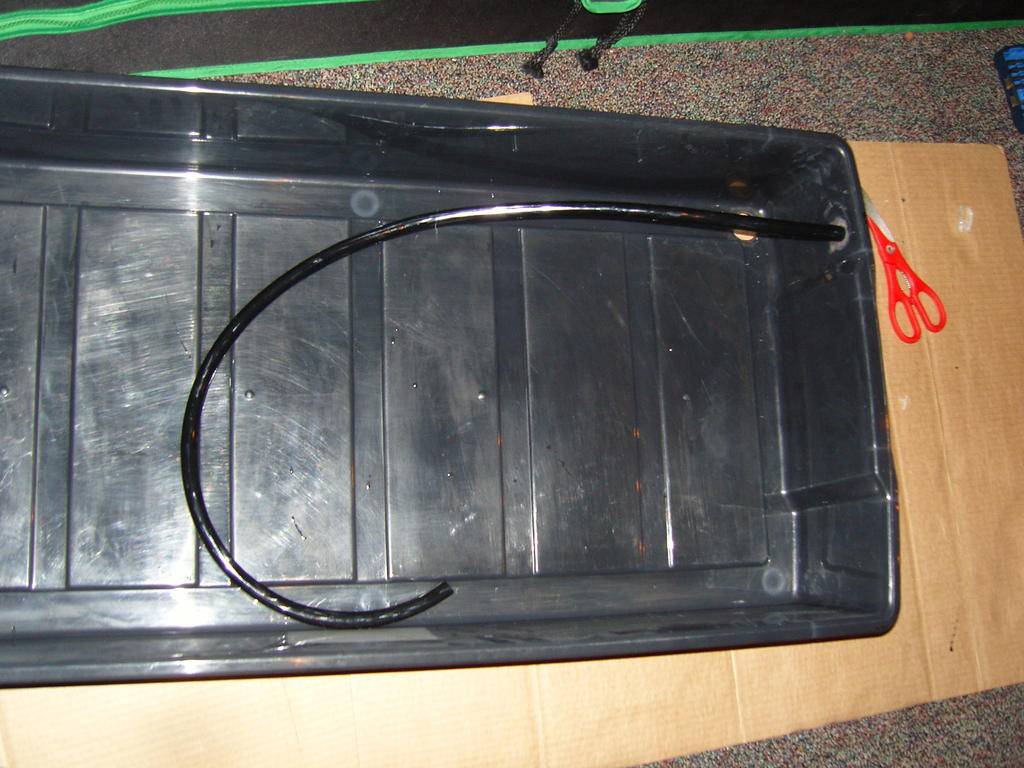
The end of the hose is folded and secured to itself. Holes are punched for the 1/4" straght barbs which will connect to the feed lines for each row.
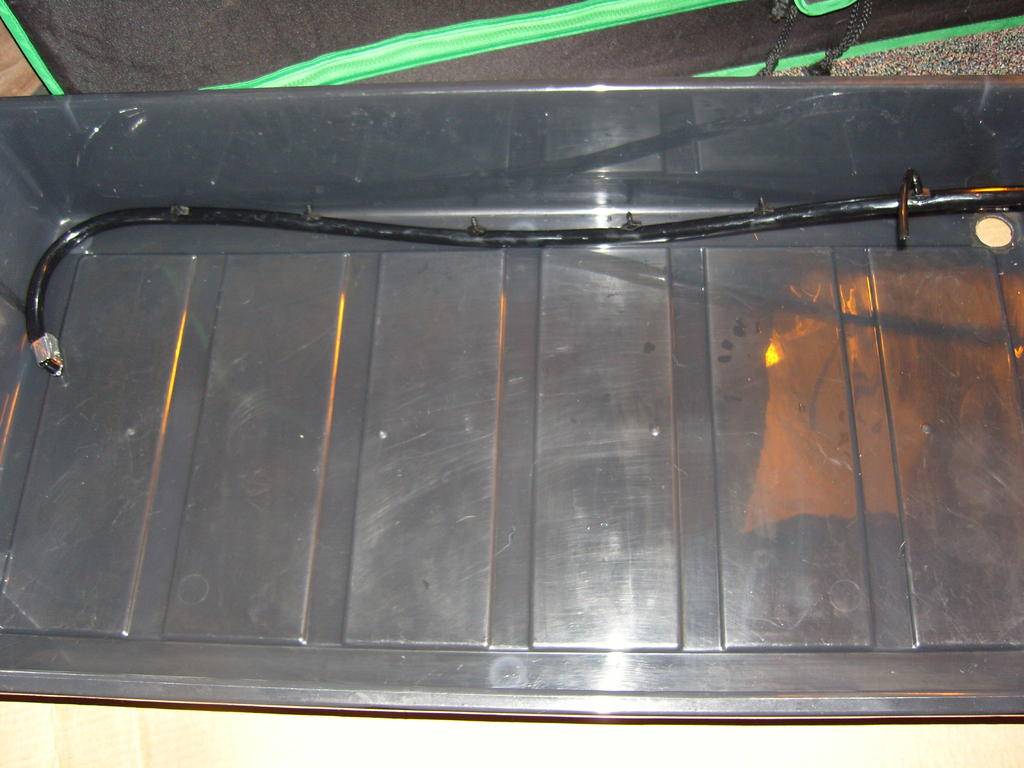
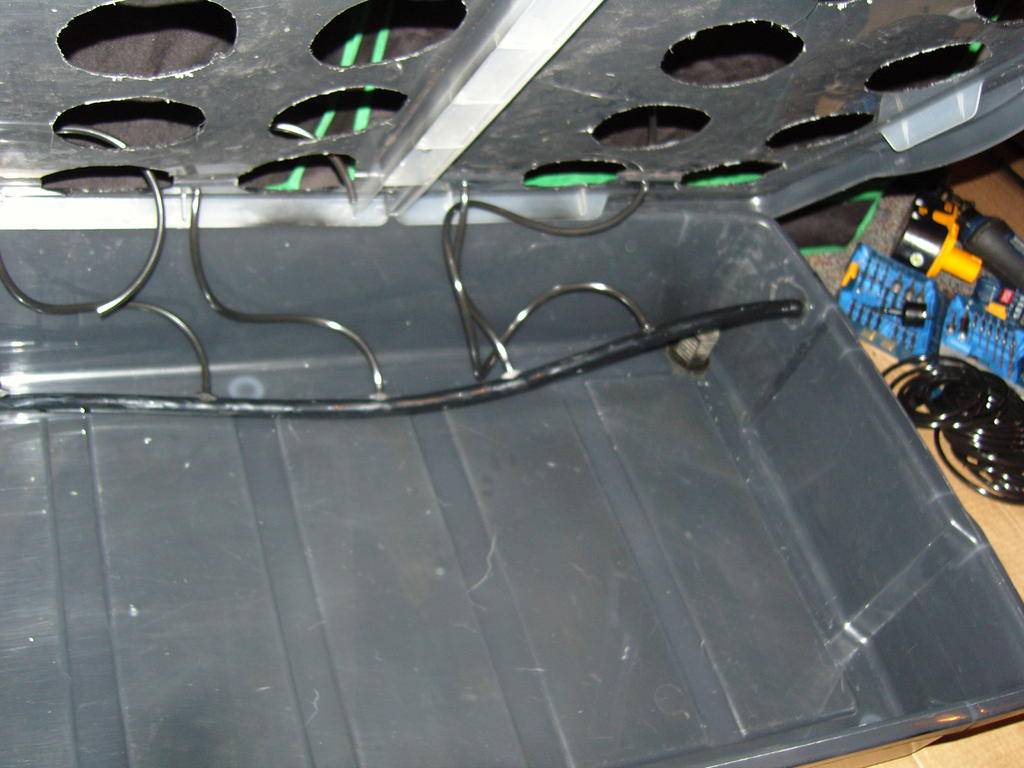
1/4" feed lines are attached and drawn up through holes in the cover
Now, to make the cover...
I used 3.75" net pots for this setup.
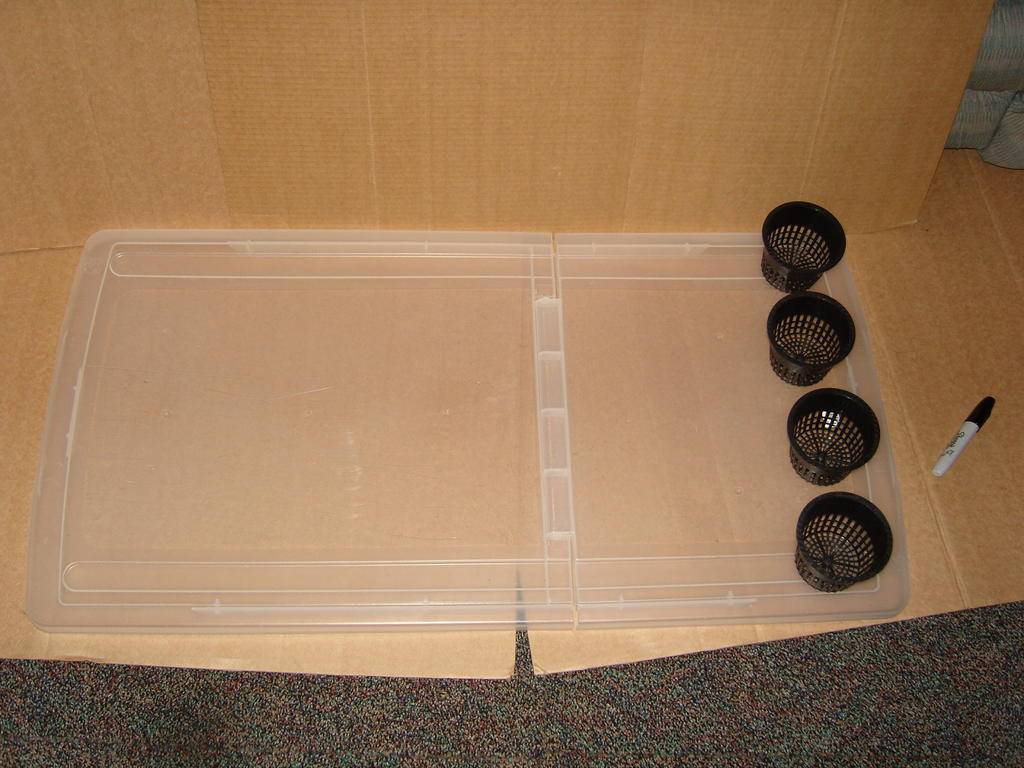
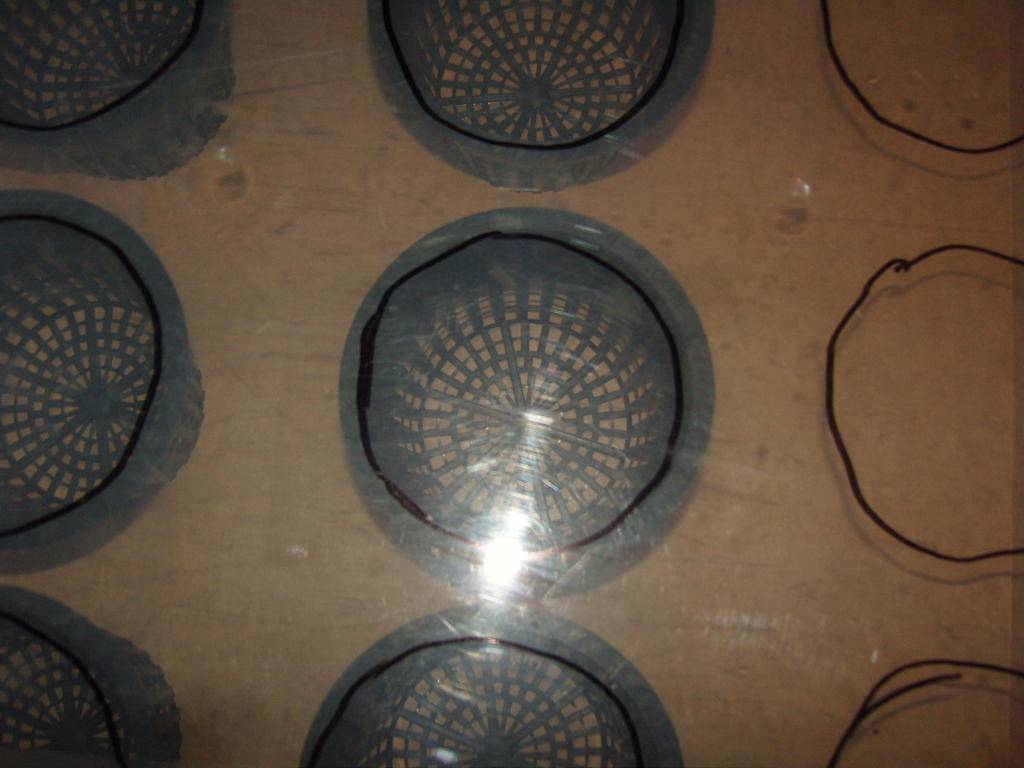
Pots are placed underneath the cover to facilitate tracing the inside of the pots and to support the cover.
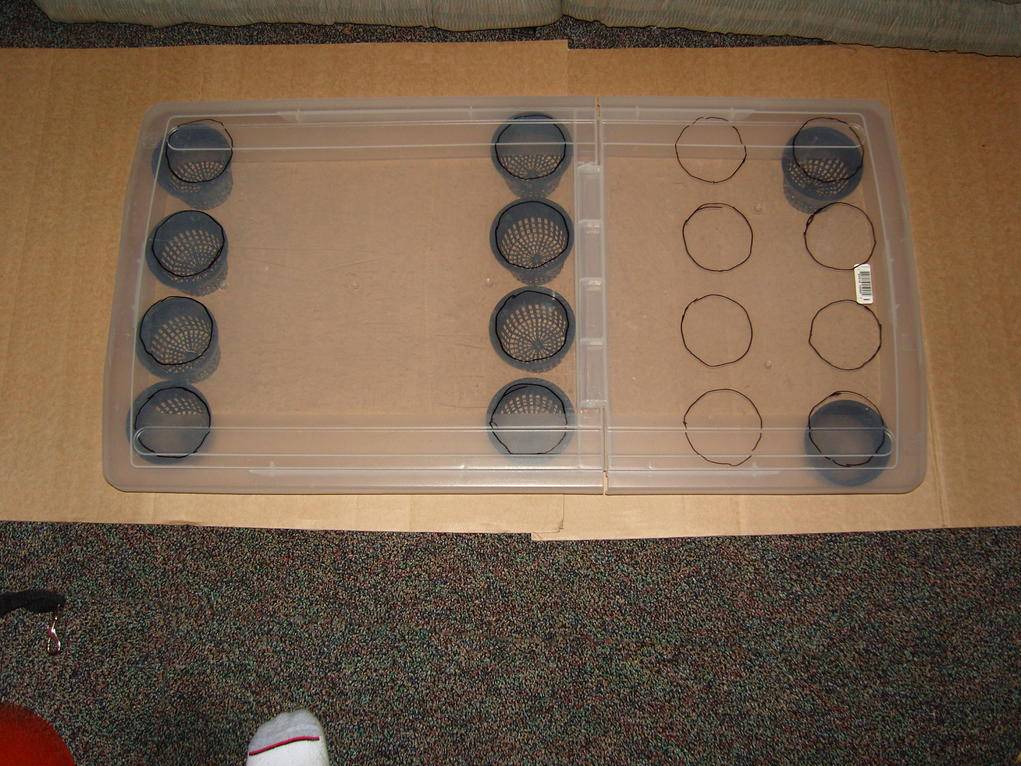
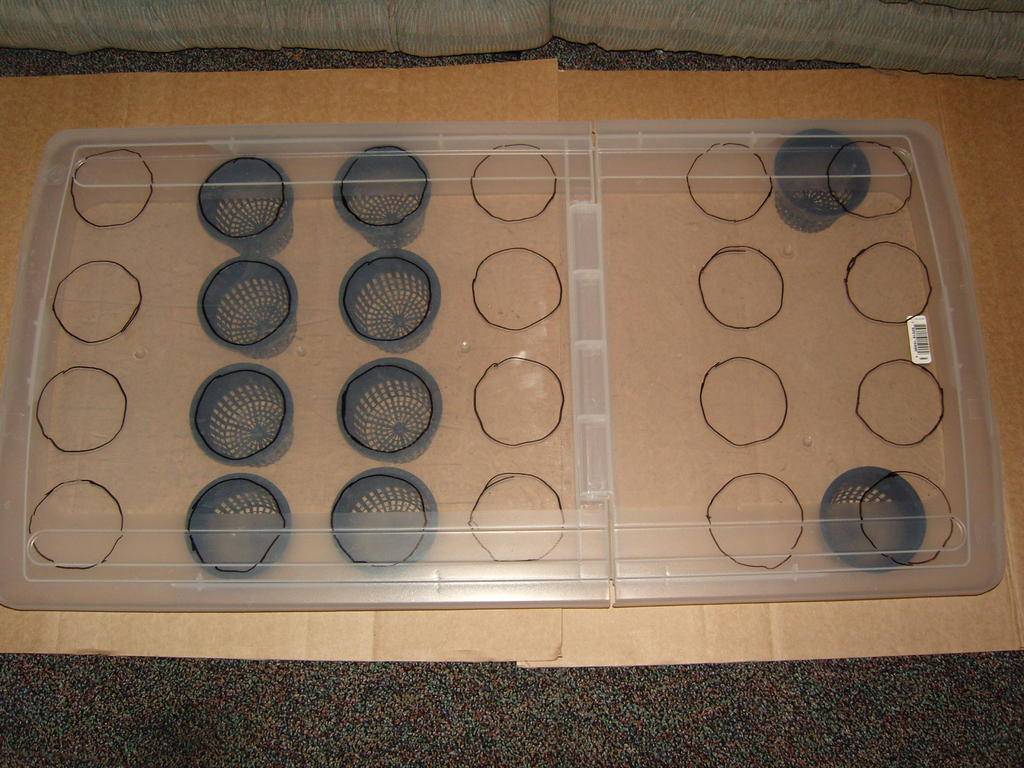
Make sure you trace the INSIDE of the pots otherwise they will fall through.
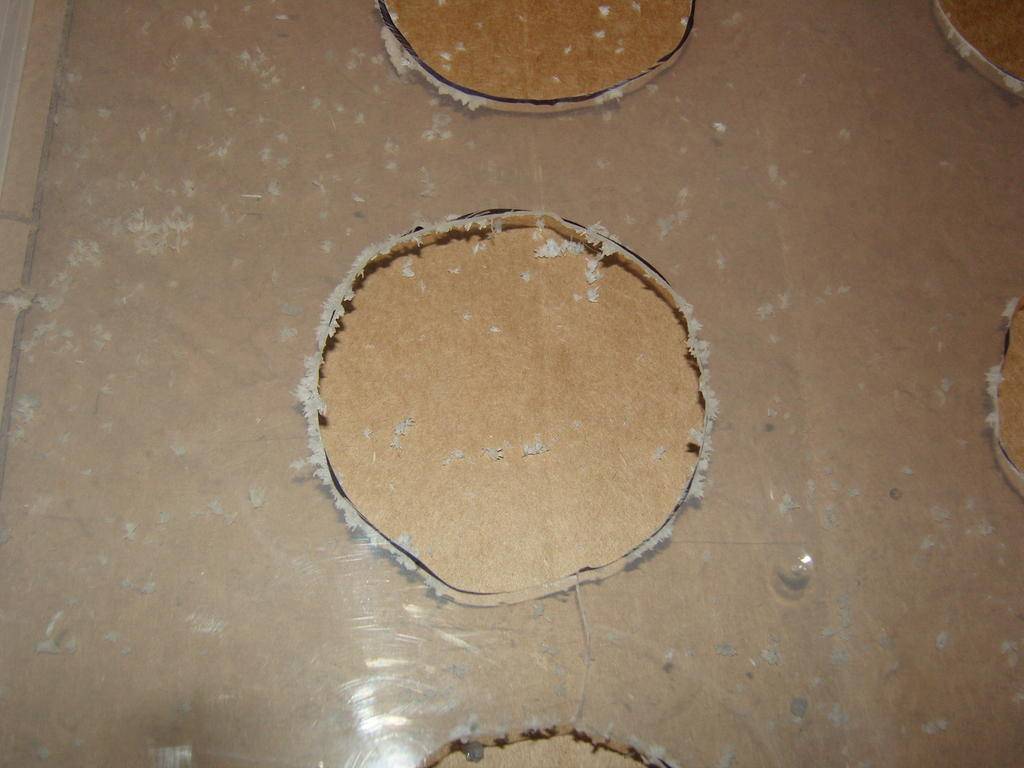
Next, the holes are cut out. I use a spiral saw but hole saw's would work just as well.
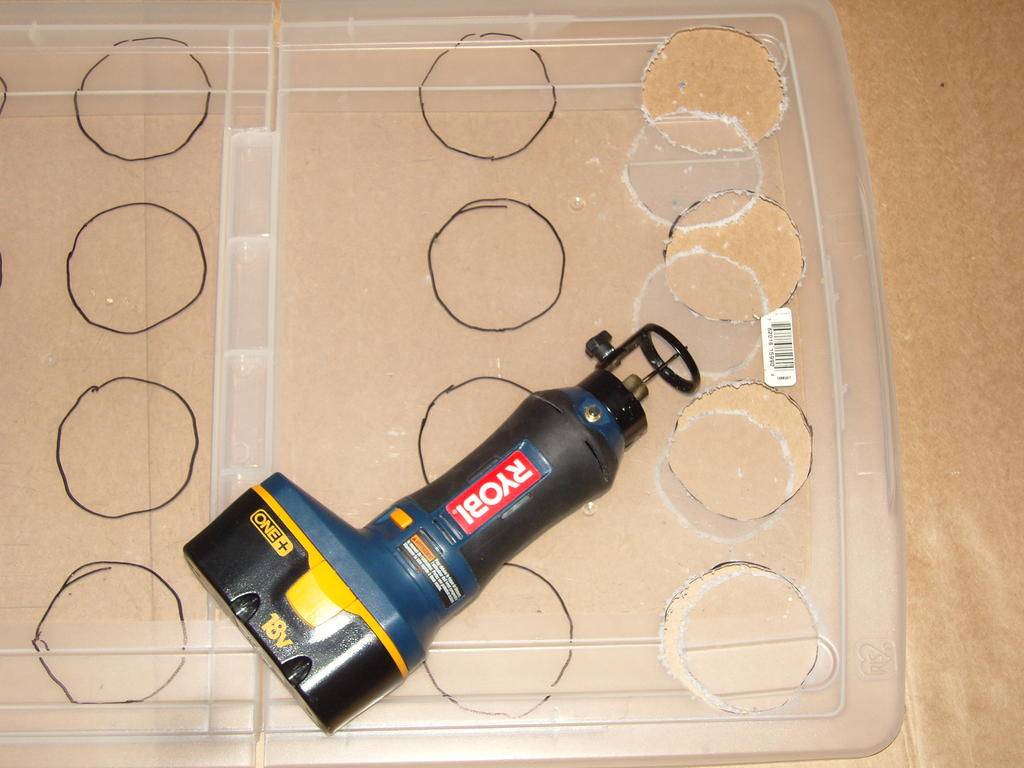
After cutting be sure to remove excess plastic and smooth down the holes.
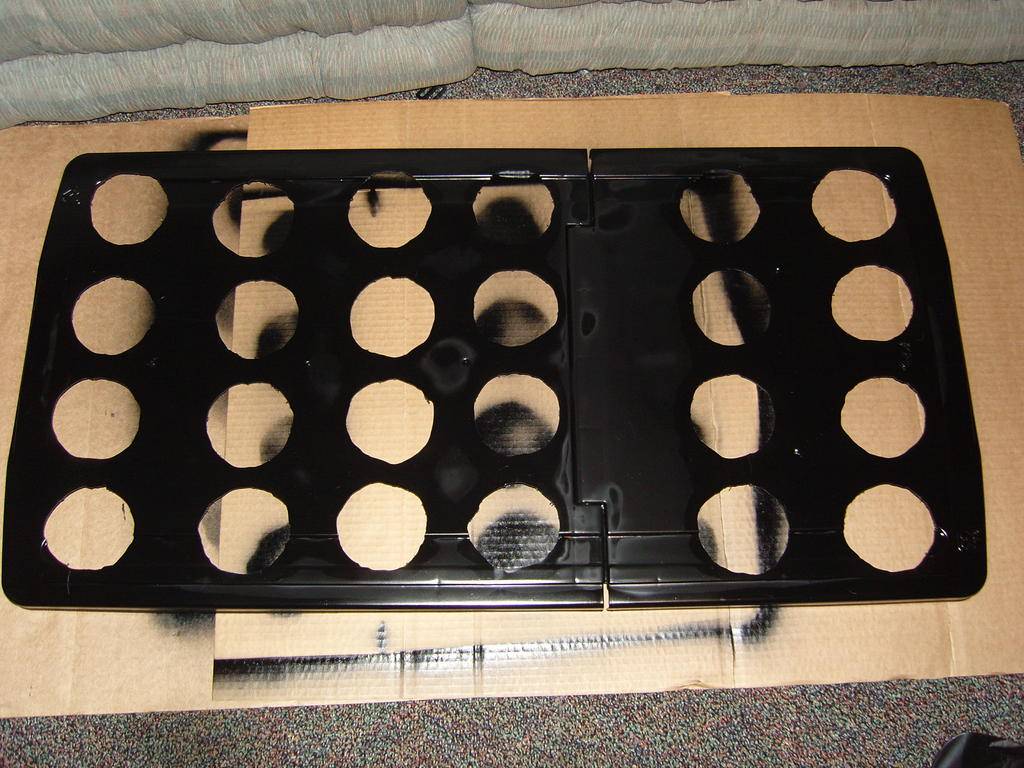
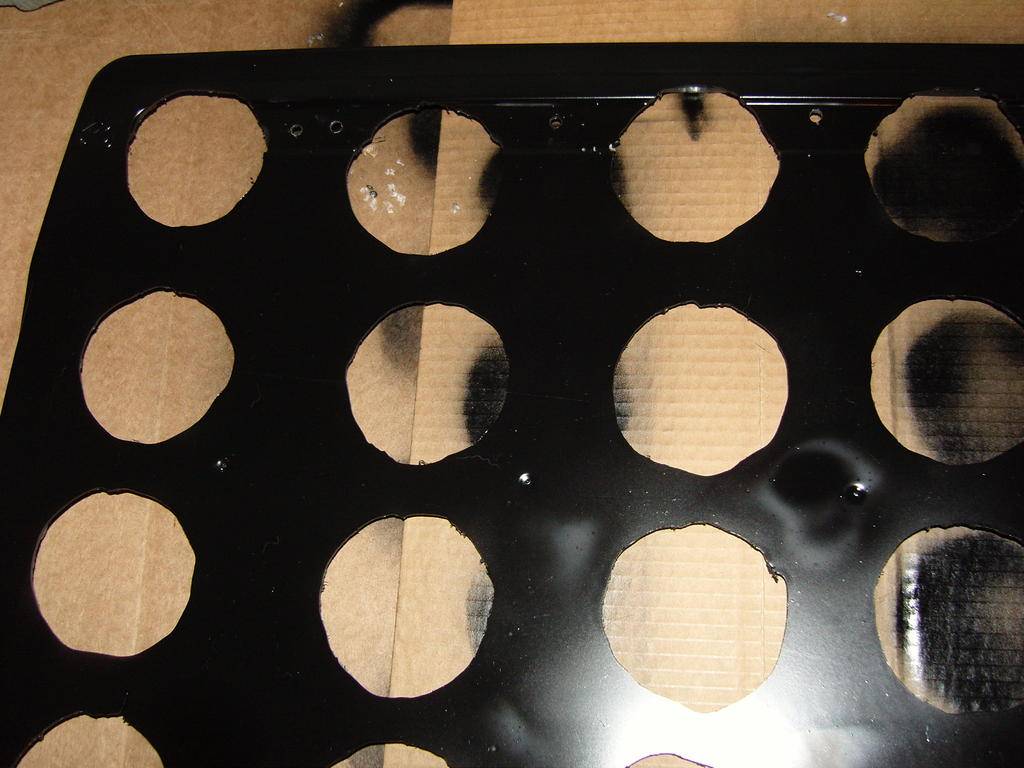
Then its paint time.
1/4" holes are drilled for the feed lines. ( only required for top feed setups )
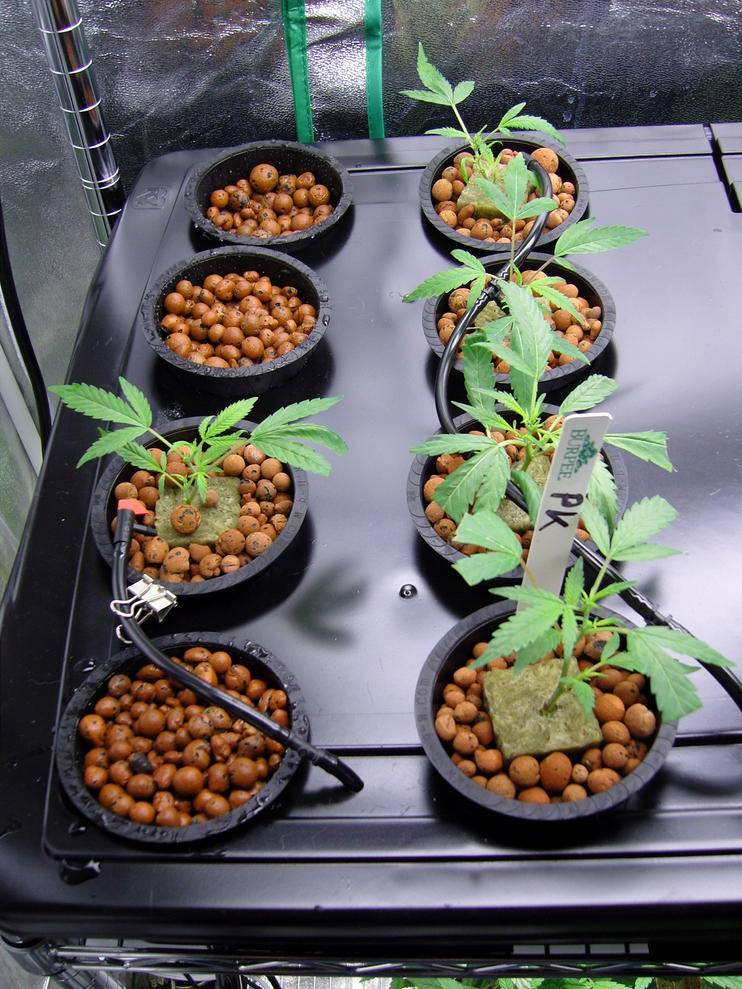
The cover is placed on the tub and the 1/4" feed lines are drawn through the cover.
The feed lines come out of the cover and I use T's to make 3 feed sites and cap the last site with an emiter.
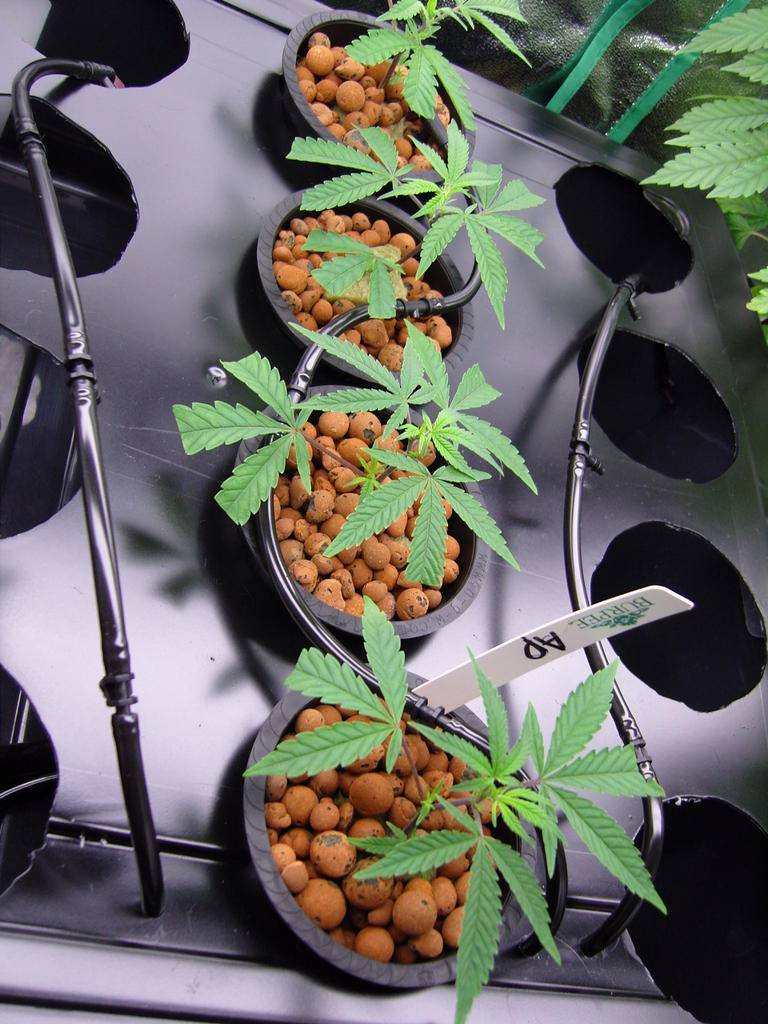
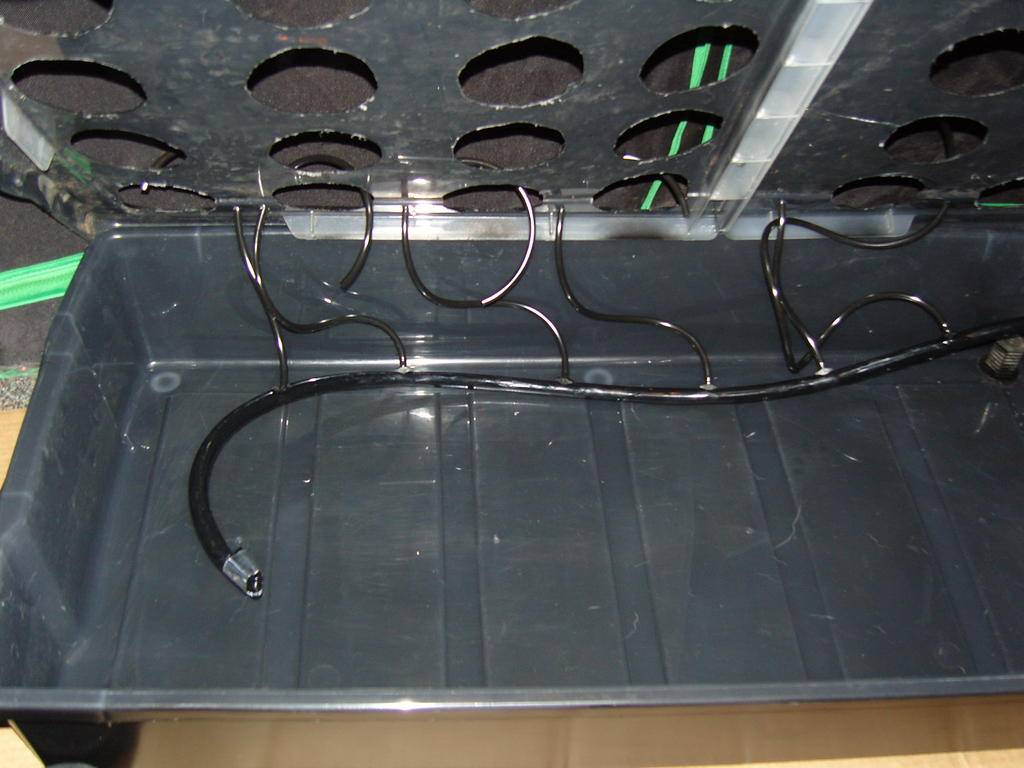
Not every site is needed now so feed rows can be modified with ease.
Rows that arent need at all can be "looped"

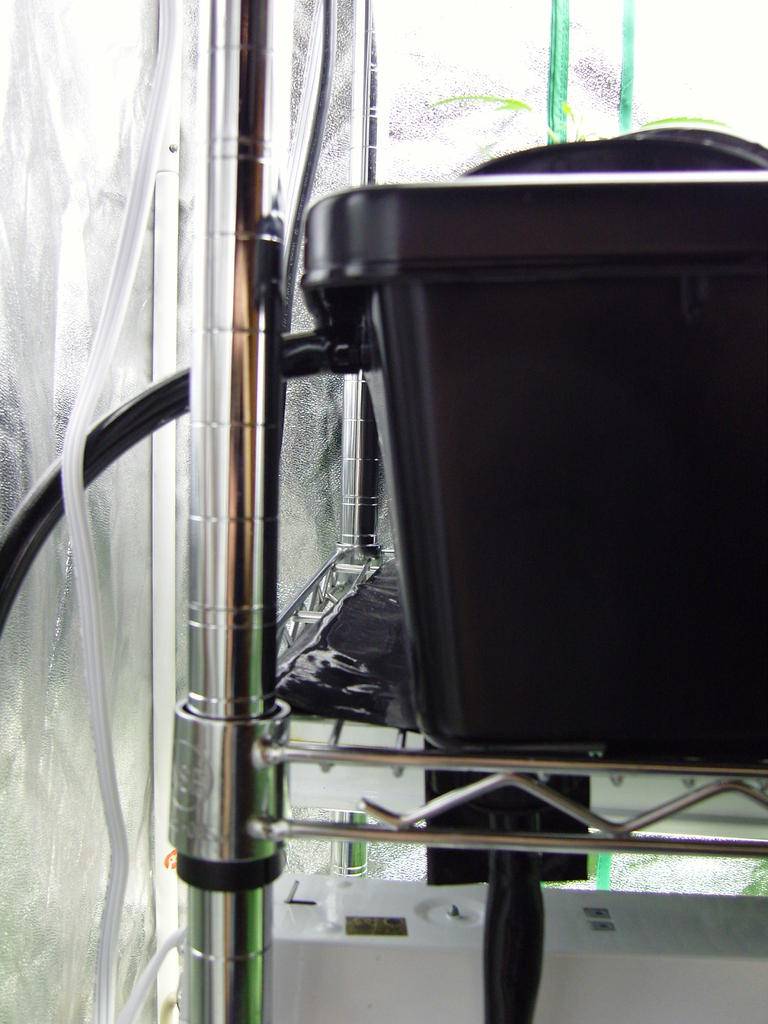
The feed line from the pump goes in the side and the drain comes out the bottom and back to the rez.
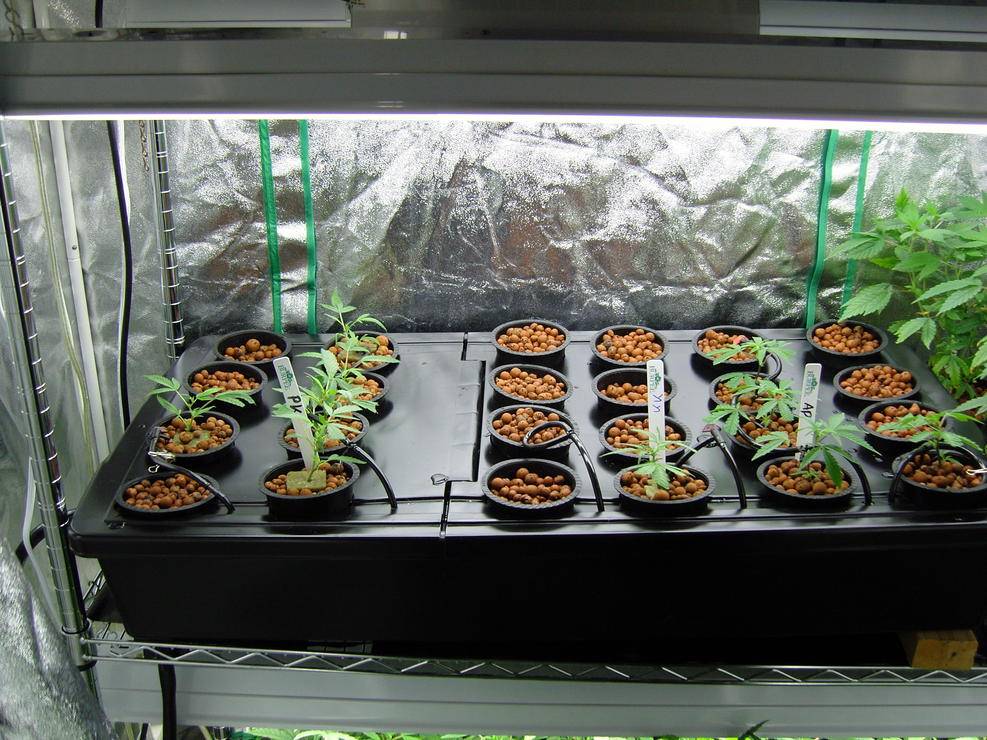
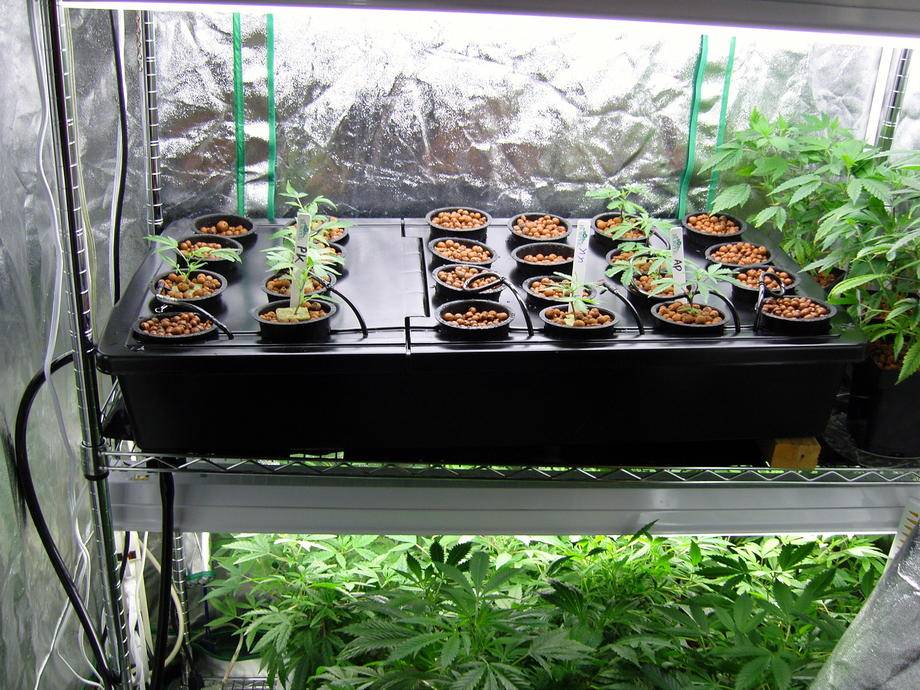
And finally, she is complete.
Please do not hesitate to ask any questions at all. I hope that you will find this build clear, concise, and enjoyable. Thanks for tuning in. Until next time, Happy Gardening.
Let us begin.
First you need a plastic tub with a top. I used a 16 gallon under the bed type for this build.
Here are the tools you will need. The hole saw is 1 1/4" and you will also need a 1/4" drill bit.
Now drill a hole into the bottom for your drain. ( ignore black object )
I recommend painting the tub before installing the 1/2" drain. I painted the outside of the tub with a black spray paint designed for plastic. I do not advise painting the inside of the tub.
A 1/2" straight barbed connector is placed through a hole in the side of the tub. This is where you will hook up the feed line from the pump.
A length of 1/2" hose is cut and attached to the other side of the barbed connector.
The end of the hose is folded and secured to itself. Holes are punched for the 1/4" straght barbs which will connect to the feed lines for each row.
1/4" feed lines are attached and drawn up through holes in the cover
Now, to make the cover...
I used 3.75" net pots for this setup.
Pots are placed underneath the cover to facilitate tracing the inside of the pots and to support the cover.
Make sure you trace the INSIDE of the pots otherwise they will fall through.
Next, the holes are cut out. I use a spiral saw but hole saw's would work just as well.
After cutting be sure to remove excess plastic and smooth down the holes.
Then its paint time.
1/4" holes are drilled for the feed lines. ( only required for top feed setups )
The cover is placed on the tub and the 1/4" feed lines are drawn through the cover.
The feed lines come out of the cover and I use T's to make 3 feed sites and cap the last site with an emiter.
Not every site is needed now so feed rows can be modified with ease.
Rows that arent need at all can be "looped"
The feed line from the pump goes in the side and the drain comes out the bottom and back to the rez.
And finally, she is complete.
Please do not hesitate to ask any questions at all. I hope that you will find this build clear, concise, and enjoyable. Thanks for tuning in. Until next time, Happy Gardening.
")

